
Introduction
A bathroom is the smallest room in the house and the most technically demanding to build. Every drop of water must go exactly where it should, and any mistake hides inside walls and floors until it becomes damp patches, seepage and expensive repairs. A properly constructed bathroom stays dry, safe and beautiful for decades, while a carelessly built one starts leaking within two years. In this detailed guide, Goodwell Technical Services explains all ten phases of bathroom construction step by step, from planning and demolition to waterproofing, tiling and final handover.
Whether you are building a new bathroom or renovating an old one, the sequence below is the professional order followed on real sites. In bathrooms more than any other room, doing phases out of order causes permanent damage, so understand each phase before work begins.
Phase 1: Planning and Design (Before Construction)
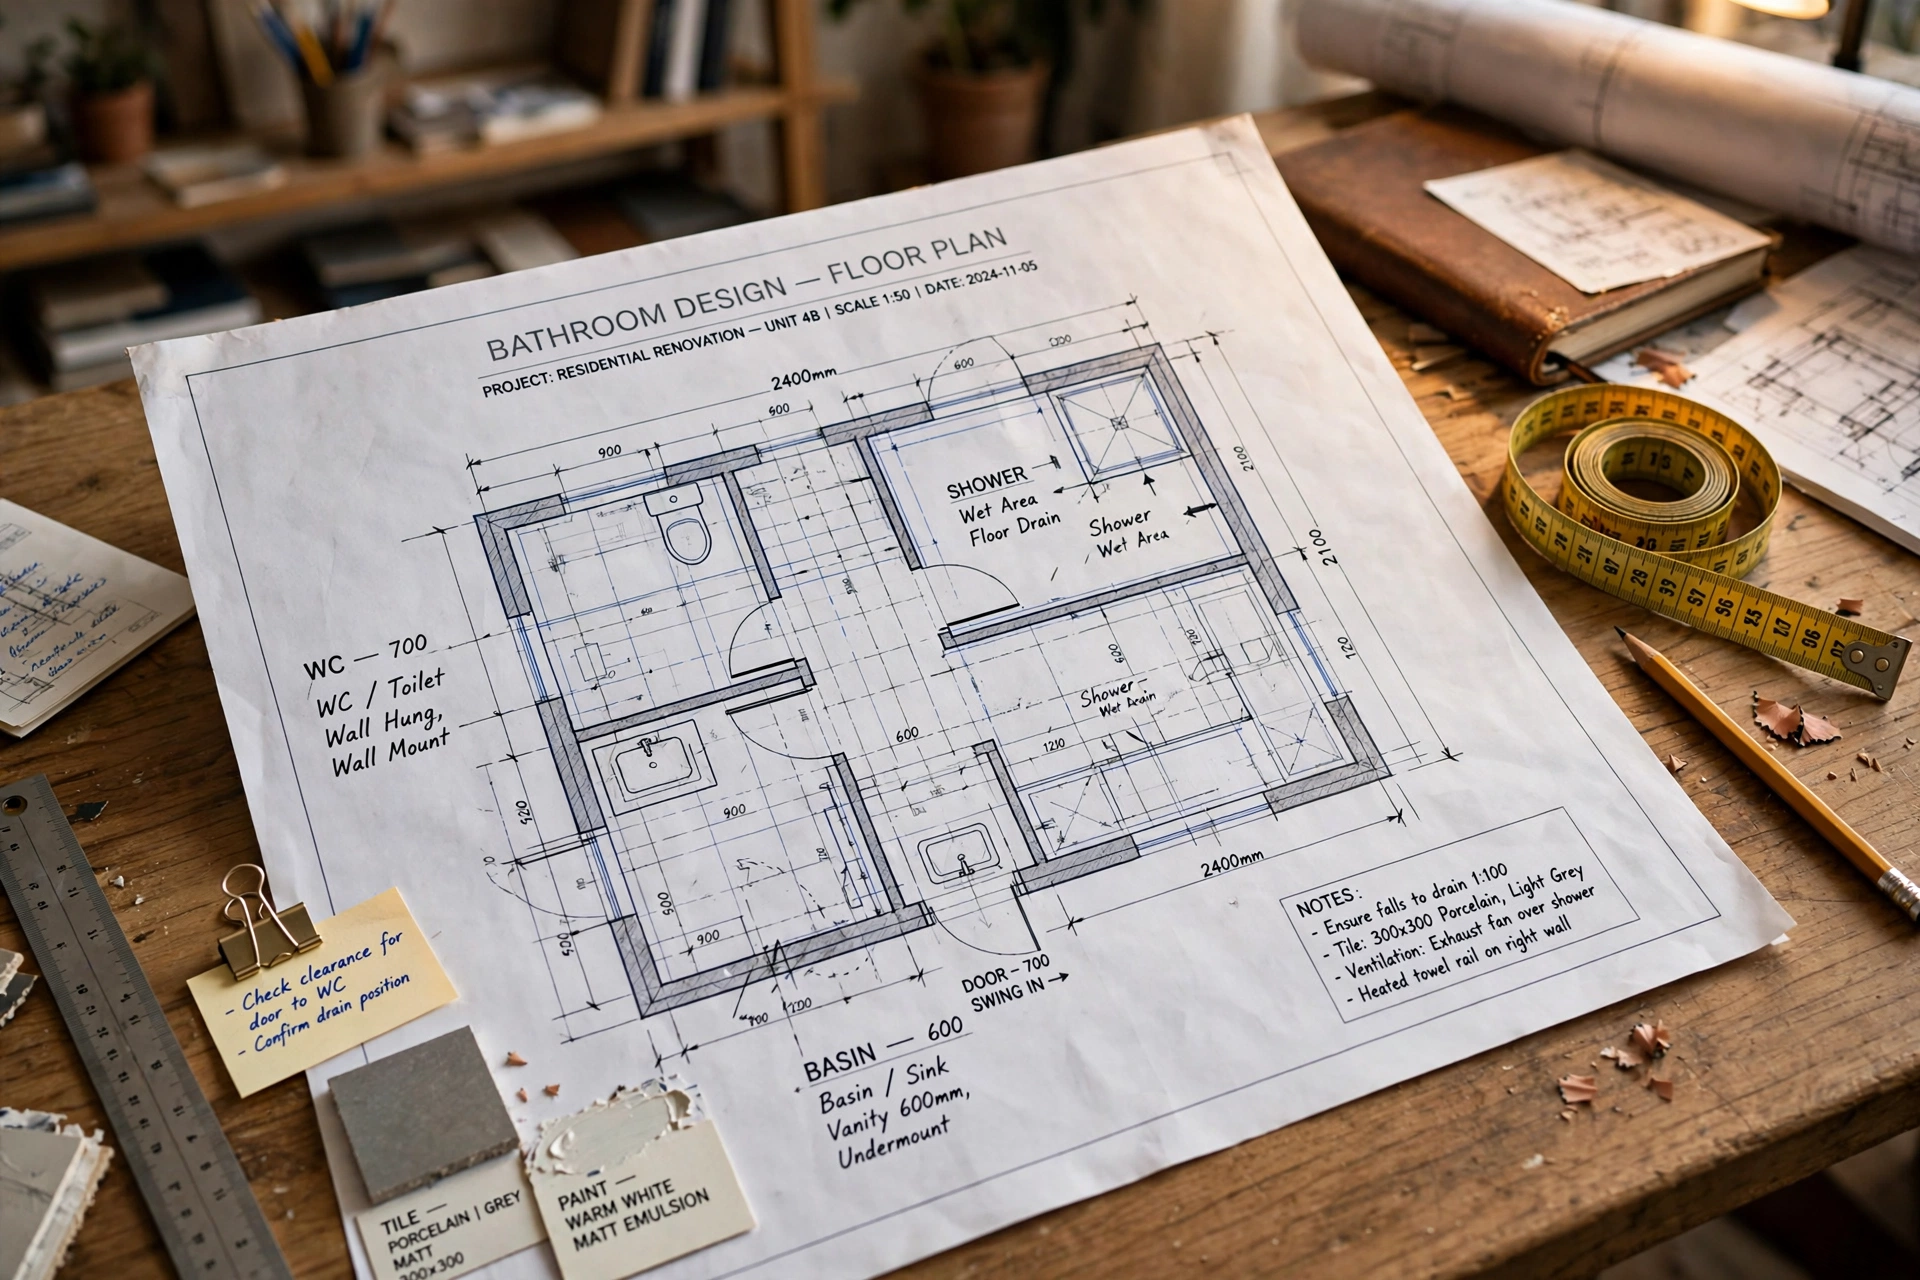
Good bathroom design starts with honest measurement and a clear fixture plan. Mark the exact positions of the WC, wash basin, shower area and door swing on a scaled drawing, because in a small bathroom every inch matters. At Goodwell Technical Services, every bathroom project begins with checking the existing drainage line positions, since moving a soil pipe is the most expensive change you can make.
Decide the layout type early: a three-fixture layout for compact bathrooms, a separated wet and dry zone for larger ones, and always plan the door to open against a wall rather than into fixtures. Ventilation must be on the drawing too, either a window or a marked exhaust fan point, because a bathroom without air movement grows fungus no matter how beautiful the tiles are.
- Measure everything: Wall lengths, ceiling height, door position and the exact location of existing water and drainage lines.
- Fix fixtures on paper: WC, basin, shower and geyser positions decided now; moving them later means breaking concrete.
- Plan the slope: The bathroom floor must slope toward the drain. Mark the drain point on the drawing from day one.
- Choose materials early: Shortlist tiles, sanitary ware, faucets and the waterproofing system before construction starts.
- Budget with a buffer: Keep ten percent aside; old bathrooms often reveal damaged pipes once opened.
Phase 2: Demolition and Site Preparation (Before Construction)
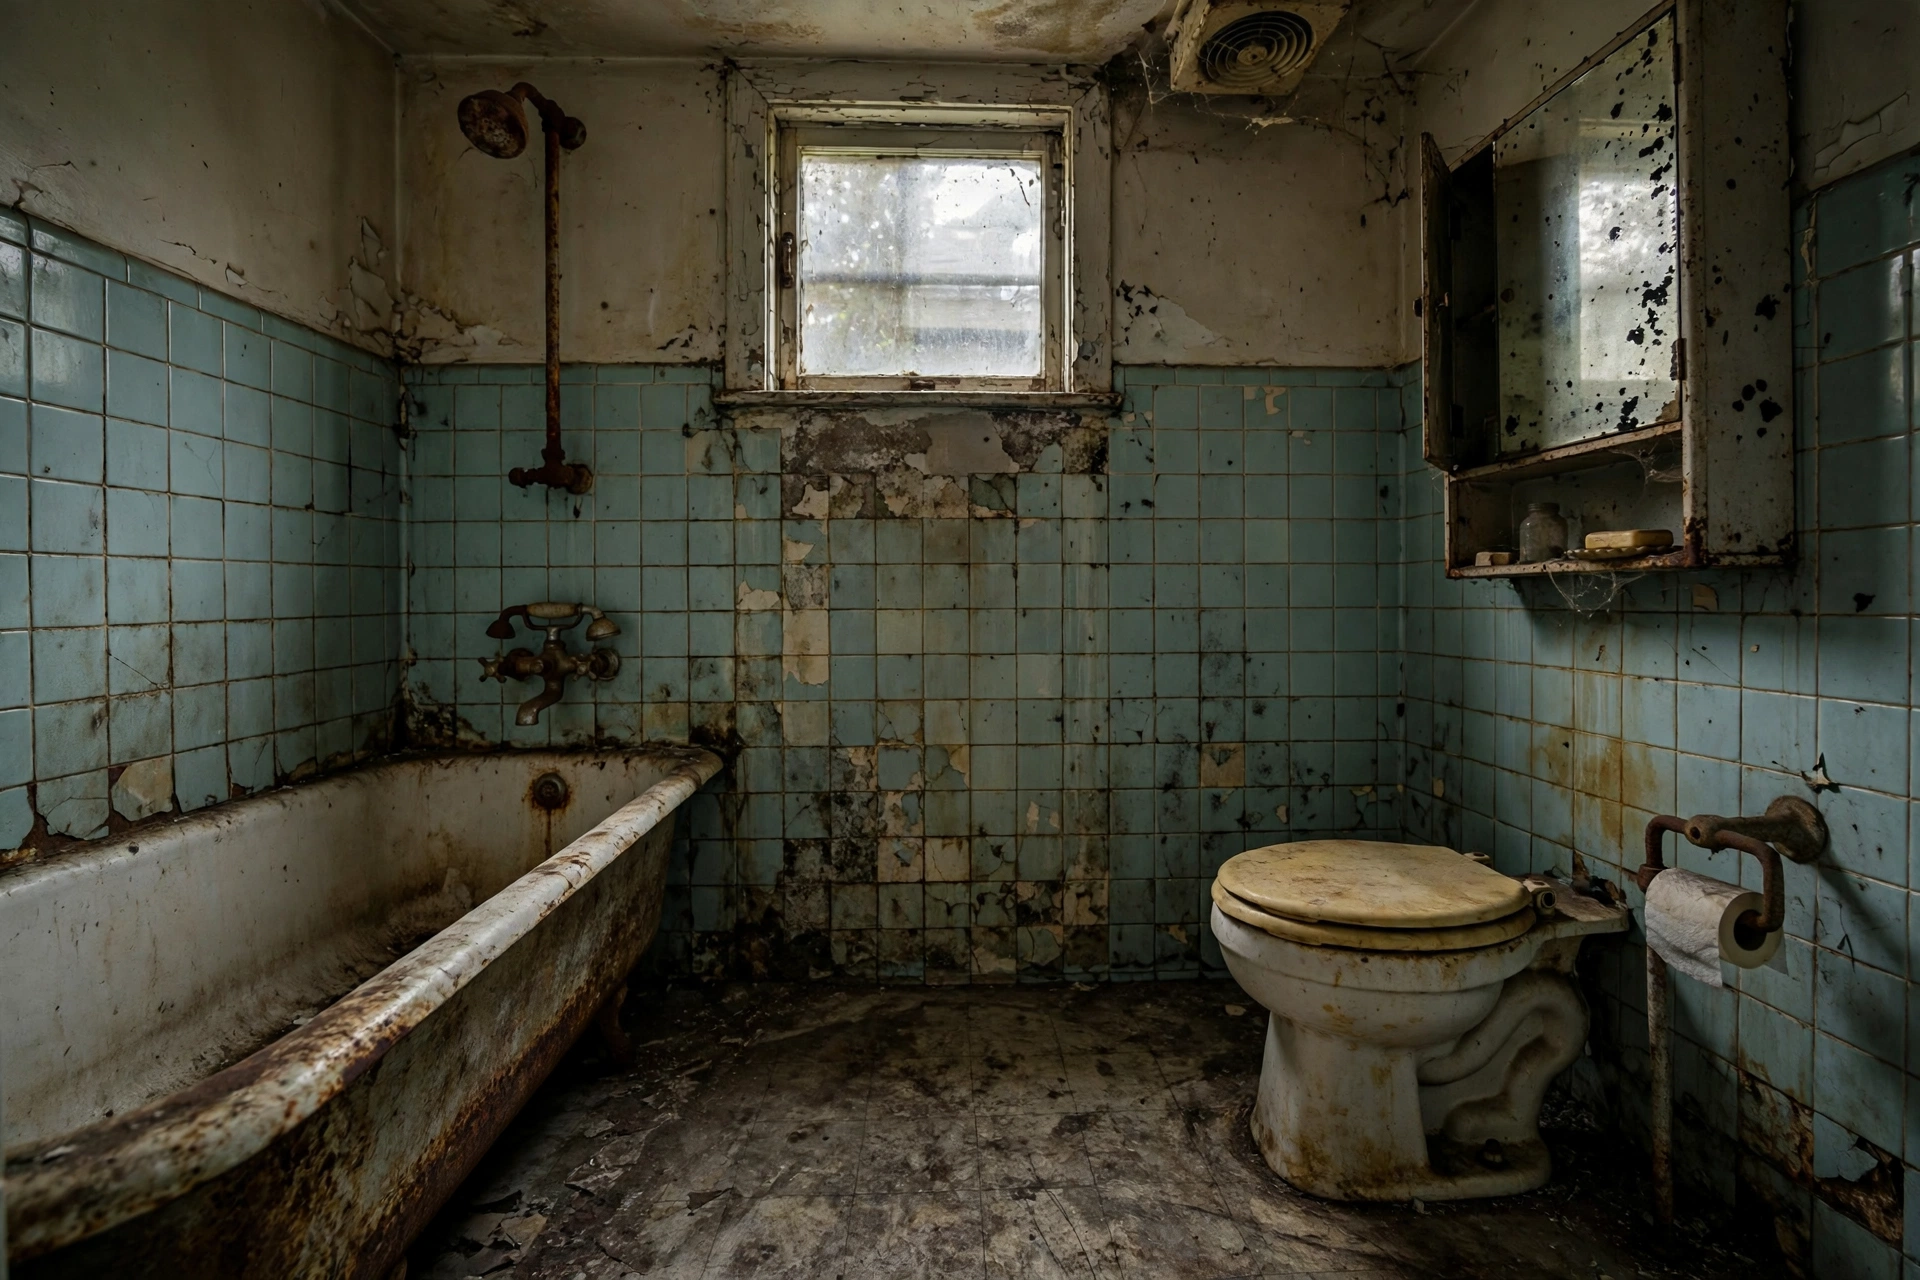
In a renovation, the old bathroom is stripped back to the structure. Old sanitary ware is removed first, then tiles are hacked off walls and floor, and damaged plaster is cleared down to the brick or concrete. This dusty phase reveals the truth about the old bathroom: corroded pipes, hollow plaster and hidden damp, all of which must be repaired before new work starts.
Site protection matters as much as demolition. Our team seals the bathroom doorway with plastic sheeting, protects passage floors, and clears debris the same day so the small space stays workable for the next trades.
- Disconnect first: Water supply and geyser power are isolated before any fitting is removed.
- Hack tiles fully: New tiles never go over old tiles in a proper job; the base must be sound and true.
- Expose and inspect: Check every opened wall for damp, cracks and rusted pipes; repair now or regret later.
- Clear debris daily: A small bathroom buried in rubble cannot be measured or worked in accurately.
Phase 3: Plumbing Rough-In (During Construction)
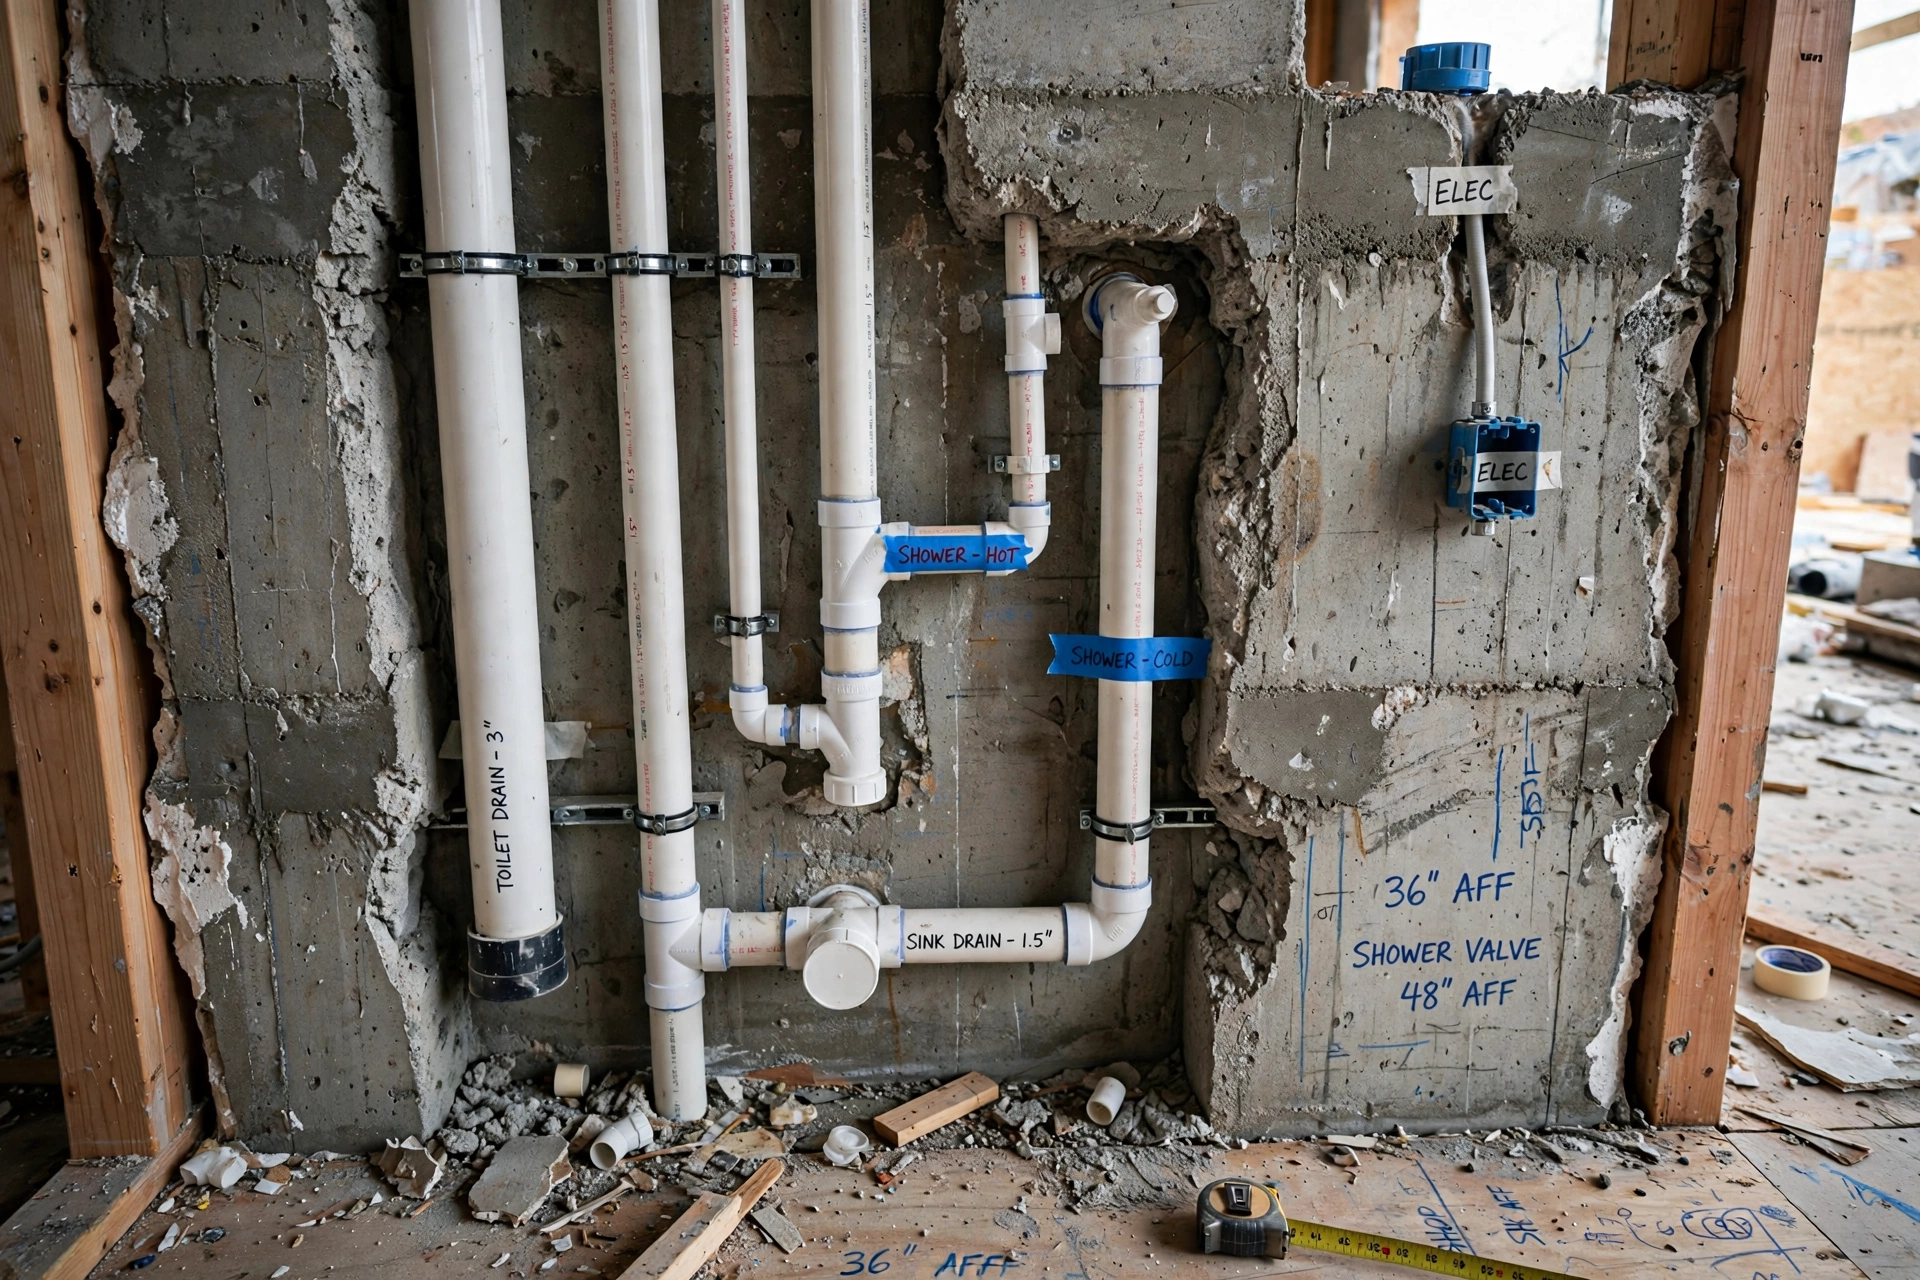
Plumbing is the heart of bathroom construction and the phase where most future leaks are born or prevented. Concealed water supply lines (PPR or CPVC) run inside walls to each point, drainage and soil pipes are laid with correct slope, and every joint is sealed and tested. This is why Goodwell Technical Services pressure-tests all concealed water lines for twenty four hours before they disappear behind plaster and tiles.
Drainage deserves obsession: the WC needs a 4-inch soil pipe with steady fall to the stack, floor drains need individual slopes, and the shower area drain must sit at the lowest point of the wet zone. A flat or back-sloped drain means permanent standing water and smell.
- Pressure-test everything: Concealed lines hold test pressure for a full day; only zero leakage passes.
- Slope every waste line: Soil and waste pipes fall steadily toward the stack. No dips, no flat runs.
- Use quality pipes: Branded PPR/CPVC for supply and heavy duty PVC for drainage outlast cheap pipes by decades.
- Photograph routes: Record every concealed pipe position before closing walls for future repairs.
- Provide cleanouts: Access points on drainage lines save breaking tiles when blockages occur years later.
Phase 4: Electrical Rough-In (During Construction)
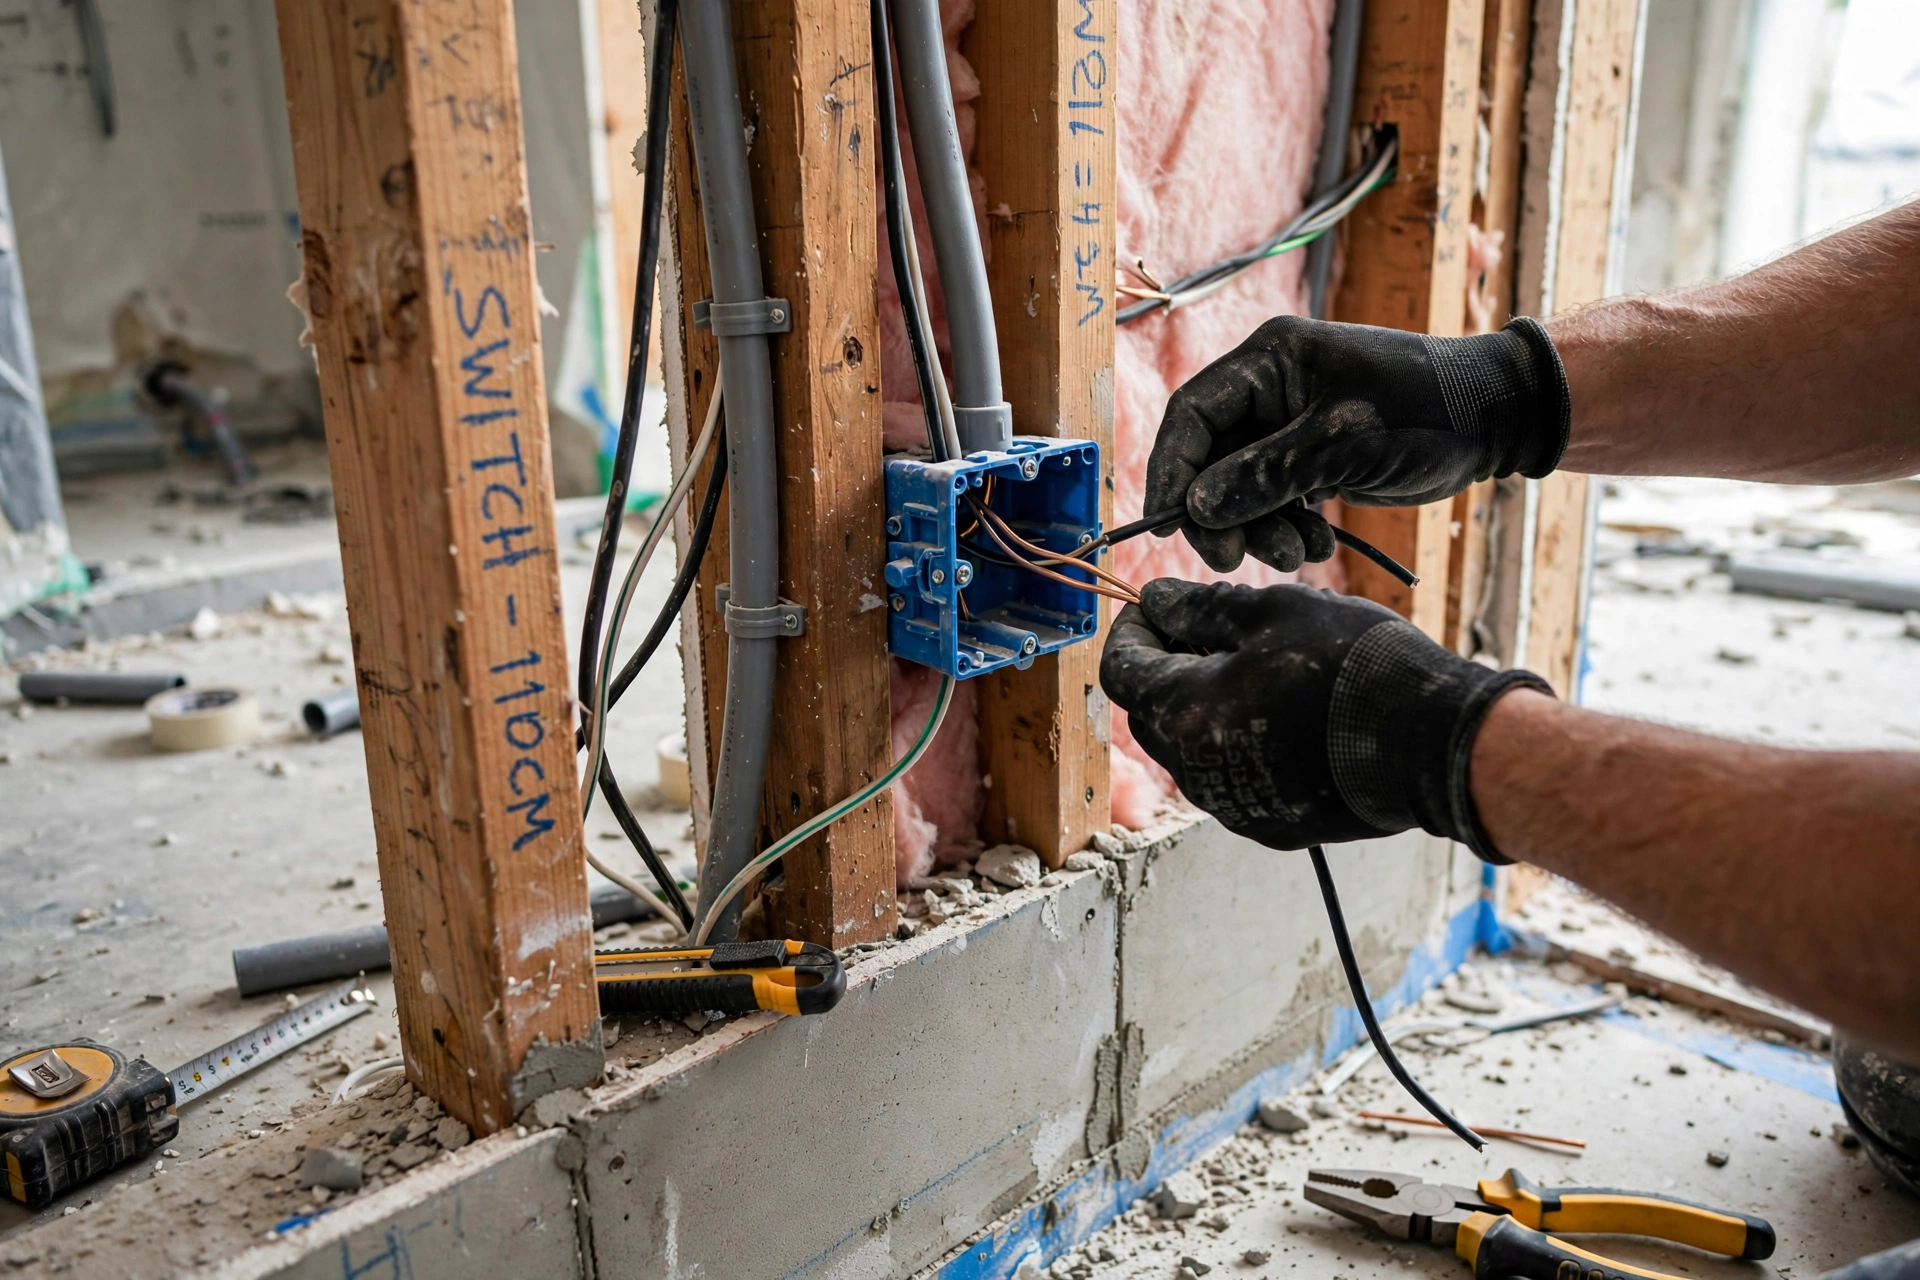
Bathroom electricals demand extra care because water and electricity share a small space. Wiring runs in concealed conduits to points for the geyser (dedicated heavy circuit), exhaust fan, mirror light, shaver socket and ceiling light. Every bathroom circuit must be protected by an RCCB/ELCB, which trips on the smallest leakage current and prevents shocks in wet conditions.
Plan switch positions so they are reachable but away from direct water splash, and keep the geyser switch outside the bathroom or at a safe height. Goodwell Technical Services never compromises on this phase, because electrical shortcuts in bathrooms are not just defects, they are dangers.
- RCCB protection is mandatory: Every bathroom circuit runs through earth leakage protection. No exceptions.
- Dedicated geyser circuit: The water heater gets its own MCB with correct wire gauge for its wattage.
- IP-rated fittings: Use moisture resistant light fittings and covered sockets in splash zones.
- Exhaust fan point: Wired and positioned high on the wall or ceiling for effective moisture extraction.
Phase 5: Waterproofing (The Most Critical Phase)
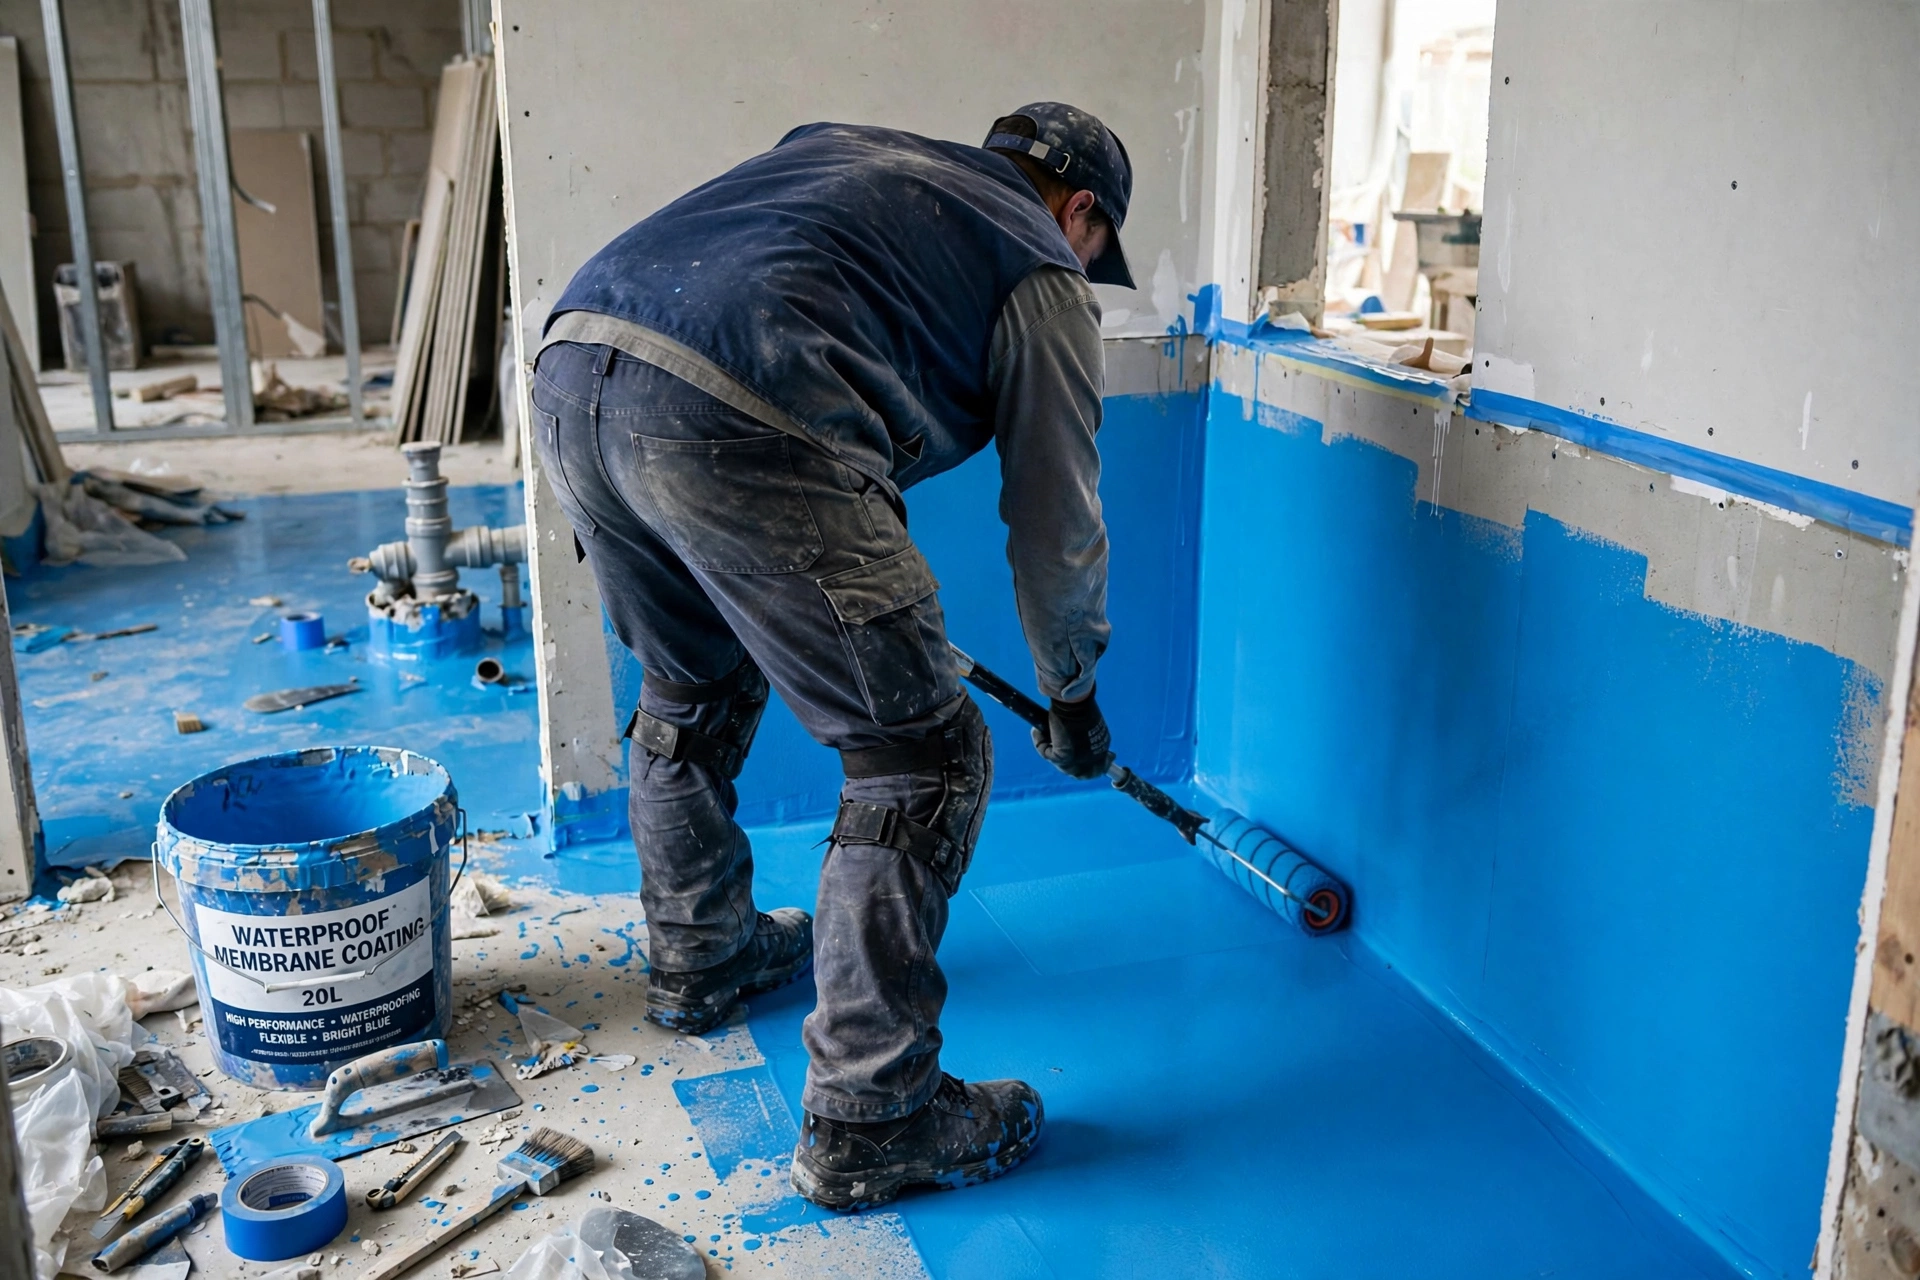
Waterproofing is the single most important phase in bathroom construction and the one most often rushed. A proper system coats the entire floor and runs up the walls at least one foot, higher around the shower area, using polymer modified waterproofing compound applied in two coats over a primed surface. All corners, pipe penetrations and the floor-to-wall junction get extra reinforcement with fiber mesh tape.
The proof of waterproofing is the ponding test: the bathroom floor is flooded with two inches of water and left for forty eight hours. If the level drops or damp appears below, the coating is repaired and retested. Goodwell Technical Services never tiles over a bathroom that has not passed its ponding test, because this one test prevents the most expensive bathroom failure of all: seepage into the rooms below.
- Two coats minimum: Waterproofing compound goes on in two coats at right angles for full coverage.
- Reinforce junctions: Fiber mesh tape on all corners, pipe openings and the wall floor joint.
- Ponding test for 48 hours: Flood the floor, mark the level, check below. No drop means pass.
- Protect the coating: Once tested, the membrane is covered with a protective screed before tiling begins.
- Never skip the shower walls: Shower area walls get waterproofing up to full height, not just the floor.
Phase 6: Masonry, Cementing and Plastering
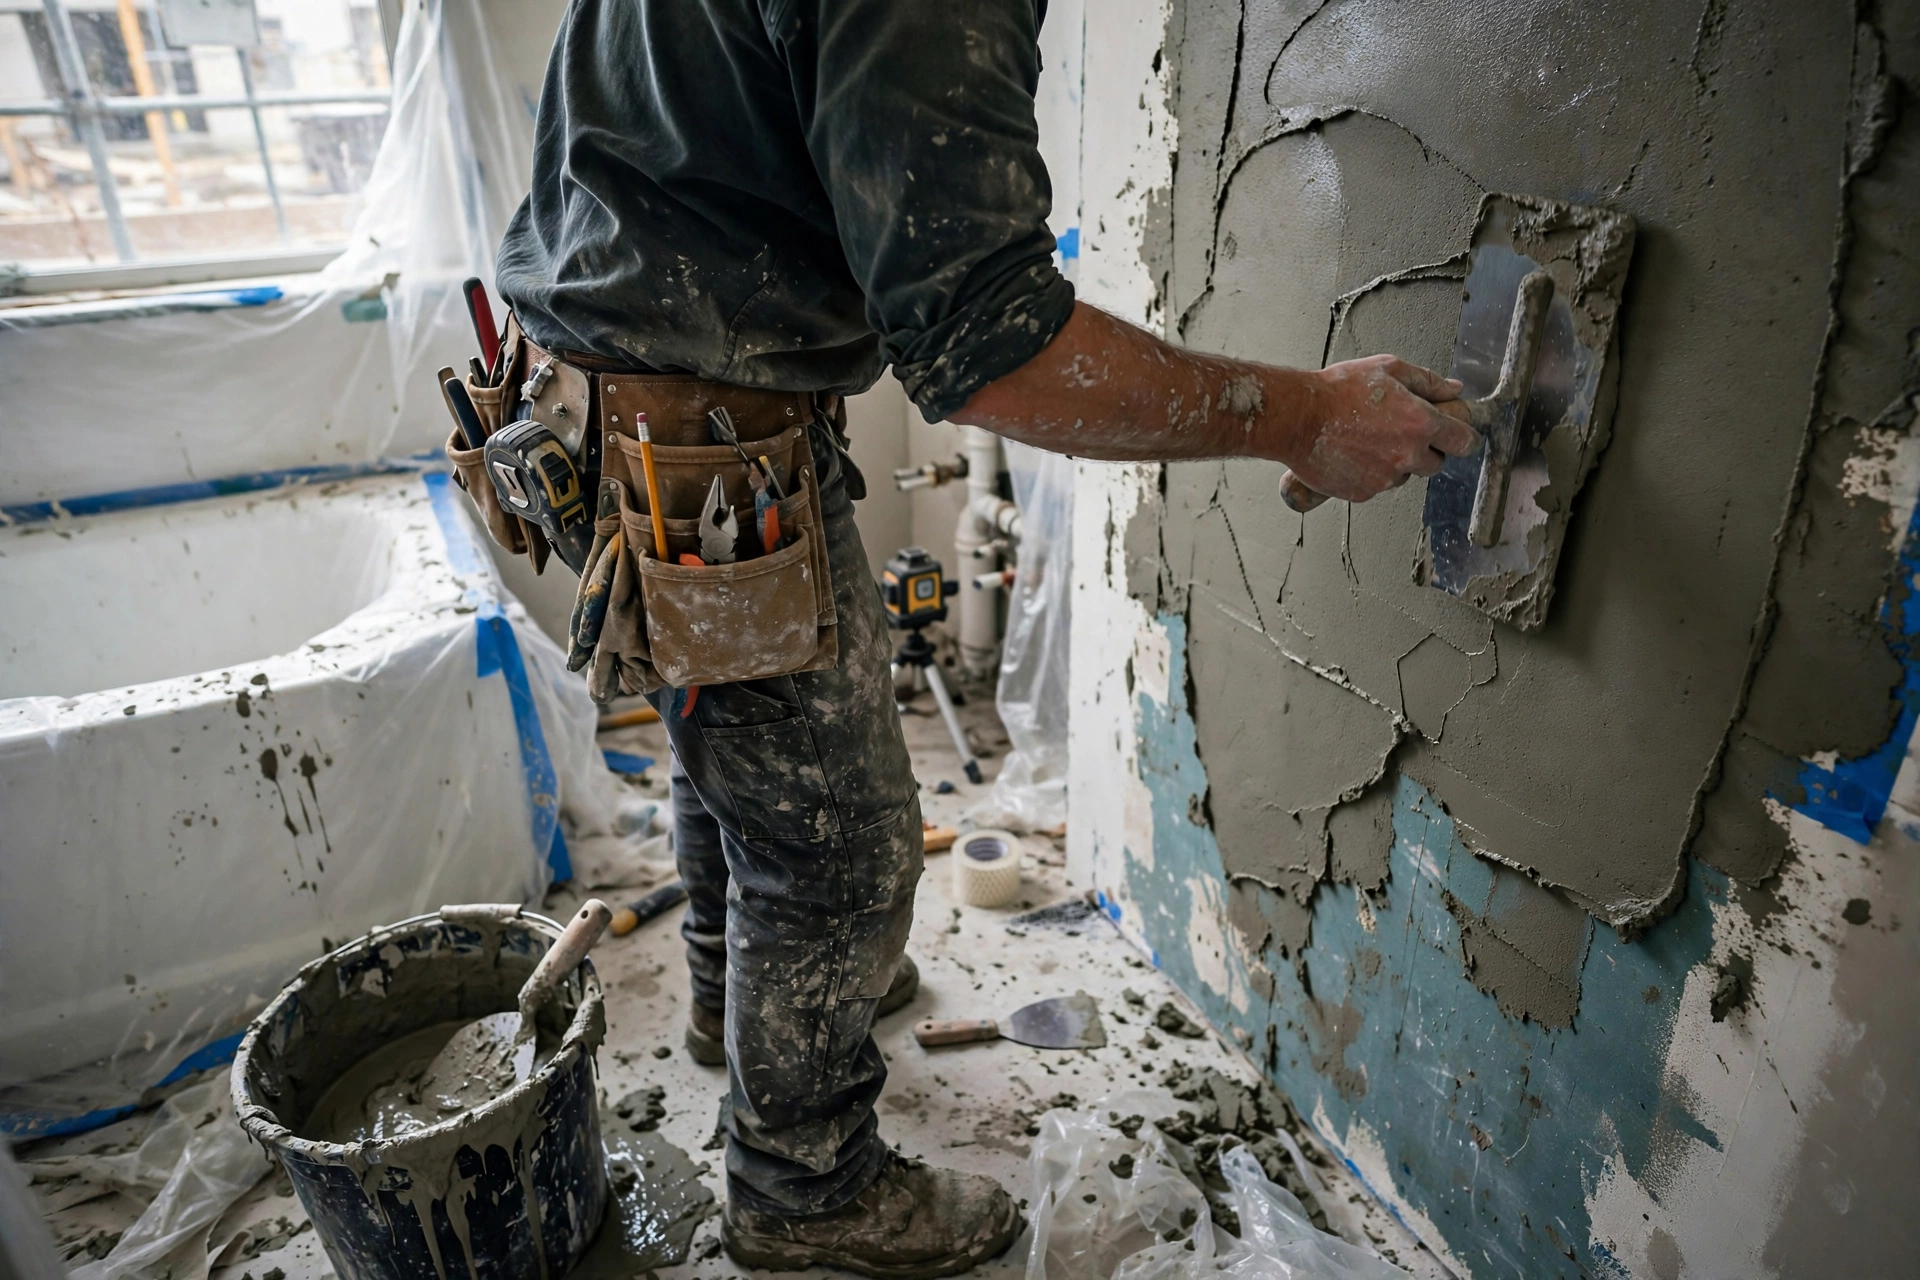
With services and waterproofing protected, walls are made true. Chased channels are filled with rich cement mortar, surfaces are dubbed out where needed, and a waterproof admixed plaster gives the walls their final flat surface. The bathroom construction experts at Goodwell Technical Services cure this plaster for a full week, because plaster that dries too fast shrinks, cracks, and takes the tiles down with it.
The floor screed in this phase is laid to falls: a gentle, deliberate slope from all corners toward the drain. This slope is checked with a spirit level and water test before anyone thinks about tiles.
- Waterproof admix in plaster: An integral waterproofing compound in the mortar adds a second line of defense.
- Screed to falls: The floor bed slopes toward the drain from every direction; test with water.
- Cure for seven days: Keep fresh work damp. Rushed drying causes cracks under the tiles.
- True and plumb walls: Tile lines expose every lean, so walls are checked with straight edge and level.
Phase 7: Floor and Wall Tiling
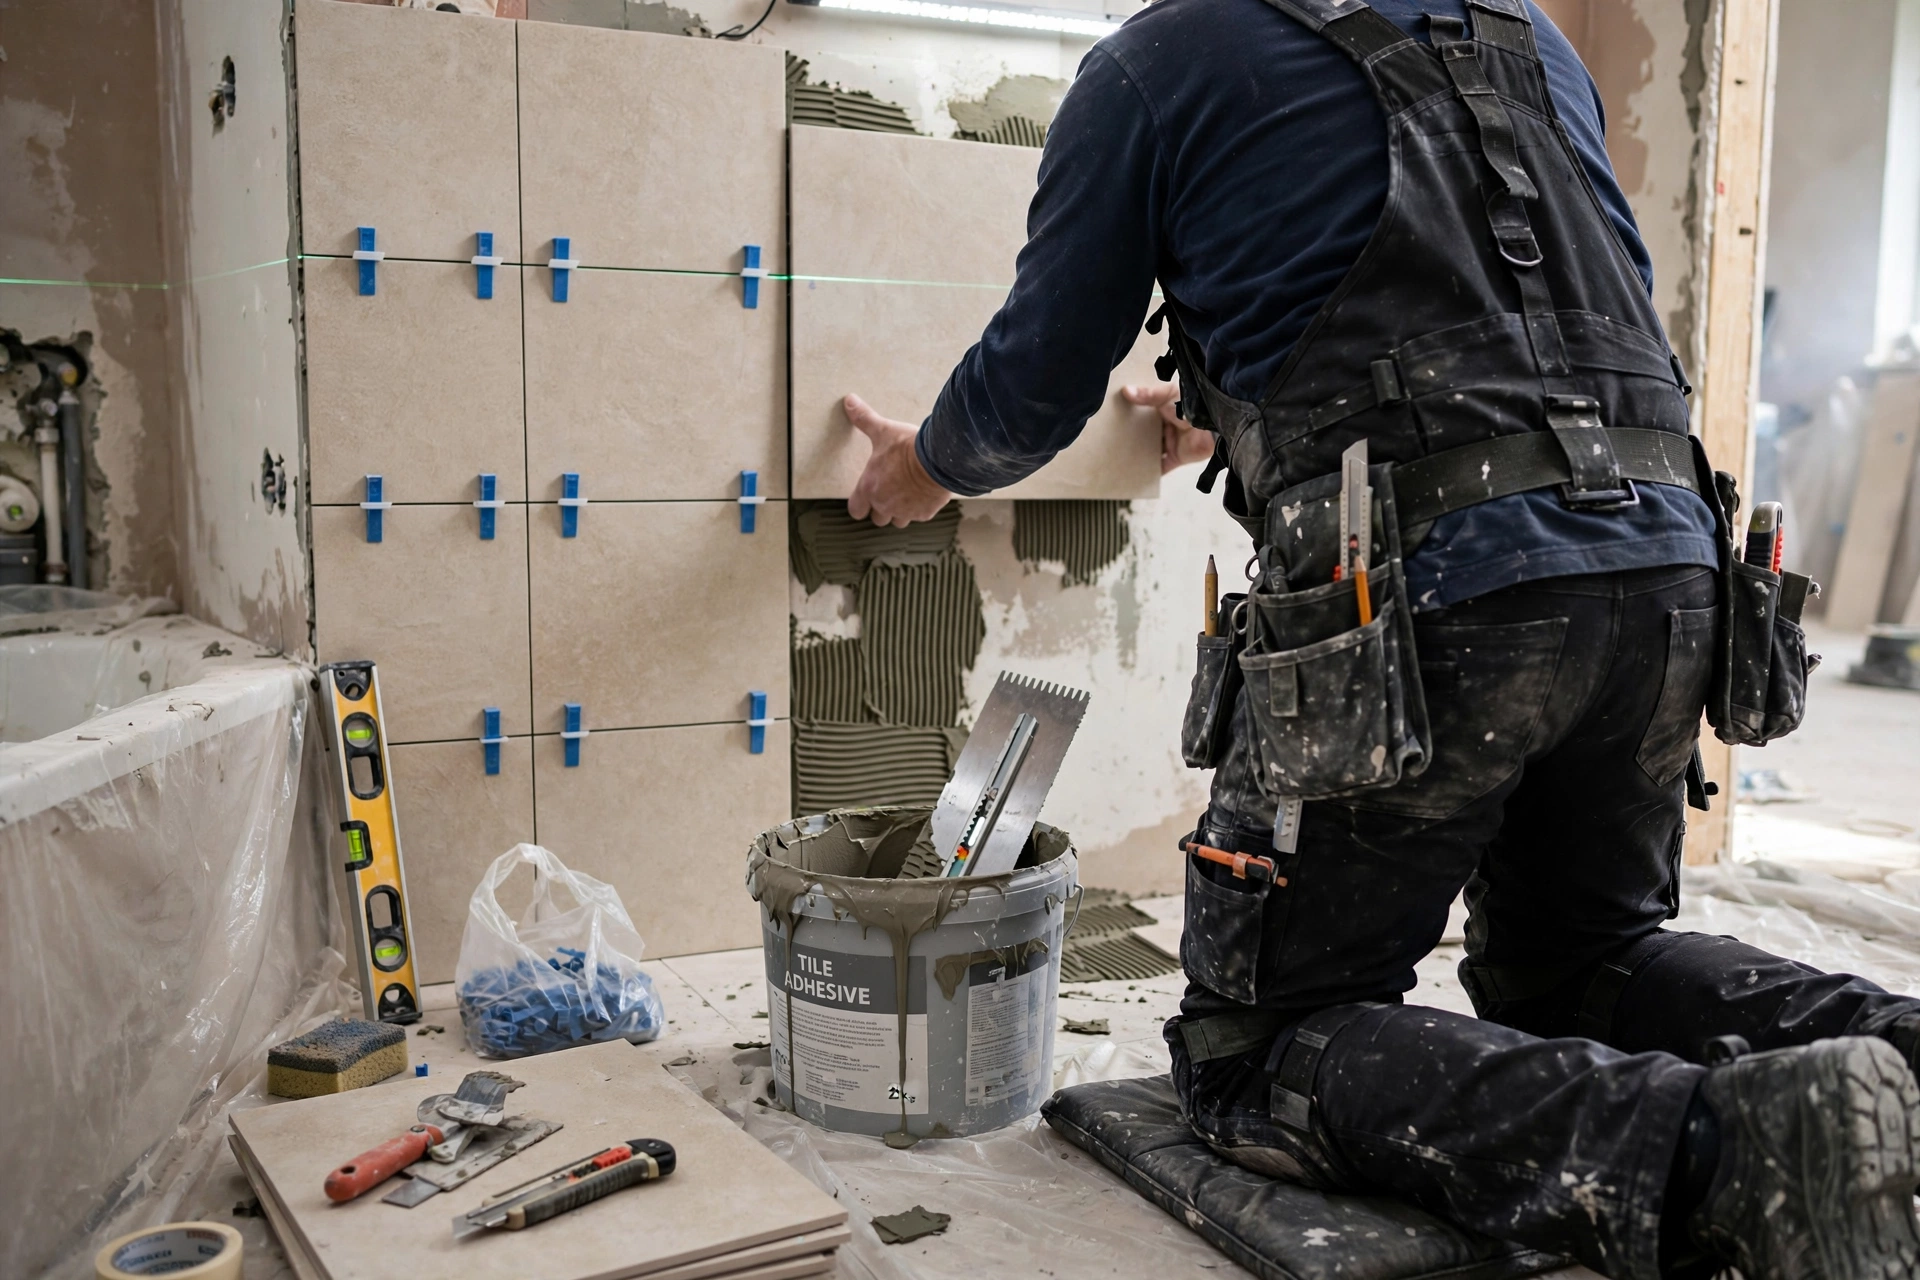
Tiling transforms the bathroom, but in wet areas it is engineering as much as decoration. Floor tiles must be anti-skid rated, because a glossy bathroom floor is an accident waiting to happen. Wall tiles go up after the floor, full height in the shower zone and at least up to door height elsewhere, with epoxy grout that resists water and fungus far better than cement grout.
For layout ideas and finish selection, homeowners often browse the Goodwell Technical Services homepage to see how completed bathrooms balance slip safety with modern looks.
- Anti-skid floors only: Matte or textured tiles on bathroom floors. Never glossy.
- Epoxy grout: Waterproof, stain proof grout keeps joints clean and fungus free for years.
- Check slopes again: After tiling, pour water and watch it run to the drain from every corner.
- Seal the edges: Silicone sealant, not grout, where tiles meet the WC, basin and shower tray.
- Full height shower walls: Tile the shower zone to the ceiling to contain every splash.
Phase 8: Sanitary Fixtures and Fittings Installation
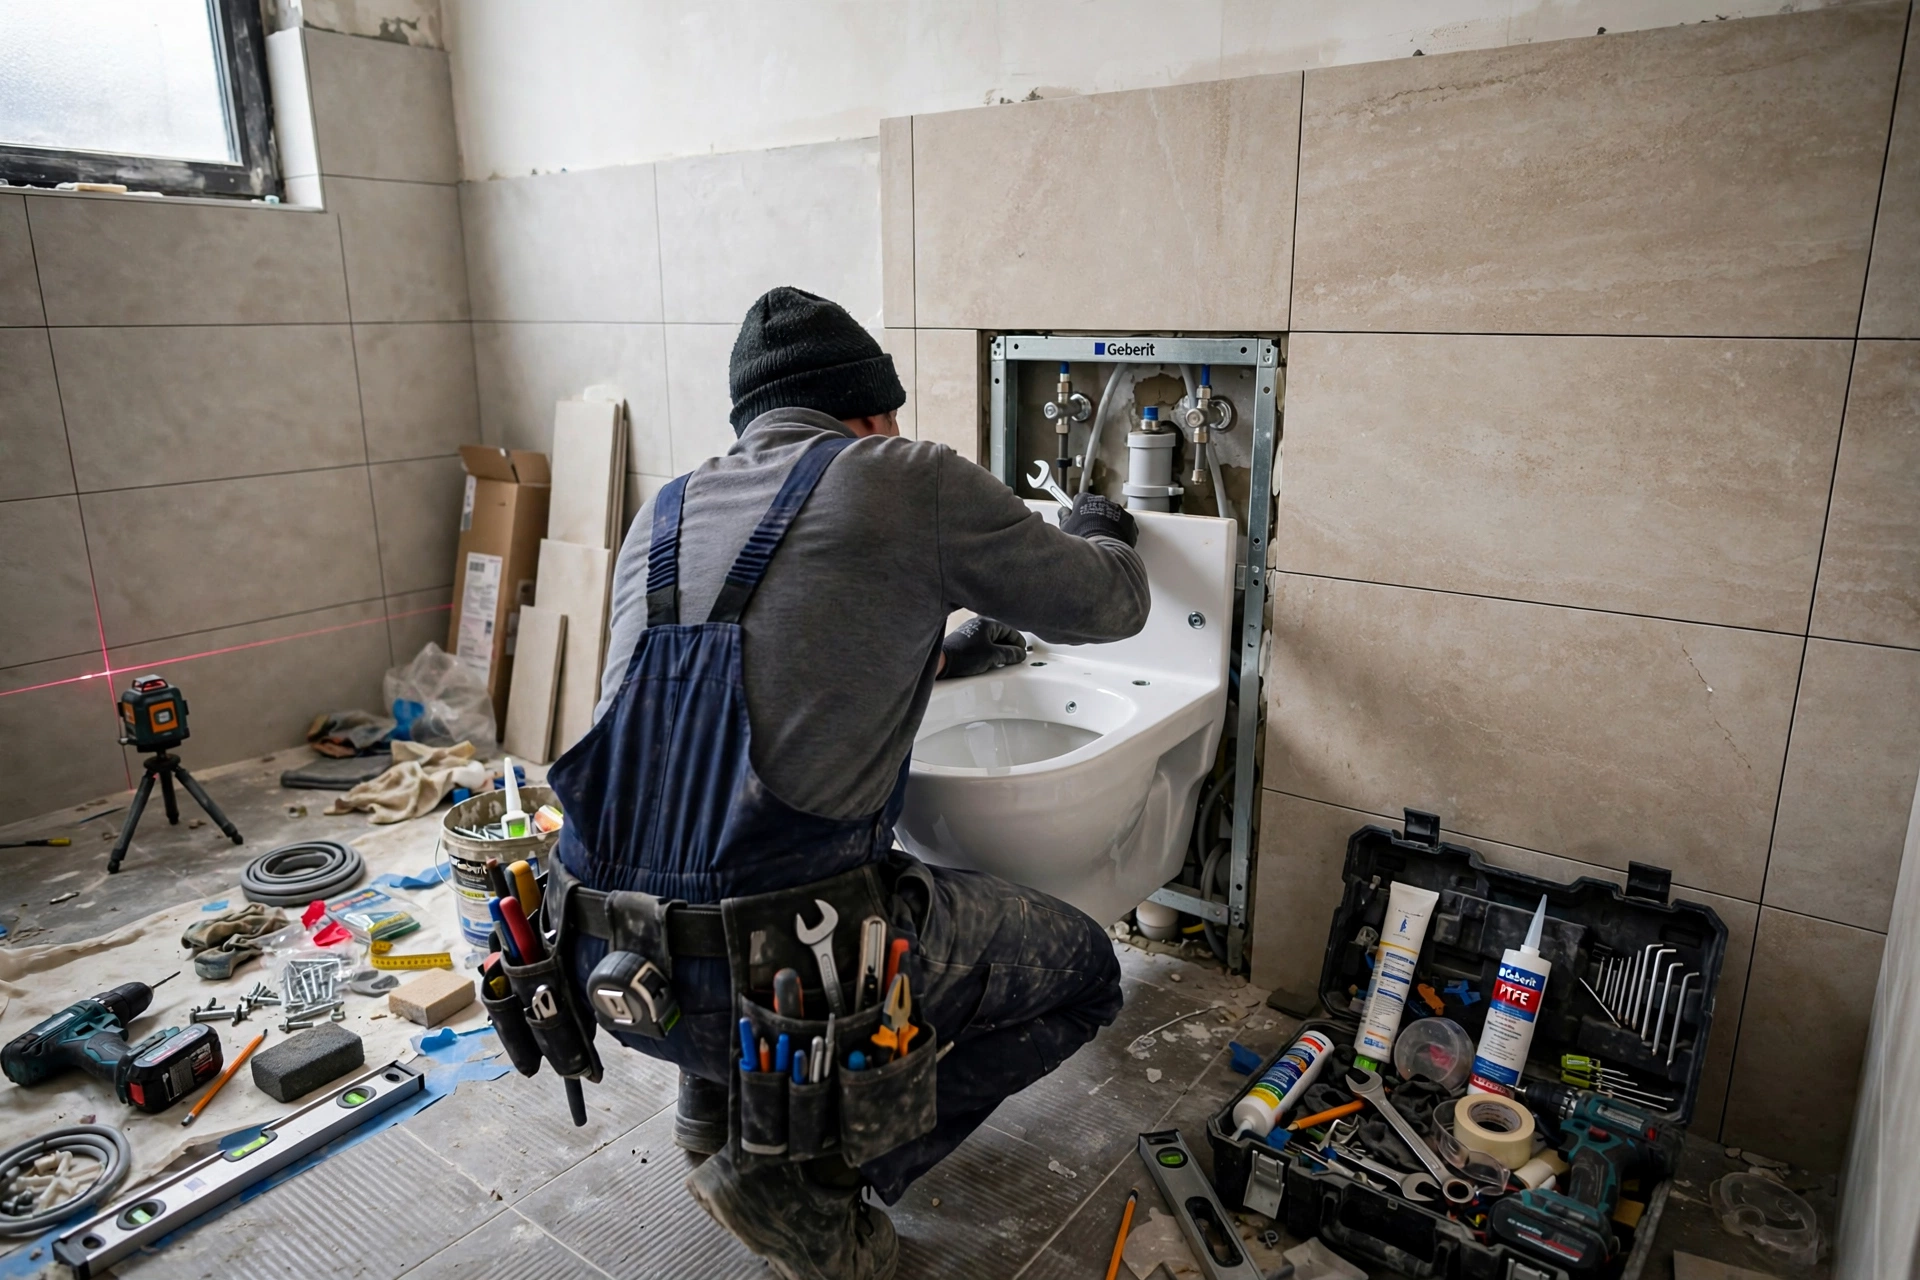
With tiling cured, the bathroom gets its fixtures: wall hung or floor mounted WC, wash basin with pedestal or vanity, shower mixer and rain shower, taps and health faucet. Each fixture is set level, sealed with silicone at every wall and floor junction, and connected to the tested pipework. Goodwell Technical Services allows sealants their full curing time before water is run, because early use is the main cause of seal failure.
This is also when the small things that decide daily comfort go in: the towel rail at the right height, the corner shelves in the shower, the mirror with its light, and the exhaust fan grille. A bathroom is judged as much by these details as by its tiles.
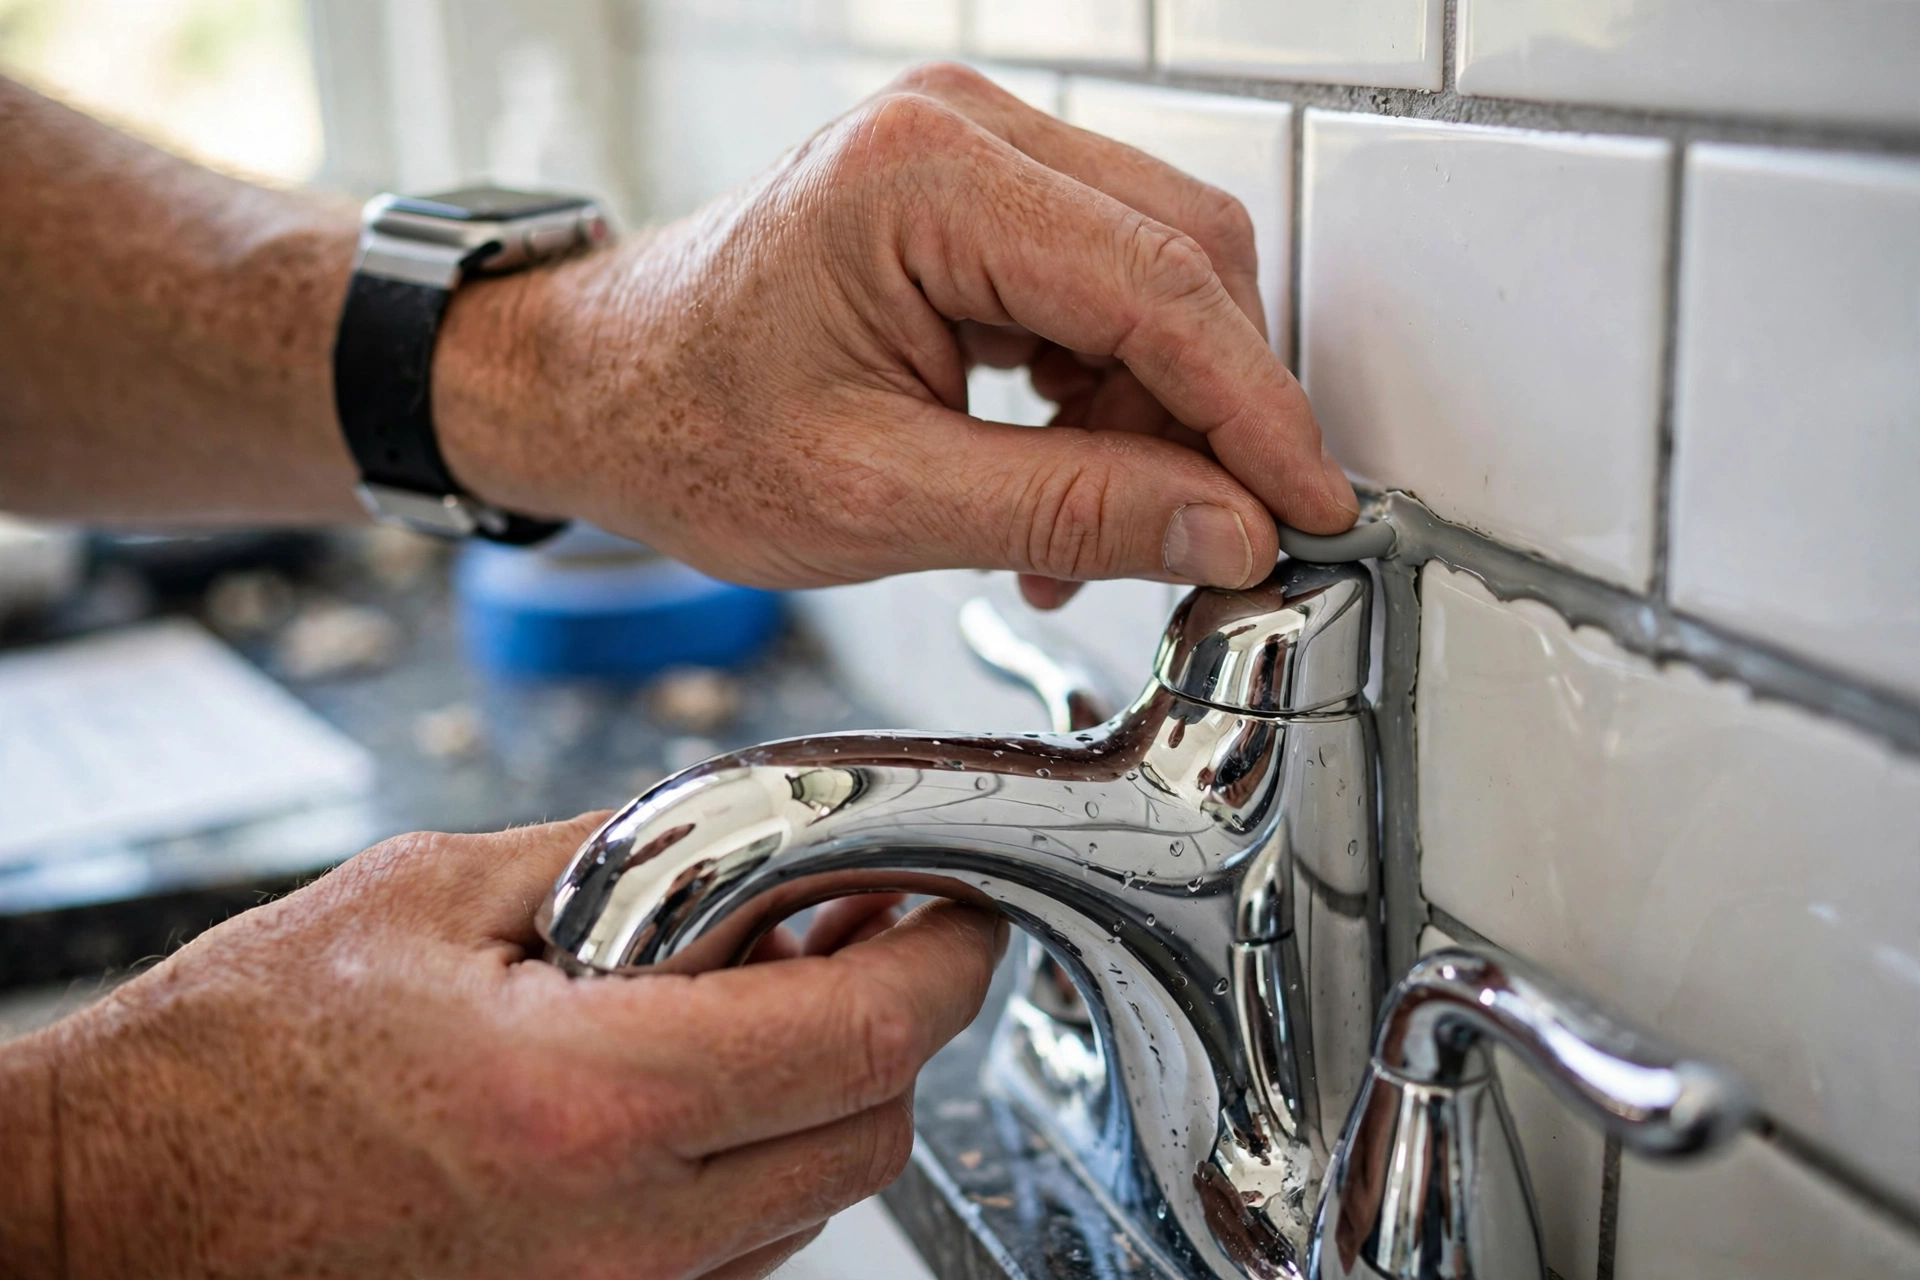
- Silicone every junction: WC base, basin edges and shower fittings all get flexible waterproof sealant.
- Test flush and flow: Every WC flushes cleanly, every tap runs full pressure, every drain clears fast.
- Level everything: A tilted basin or WC looks careless and pools water where it should not.
- Cure sealants fully: No water on fresh silicone for twenty four hours. Patience now prevents leaks later.
Phase 9: Coloring, Ceiling and Accessories (After Construction)
The non-tiled surfaces get their finish: moisture resistant paint on the ceiling, which faces the most steam, and washable emulsion on any painted wall areas. Goodwell Technical Services uses anti-fungal ceiling coatings in bathrooms, because ordinary paint peels within a year in constant humidity.
Accessories complete the room: mirror, towel rods, soap dispensers, robe hooks and the exhaust fan cover. Each is fixed into solid backing, not just tile adhesive, so nothing loosens with daily use.
- Anti-fungal ceiling paint: The ceiling needs moisture and fungus resistant coating, not ordinary emulsion.
- Fix into structure: Heavy accessories anchor through tiles into wall plugs, never adhesive alone.
- Ventilate the paint: Run the exhaust fan while paint cures to carry moisture out.
- Match the metals: Keep all fittings in one finish family for a designed, premium look.
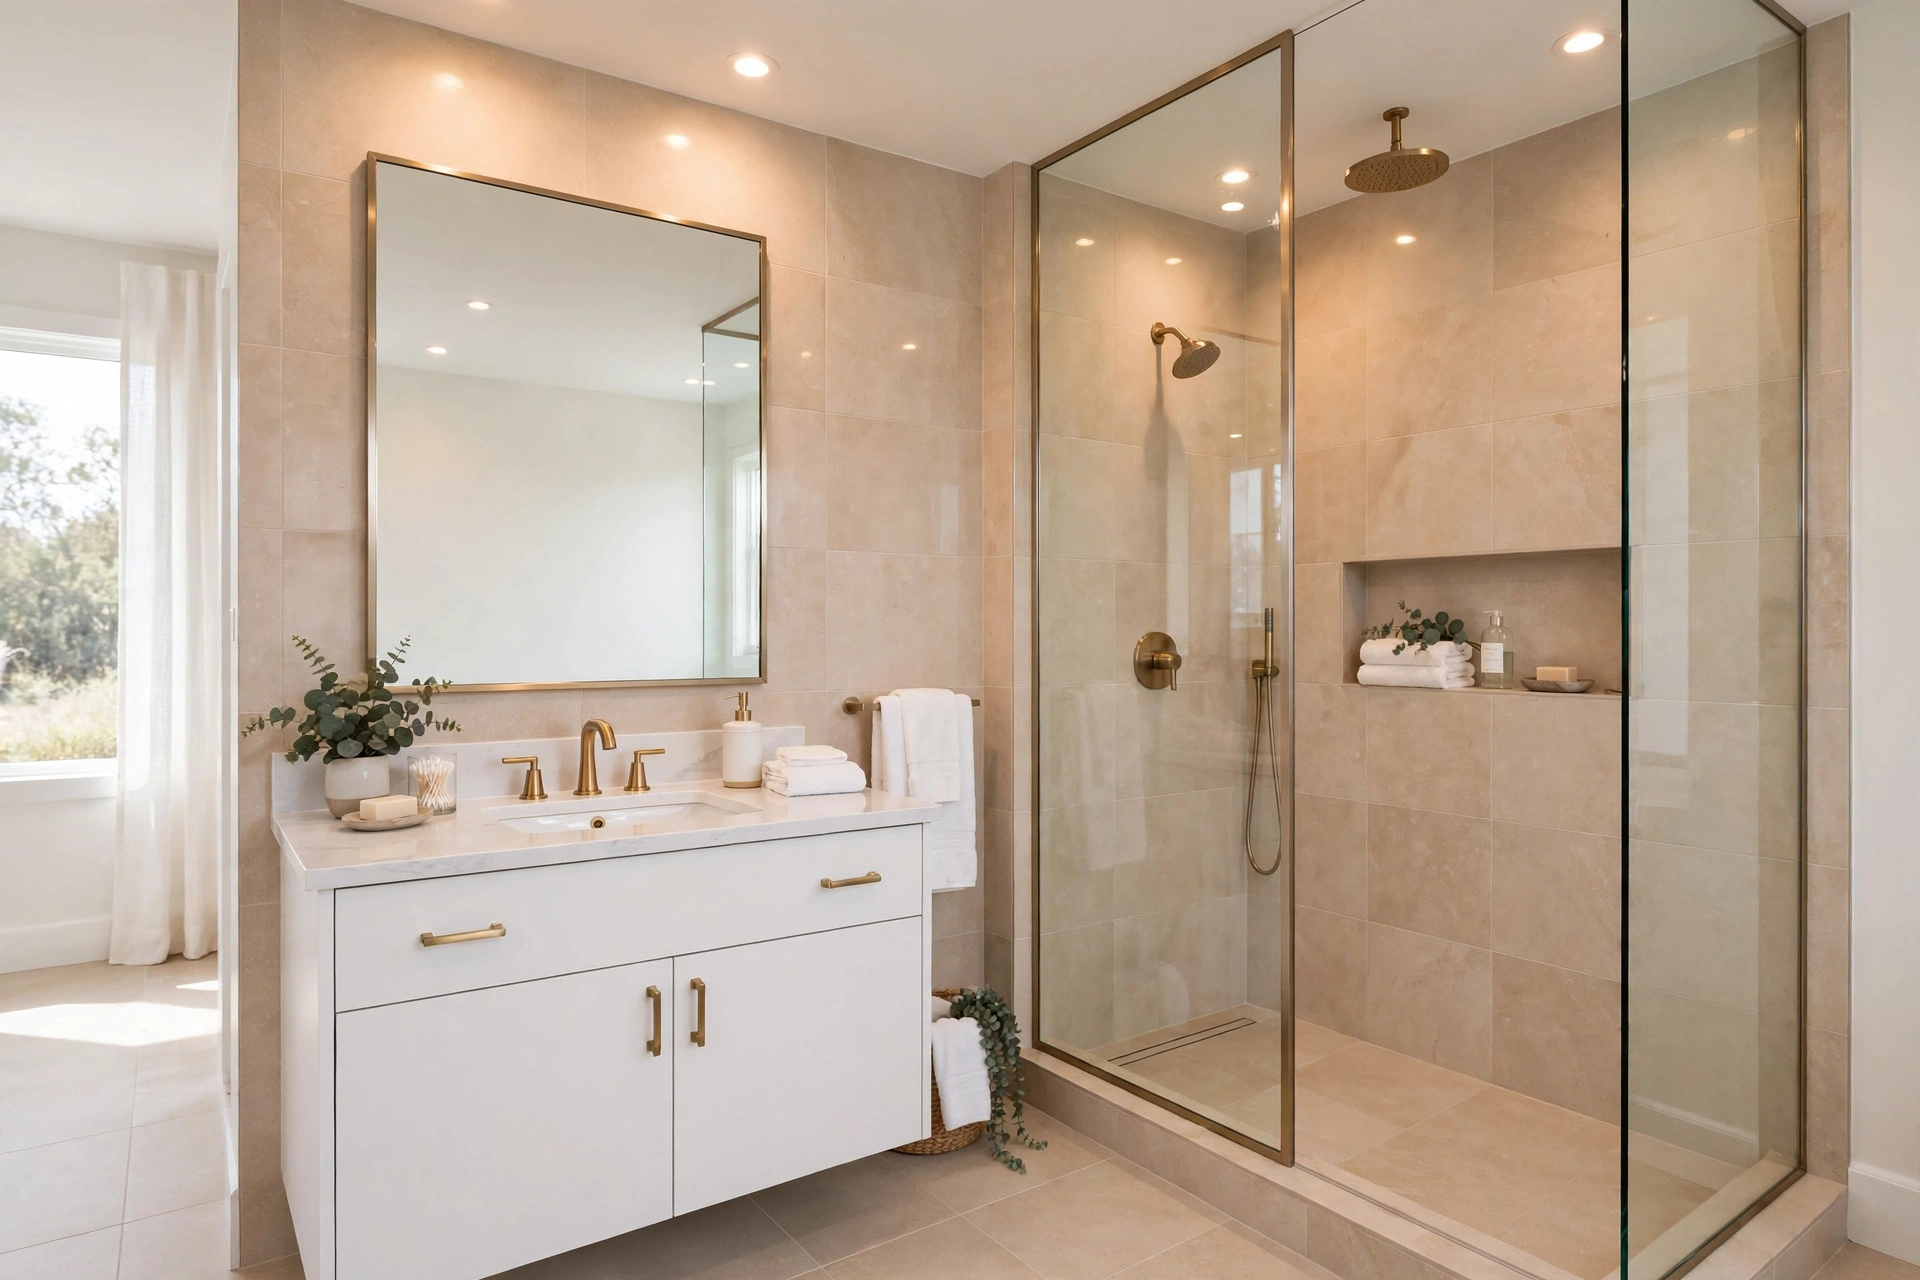
Phase 10: Final Inspection, Handover and Maintenance (After Construction)
The snag list is the soul of a professional handover. Run every tap, flush every WC, fill and drain the shower, check every grout line, open and close every fitting, and look at the ceiling below for any sign of damp after forty eight hours of use. Goodwell Technical Services closes every snag before handover and leaves a maintenance card, because a bathroom is only finished when it works perfectly. To book a site visit for your own bathroom project, reach out any time.
Maintenance keeps it perfect: squeegee shower glass after use, clean silicone lines monthly, never pour harsh acids on tiles or chrome, and reseal silicone junctions every two to three years. Goodwell Technical Services offers periodic bathroom health checks for completed projects.
- 48-hour use test: Use the bathroom normally for two days, then inspect the ceiling below for damp.
- Check every seal: Look along all silicone lines for gaps after the first week of use.
- Keep documents: Fixture warranty cards and the waterproofing system details in one folder.
- Monthly routine: Clean drains, wipe silicone, run the exhaust fan after every shower.
Common Mistakes to Avoid During Bathroom Construction
Across hundreds of sites, Goodwell Technical Services has seen the same bathroom mistakes repeat. Avoid these and your bathroom will stay dry and trouble free:
- Skipping the ponding test: Tiling over untested waterproofing is the costliest gamble in construction.
- Glossy floor tiles: Beautiful in the showroom, dangerous under wet feet. Always anti-skid.
- Flat drainage: Water that cannot flow to the drain becomes smell, stains and mosquito breeding.
- No exhaust ventilation: Without air movement, even the best bathroom grows fungus.
- Weak silicone sealing: Gaps at fixture junctions let water behind tiles silently for years.
- Wrong fixture heights: Basin, shower head and towel rail at uncomfortable heights annoy daily.
- Rushing the cure: Waterproofing, screed and sealants each need their full curing time.
Conclusion
Bathroom construction rewards patience and punishes shortcuts. Plan fixture positions before construction, protect the hidden work of plumbing and electricals during construction, never compromise on waterproofing and its ponding test, and finish with a ruthless inspection after construction. Follow these ten phases and your bathroom will stay dry, safe and beautiful for decades.
For a bathroom built right the first time, contact Goodwell Technical Services for complete bathroom construction, from design and waterproofing to fixtures and final handover, executed phase by phase exactly as described above.