Blog

  • Bathroom Construction: Complete Step-by-Step Guide From Planning to Handover

    Bathroom Construction: Complete Step-by-Step Guide From Planning to Handover

    Introduction

    A bathroom is the smallest room in the house and the most technically demanding to build. Every drop of water must go exactly where it should, and any mistake hides inside walls and floors until it becomes damp patches, seepage and expensive repairs. A properly constructed bathroom stays dry, safe and beautiful for decades, while a carelessly built one starts leaking within two years. In this detailed guide, Goodwell Technical Services explains all ten phases of bathroom construction step by step, from planning and demolition to waterproofing, tiling and final handover.

    Whether you are building a new bathroom or renovating an old one, the sequence below is the professional order followed on real sites. In bathrooms more than any other room, doing phases out of order causes permanent damage, so understand each phase before work begins.

    Phase 1: Planning and Design (Before Construction)

    Good bathroom design starts with honest measurement and a clear fixture plan. Mark the exact positions of the WC, wash basin, shower area and door swing on a scaled drawing, because in a small bathroom every inch matters. At Goodwell Technical Services, every bathroom project begins with checking the existing drainage line positions, since moving a soil pipe is the most expensive change you can make.

    Decide the layout type early: a three-fixture layout for compact bathrooms, a separated wet and dry zone for larger ones, and always plan the door to open against a wall rather than into fixtures. Ventilation must be on the drawing too, either a window or a marked exhaust fan point, because a bathroom without air movement grows fungus no matter how beautiful the tiles are.

    • Measure everything: Wall lengths, ceiling height, door position and the exact location of existing water and drainage lines.
    • Fix fixtures on paper: WC, basin, shower and geyser positions decided now; moving them later means breaking concrete.
    • Plan the slope: The bathroom floor must slope toward the drain. Mark the drain point on the drawing from day one.
    • Choose materials early: Shortlist tiles, sanitary ware, faucets and the waterproofing system before construction starts.
    • Budget with a buffer: Keep ten percent aside; old bathrooms often reveal damaged pipes once opened.
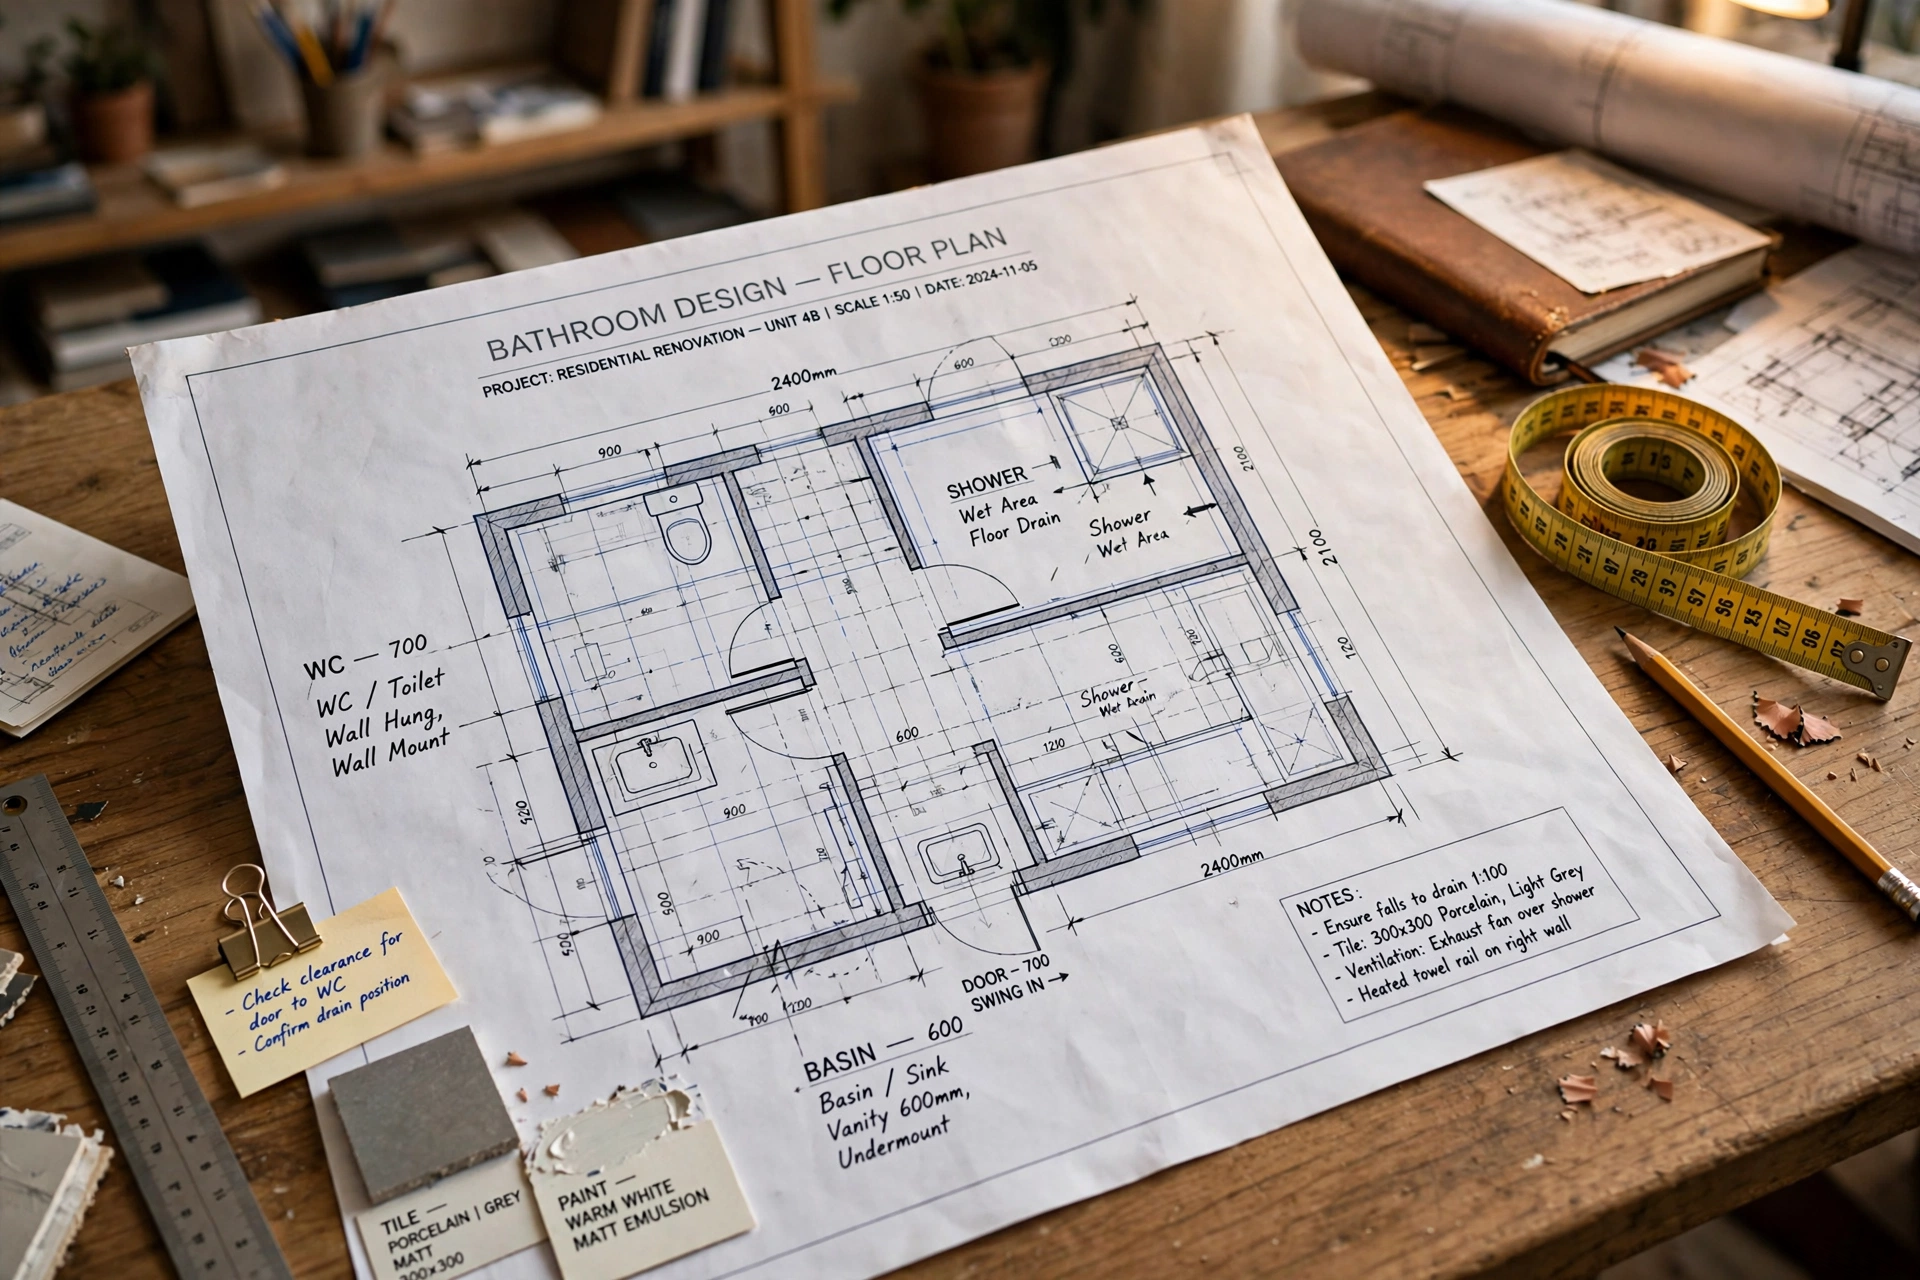
    Bathroom construction planning with design drawings and measurements
    Step 1: Fixture positions and drainage points are fixed on drawings before any work begins.

    Phase 2: Demolition and Site Preparation (Before Construction)

    In a renovation, the old bathroom is stripped back to the structure. Old sanitary ware is removed first, then tiles are hacked off walls and floor, and damaged plaster is cleared down to the brick or concrete. This dusty phase reveals the truth about the old bathroom: corroded pipes, hollow plaster and hidden damp, all of which must be repaired before new work starts.

    Site protection matters as much as demolition. Our team seals the bathroom doorway with plastic sheeting, protects passage floors, and clears debris the same day so the small space stays workable for the next trades.

    • Disconnect first: Water supply and geyser power are isolated before any fitting is removed.
    • Hack tiles fully: New tiles never go over old tiles in a proper job; the base must be sound and true.
    • Expose and inspect: Check every opened wall for damp, cracks and rusted pipes; repair now or regret later.
    • Clear debris daily: A small bathroom buried in rubble cannot be measured or worked in accurately.
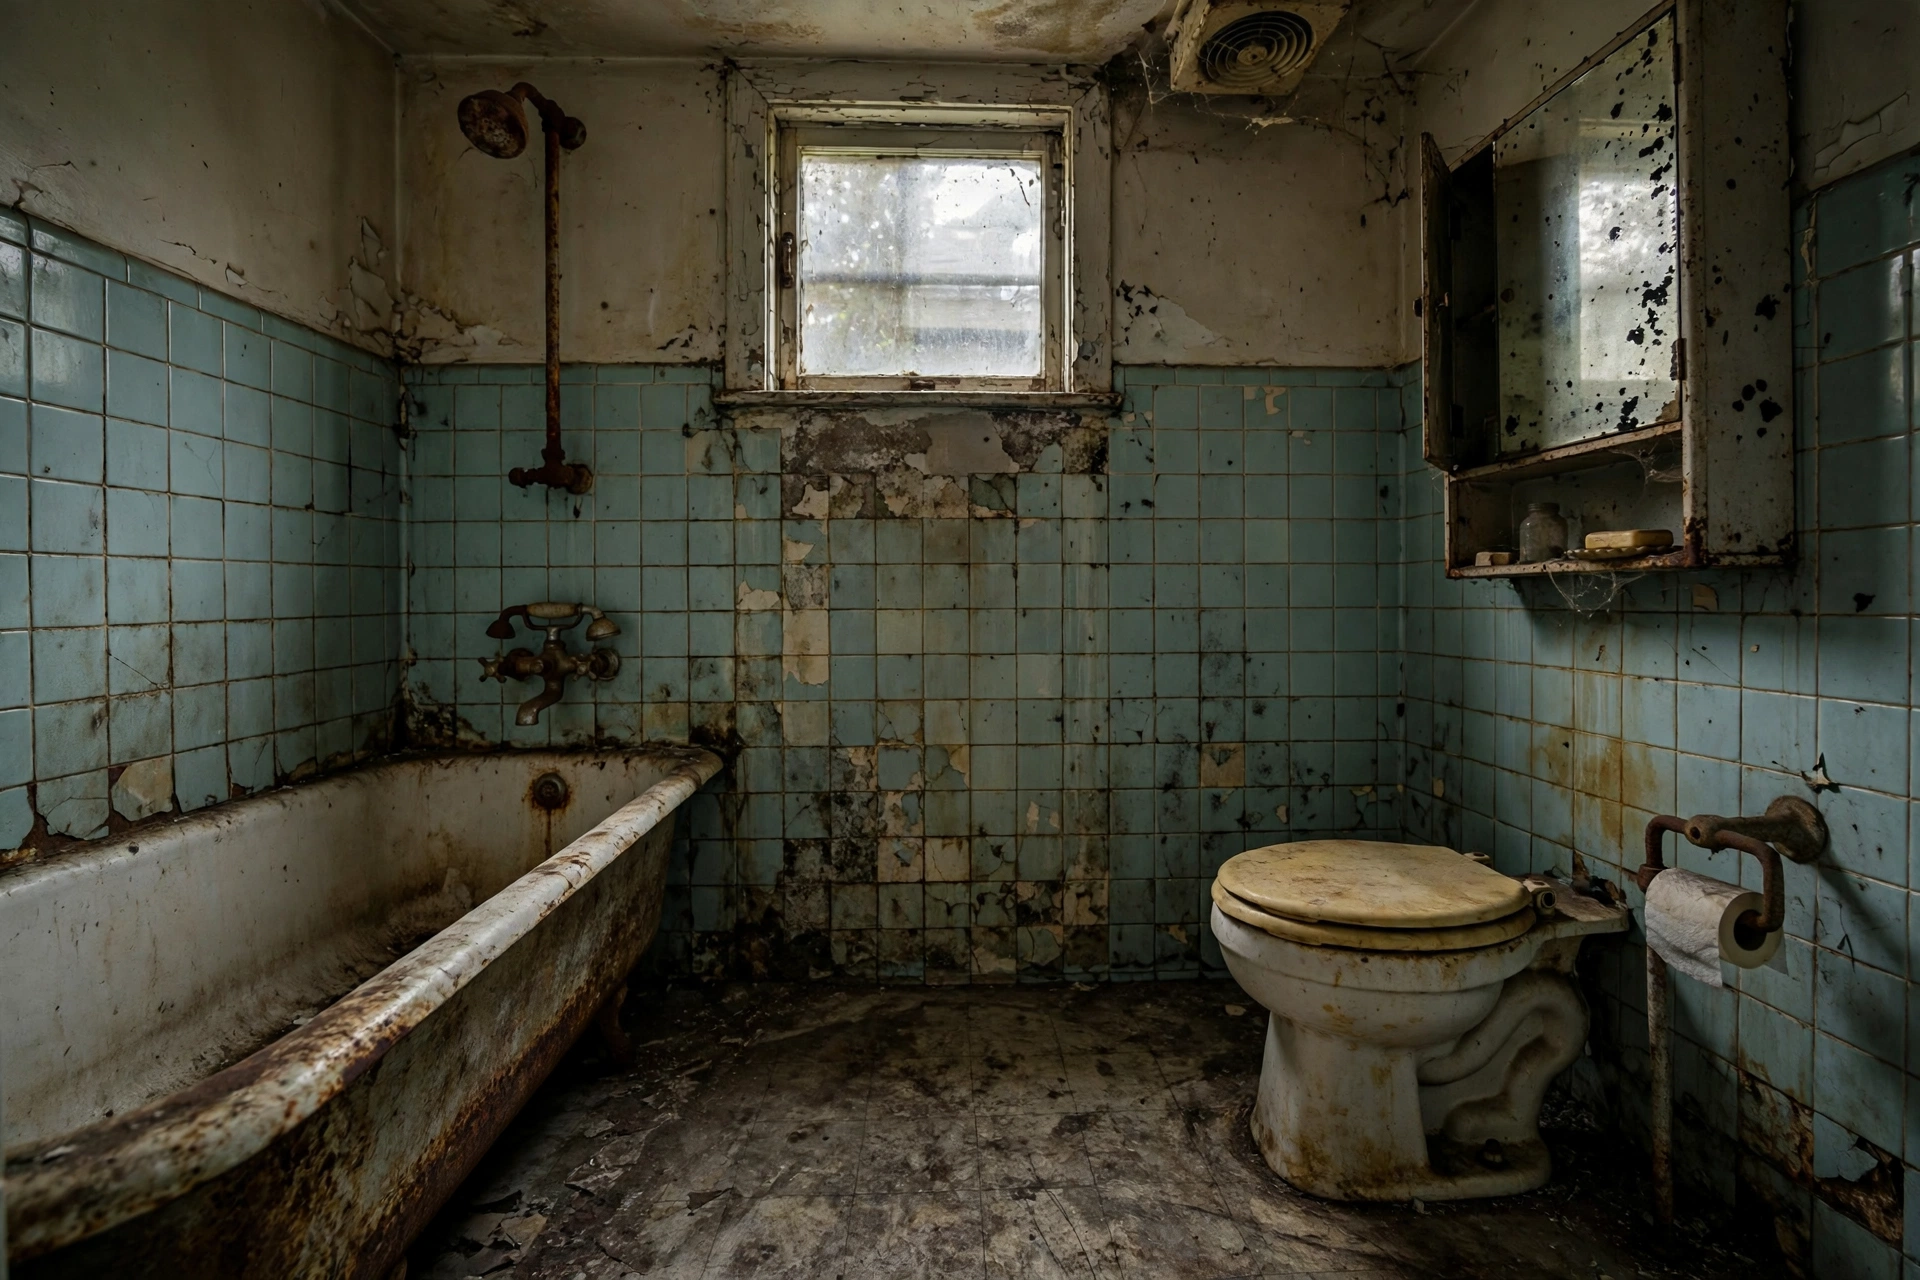
    Old dated bathroom interior before demolition and renovation
    Step 2: The old bathroom is stripped to the structure and every defect is exposed.

    Phase 3: Plumbing Rough-In (During Construction)

    Plumbing is the heart of bathroom construction and the phase where most future leaks are born or prevented. Concealed water supply lines (PPR or CPVC) run inside walls to each point, drainage and soil pipes are laid with correct slope, and every joint is sealed and tested. This is why Goodwell Technical Services pressure-tests all concealed water lines for twenty four hours before they disappear behind plaster and tiles.

    Drainage deserves obsession: the WC needs a 4-inch soil pipe with steady fall to the stack, floor drains need individual slopes, and the shower area drain must sit at the lowest point of the wet zone. A flat or back-sloped drain means permanent standing water and smell.

    • Pressure-test everything: Concealed lines hold test pressure for a full day; only zero leakage passes.
    • Slope every waste line: Soil and waste pipes fall steadily toward the stack. No dips, no flat runs.
    • Use quality pipes: Branded PPR/CPVC for supply and heavy duty PVC for drainage outlast cheap pipes by decades.
    • Photograph routes: Record every concealed pipe position before closing walls for future repairs.
    • Provide cleanouts: Access points on drainage lines save breaking tiles when blockages occur years later.
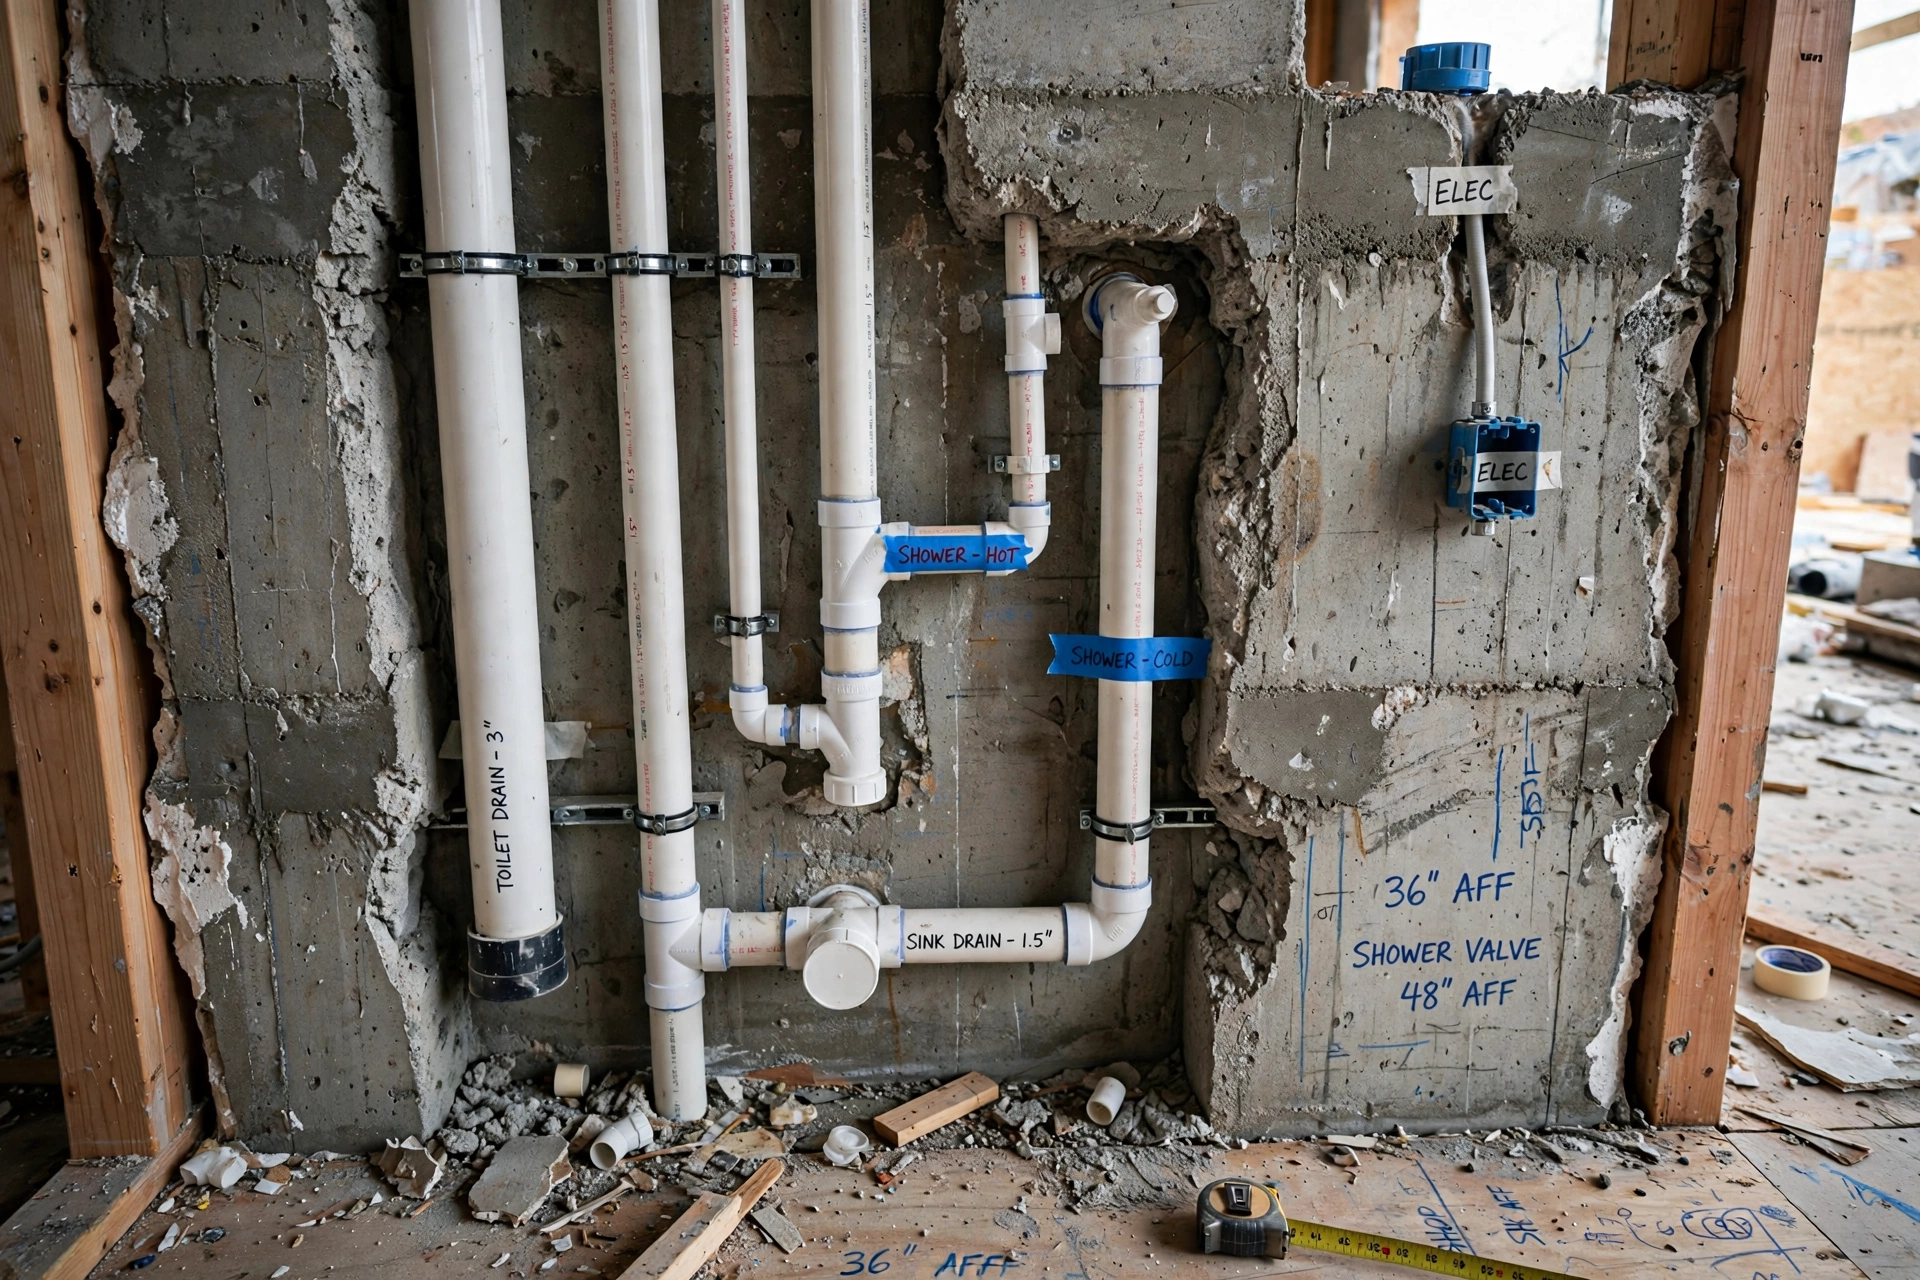
    Bathroom plumbing rough-in with concealed water pipes in wall during construction
    Step 3: Concealed plumbing is laid, sloped correctly and pressure-tested.

    Phase 4: Electrical Rough-In (During Construction)

    Bathroom electricals demand extra care because water and electricity share a small space. Wiring runs in concealed conduits to points for the geyser (dedicated heavy circuit), exhaust fan, mirror light, shaver socket and ceiling light. Every bathroom circuit must be protected by an RCCB/ELCB, which trips on the smallest leakage current and prevents shocks in wet conditions.

    Plan switch positions so they are reachable but away from direct water splash, and keep the geyser switch outside the bathroom or at a safe height. Goodwell Technical Services never compromises on this phase, because electrical shortcuts in bathrooms are not just defects, they are dangers.

    • RCCB protection is mandatory: Every bathroom circuit runs through earth leakage protection. No exceptions.
    • Dedicated geyser circuit: The water heater gets its own MCB with correct wire gauge for its wattage.
    • IP-rated fittings: Use moisture resistant light fittings and covered sockets in splash zones.
    • Exhaust fan point: Wired and positioned high on the wall or ceiling for effective moisture extraction.
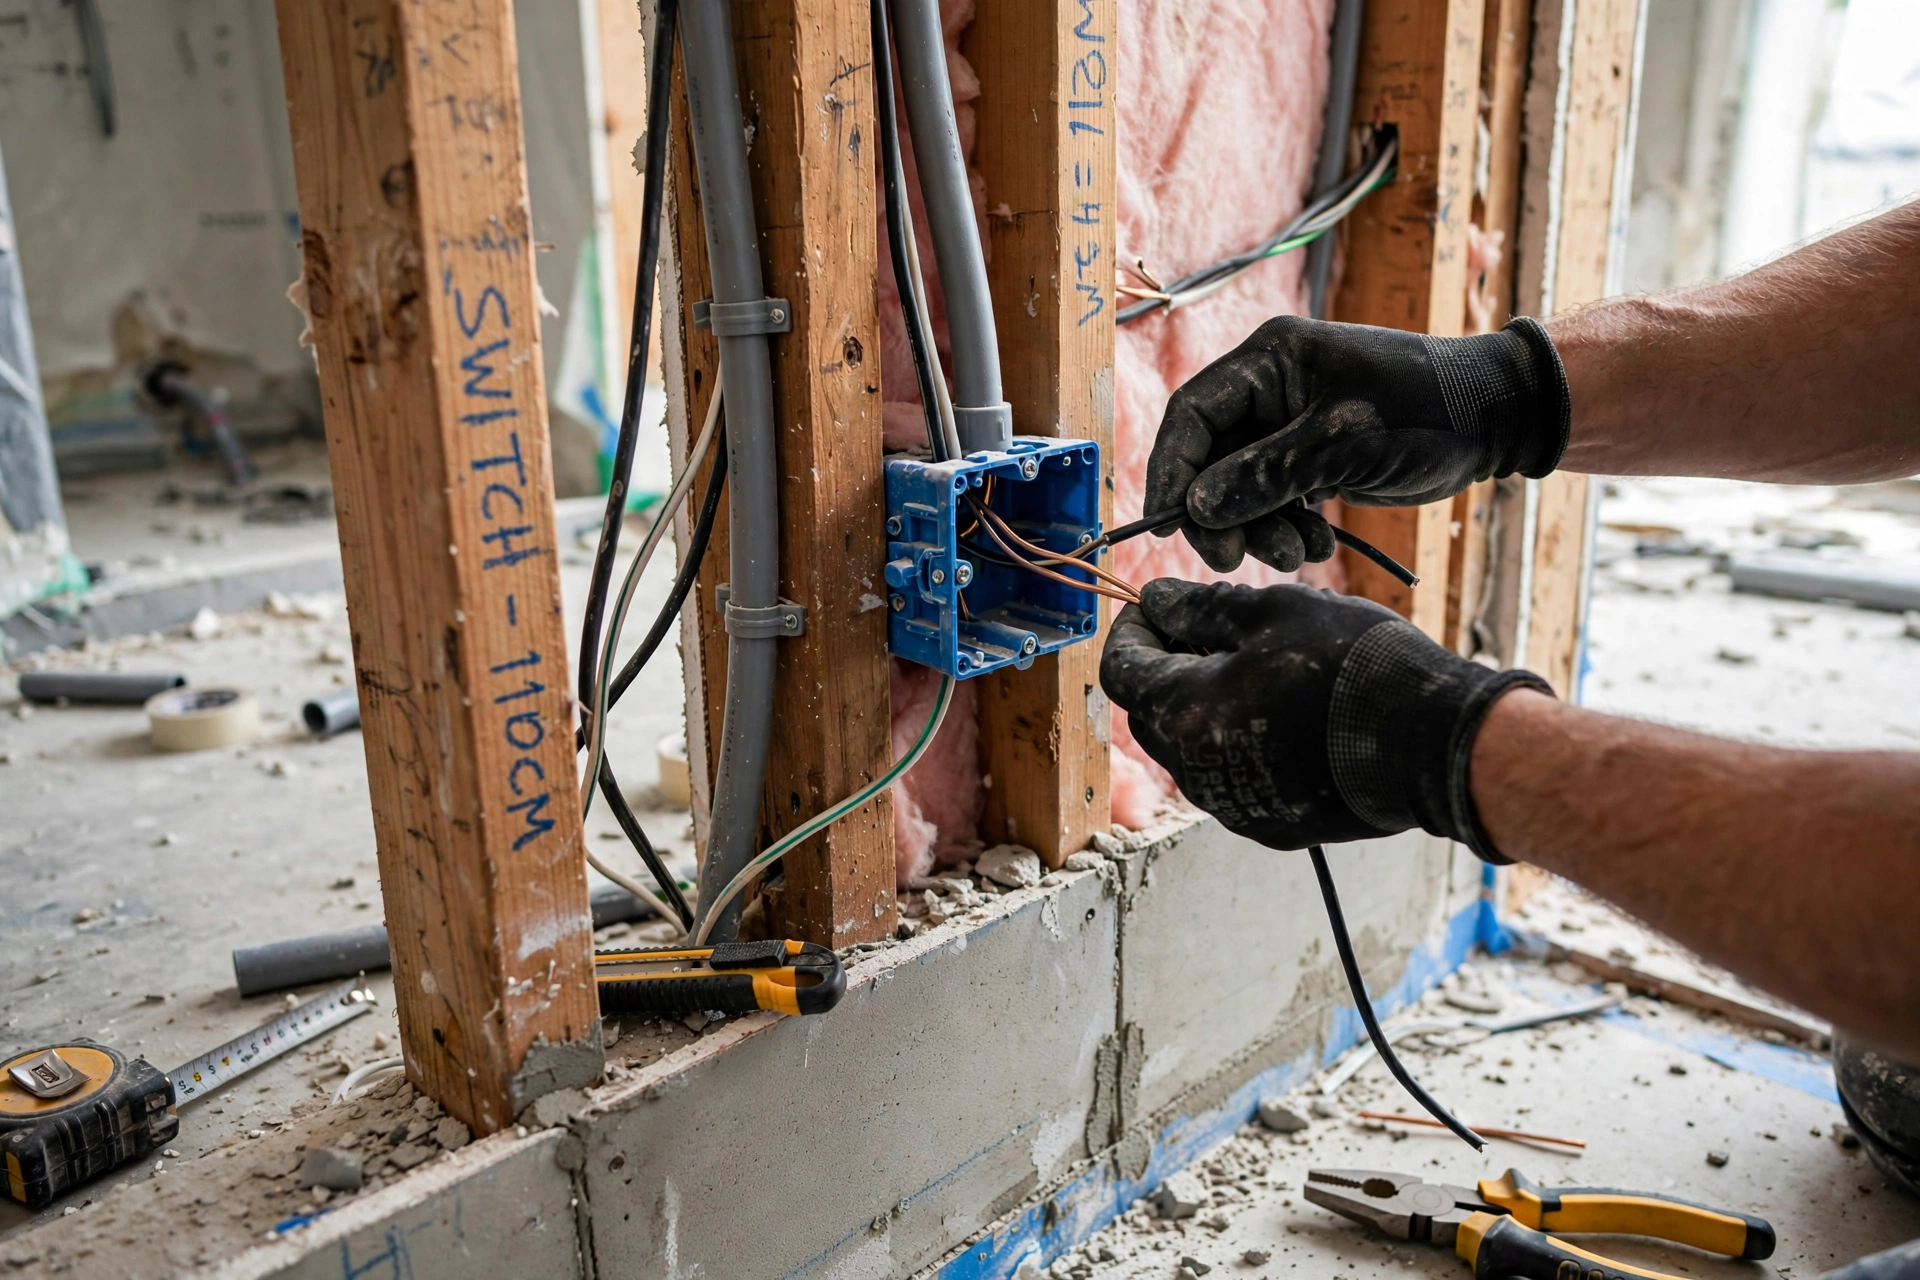
    Electrician installing concealed wiring and points in bathroom wall
    Step 4: Electrical points are wired in concealed conduits with safety protection.

    Phase 5: Waterproofing (The Most Critical Phase)

    Waterproofing is the single most important phase in bathroom construction and the one most often rushed. A proper system coats the entire floor and runs up the walls at least one foot, higher around the shower area, using polymer modified waterproofing compound applied in two coats over a primed surface. All corners, pipe penetrations and the floor-to-wall junction get extra reinforcement with fiber mesh tape.

    The proof of waterproofing is the ponding test: the bathroom floor is flooded with two inches of water and left for forty eight hours. If the level drops or damp appears below, the coating is repaired and retested. Goodwell Technical Services never tiles over a bathroom that has not passed its ponding test, because this one test prevents the most expensive bathroom failure of all: seepage into the rooms below.

    • Two coats minimum: Waterproofing compound goes on in two coats at right angles for full coverage.
    • Reinforce junctions: Fiber mesh tape on all corners, pipe openings and the wall floor joint.
    • Ponding test for 48 hours: Flood the floor, mark the level, check below. No drop means pass.
    • Protect the coating: Once tested, the membrane is covered with a protective screed before tiling begins.
    • Never skip the shower walls: Shower area walls get waterproofing up to full height, not just the floor.
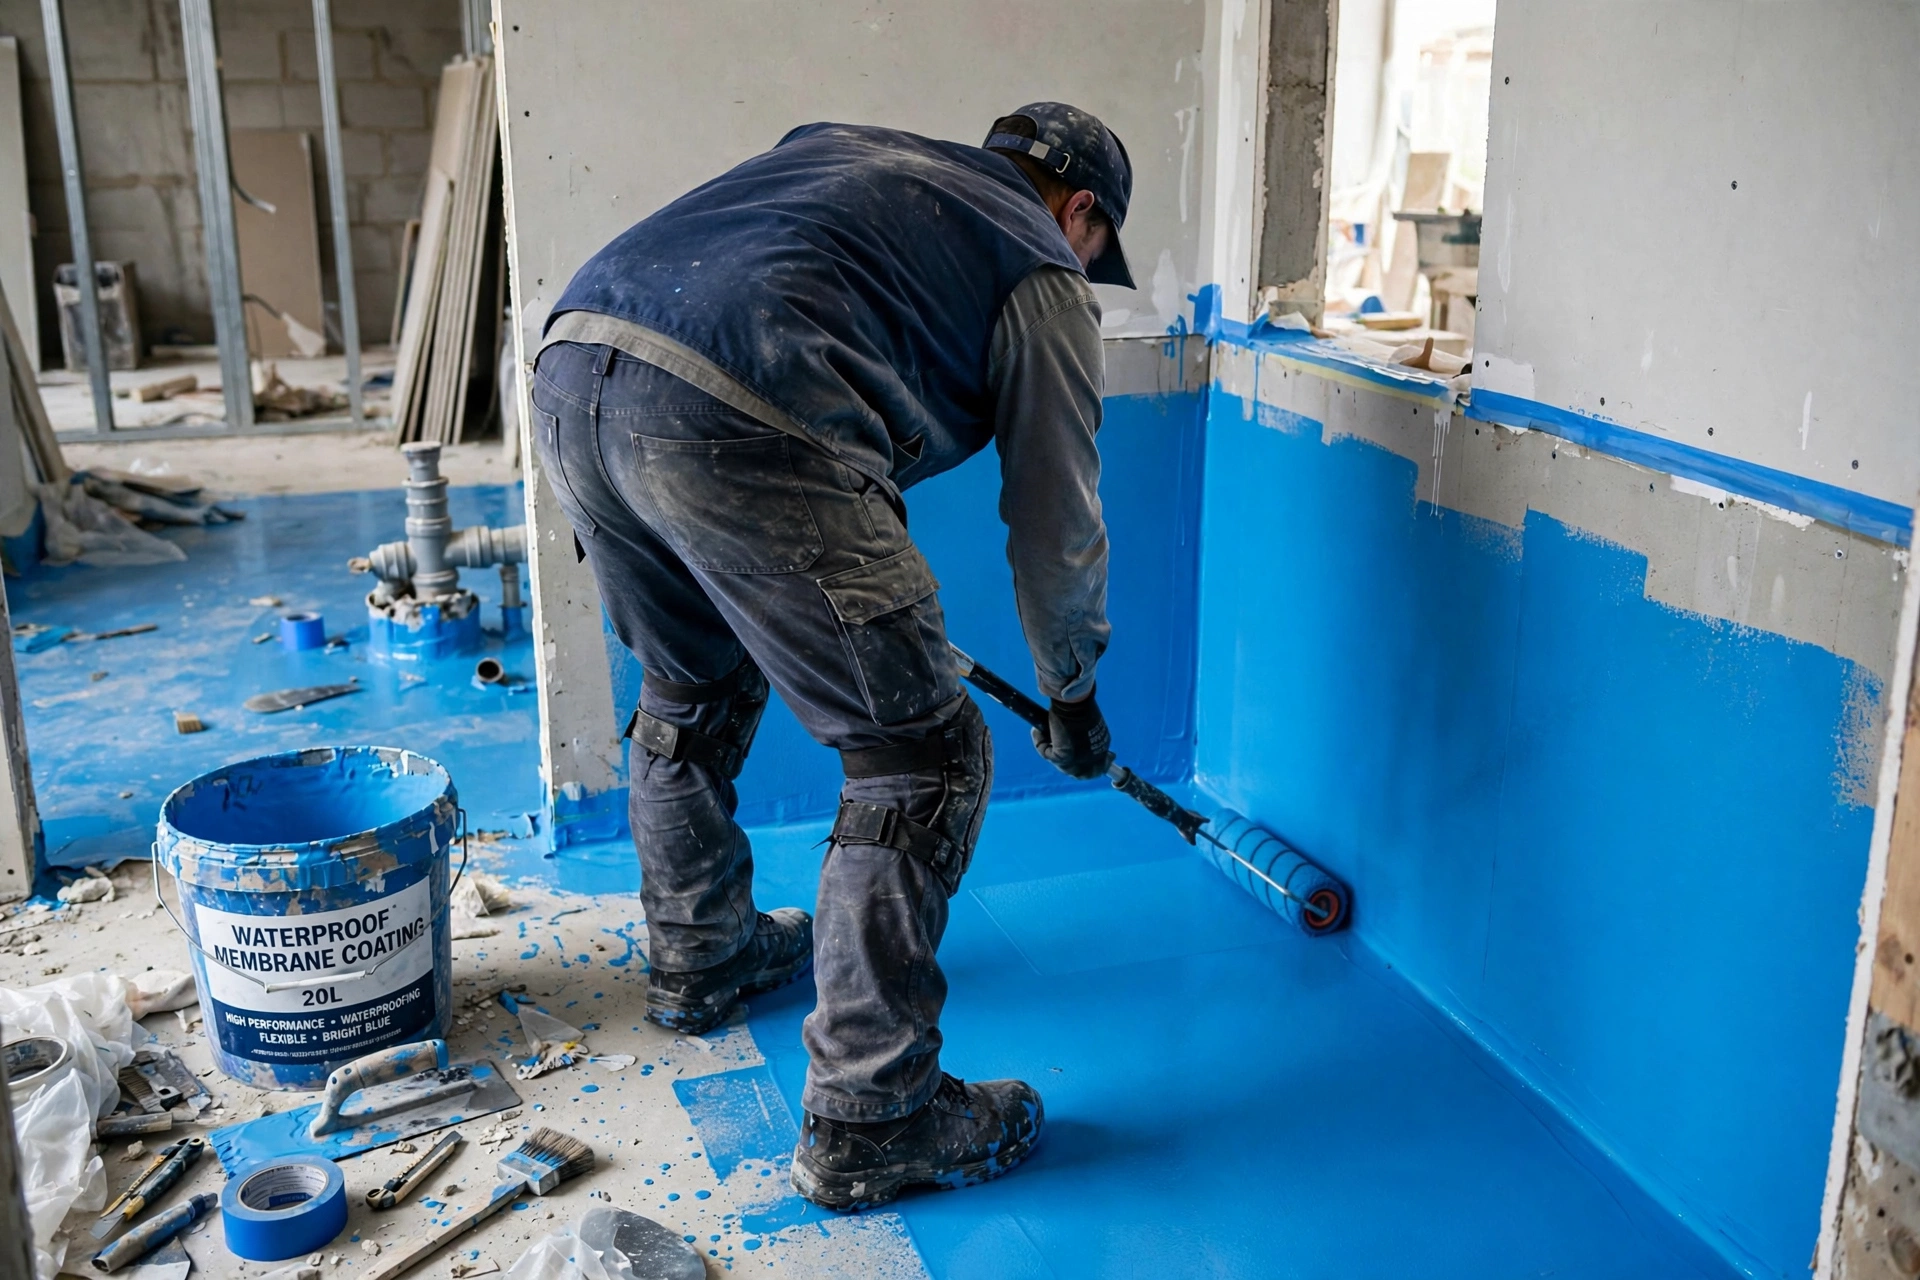
    Applying blue waterproofing membrane coating on bathroom floor and walls
    Step 5: Waterproofing membrane with a 48-hour ponding test before any tiling.

    Phase 6: Masonry, Cementing and Plastering

    With services and waterproofing protected, walls are made true. Chased channels are filled with rich cement mortar, surfaces are dubbed out where needed, and a waterproof admixed plaster gives the walls their final flat surface. The bathroom construction experts at Goodwell Technical Services cure this plaster for a full week, because plaster that dries too fast shrinks, cracks, and takes the tiles down with it.

    The floor screed in this phase is laid to falls: a gentle, deliberate slope from all corners toward the drain. This slope is checked with a spirit level and water test before anyone thinks about tiles.

    • Waterproof admix in plaster: An integral waterproofing compound in the mortar adds a second line of defense.
    • Screed to falls: The floor bed slopes toward the drain from every direction; test with water.
    • Cure for seven days: Keep fresh work damp. Rushed drying causes cracks under the tiles.
    • True and plumb walls: Tile lines expose every lean, so walls are checked with straight edge and level.
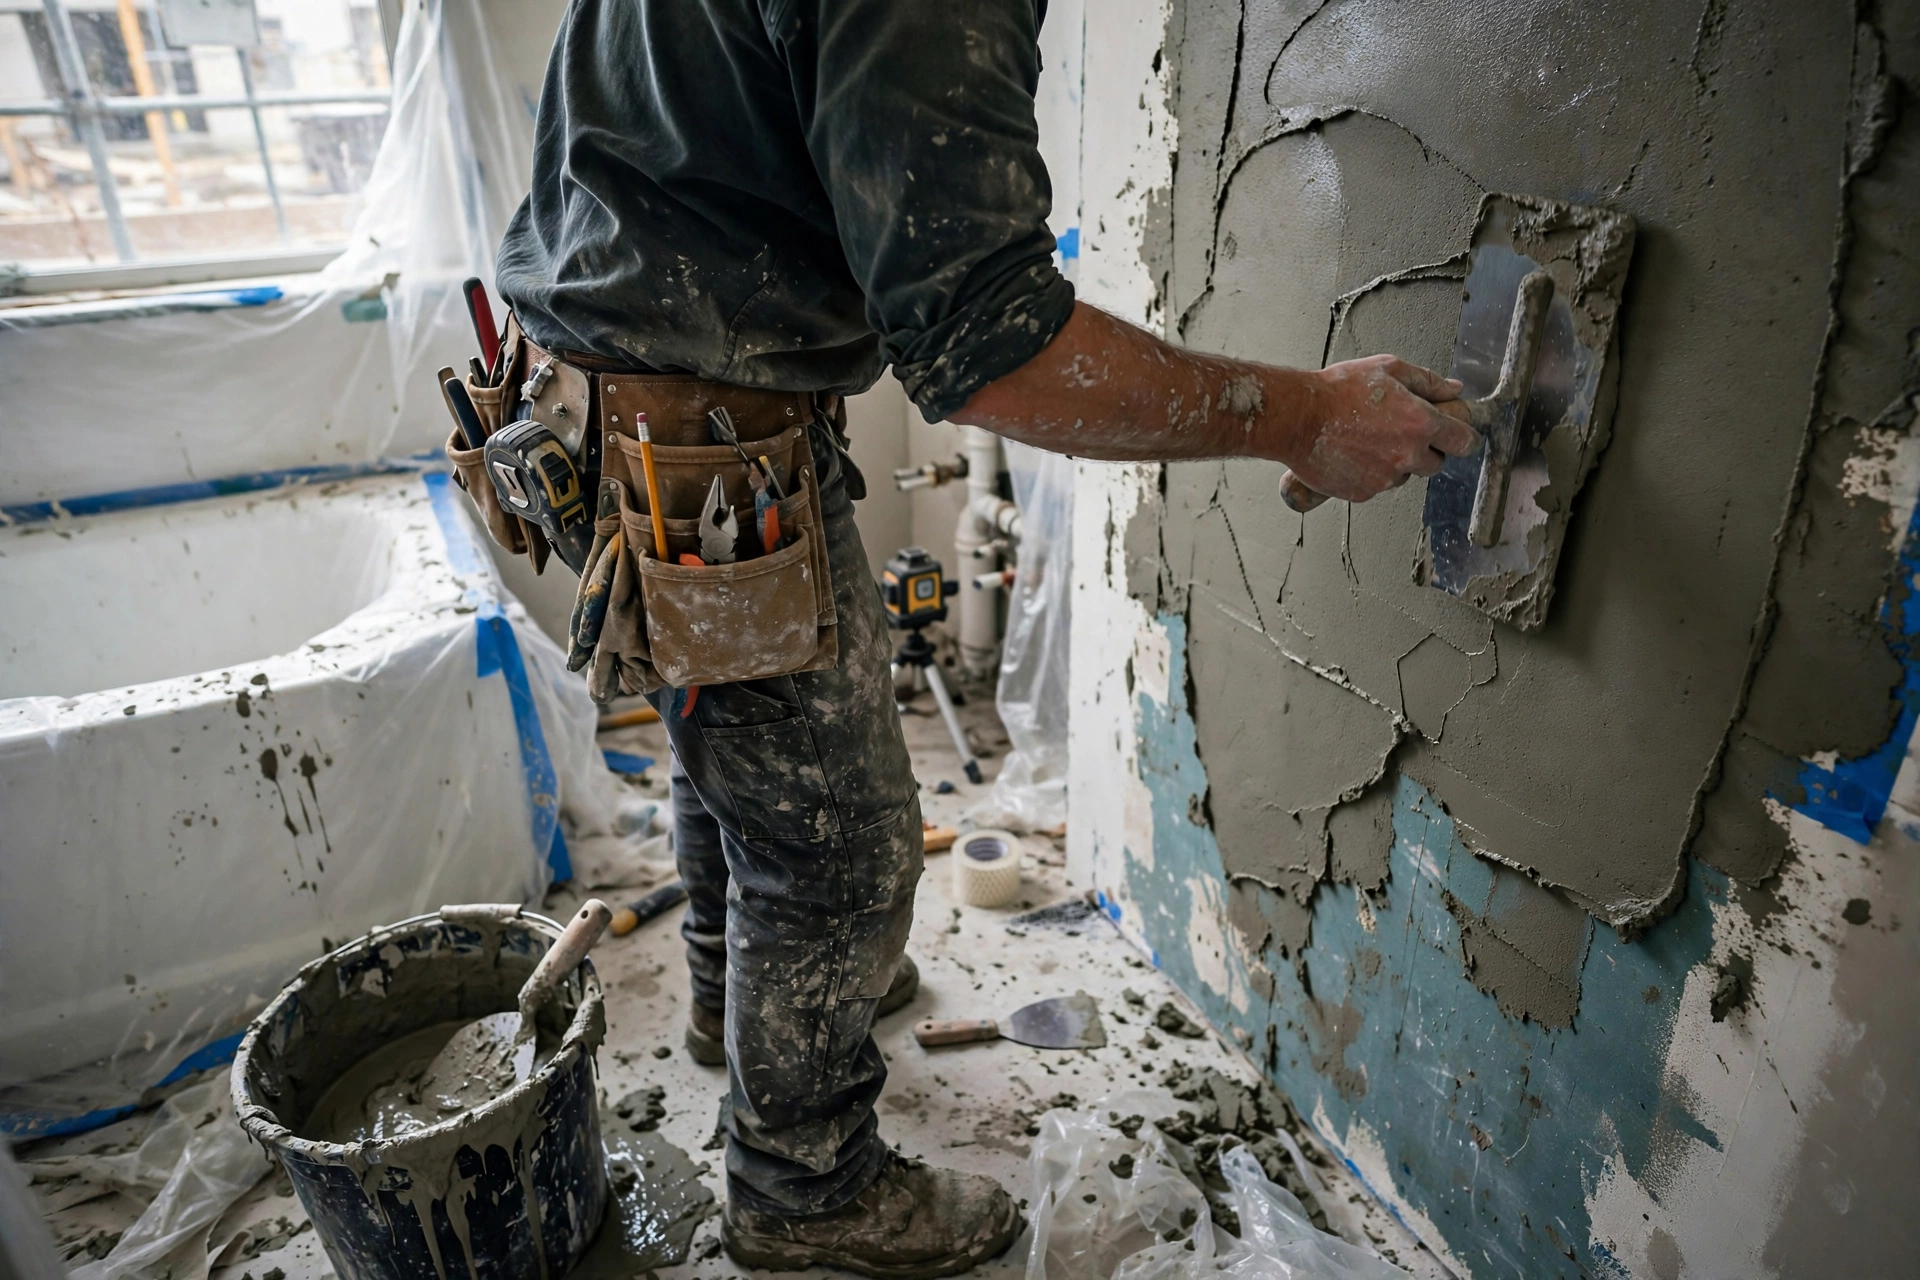
    Mason plastering bathroom wall with cement during construction
    Step 6: Cementing and plastering create true surfaces over protected waterproofing.

    Phase 7: Floor and Wall Tiling

    Tiling transforms the bathroom, but in wet areas it is engineering as much as decoration. Floor tiles must be anti-skid rated, because a glossy bathroom floor is an accident waiting to happen. Wall tiles go up after the floor, full height in the shower zone and at least up to door height elsewhere, with epoxy grout that resists water and fungus far better than cement grout.

    For layout ideas and finish selection, homeowners often browse the Goodwell Technical Services homepage to see how completed bathrooms balance slip safety with modern looks.

    • Anti-skid floors only: Matte or textured tiles on bathroom floors. Never glossy.
    • Epoxy grout: Waterproof, stain proof grout keeps joints clean and fungus free for years.
    • Check slopes again: After tiling, pour water and watch it run to the drain from every corner.
    • Seal the edges: Silicone sealant, not grout, where tiles meet the WC, basin and shower tray.
    • Full height shower walls: Tile the shower zone to the ceiling to contain every splash.
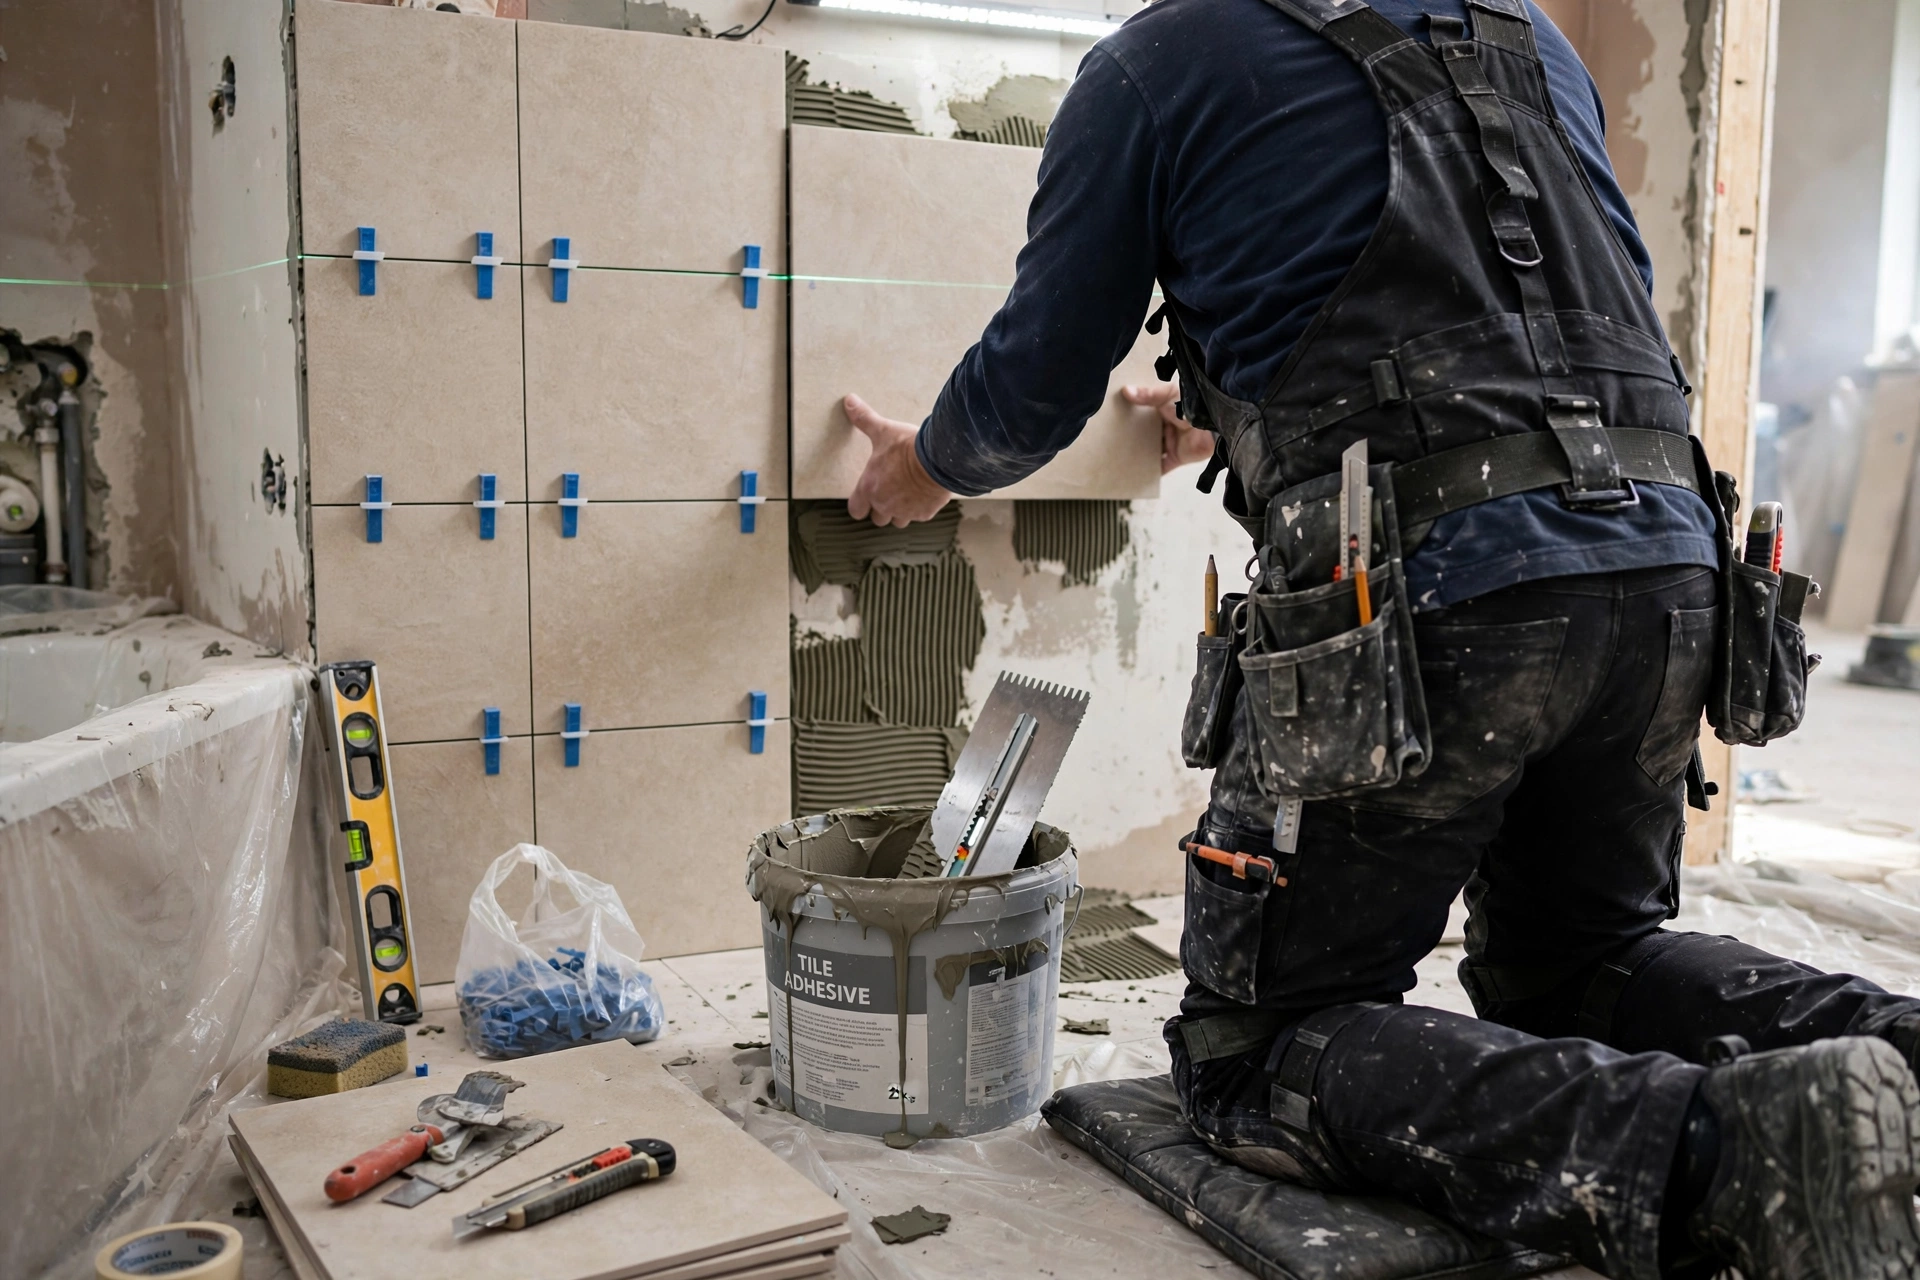
    Laying wall and floor tiles in bathroom during construction
    Step 7: Anti-skid floor tiles and full height wall tiles with epoxy grout.

    Phase 8: Sanitary Fixtures and Fittings Installation

    With tiling cured, the bathroom gets its fixtures: wall hung or floor mounted WC, wash basin with pedestal or vanity, shower mixer and rain shower, taps and health faucet. Each fixture is set level, sealed with silicone at every wall and floor junction, and connected to the tested pipework. Goodwell Technical Services allows sealants their full curing time before water is run, because early use is the main cause of seal failure.

    This is also when the small things that decide daily comfort go in: the towel rail at the right height, the corner shelves in the shower, the mirror with its light, and the exhaust fan grille. A bathroom is judged as much by these details as by its tiles.

    • Silicone every junction: WC base, basin edges and shower fittings all get flexible waterproof sealant.
    • Test flush and flow: Every WC flushes cleanly, every tap runs full pressure, every drain clears fast.
    • Level everything: A tilted basin or WC looks careless and pools water where it should not.
    • Cure sealants fully: No water on fresh silicone for twenty four hours. Patience now prevents leaks later.
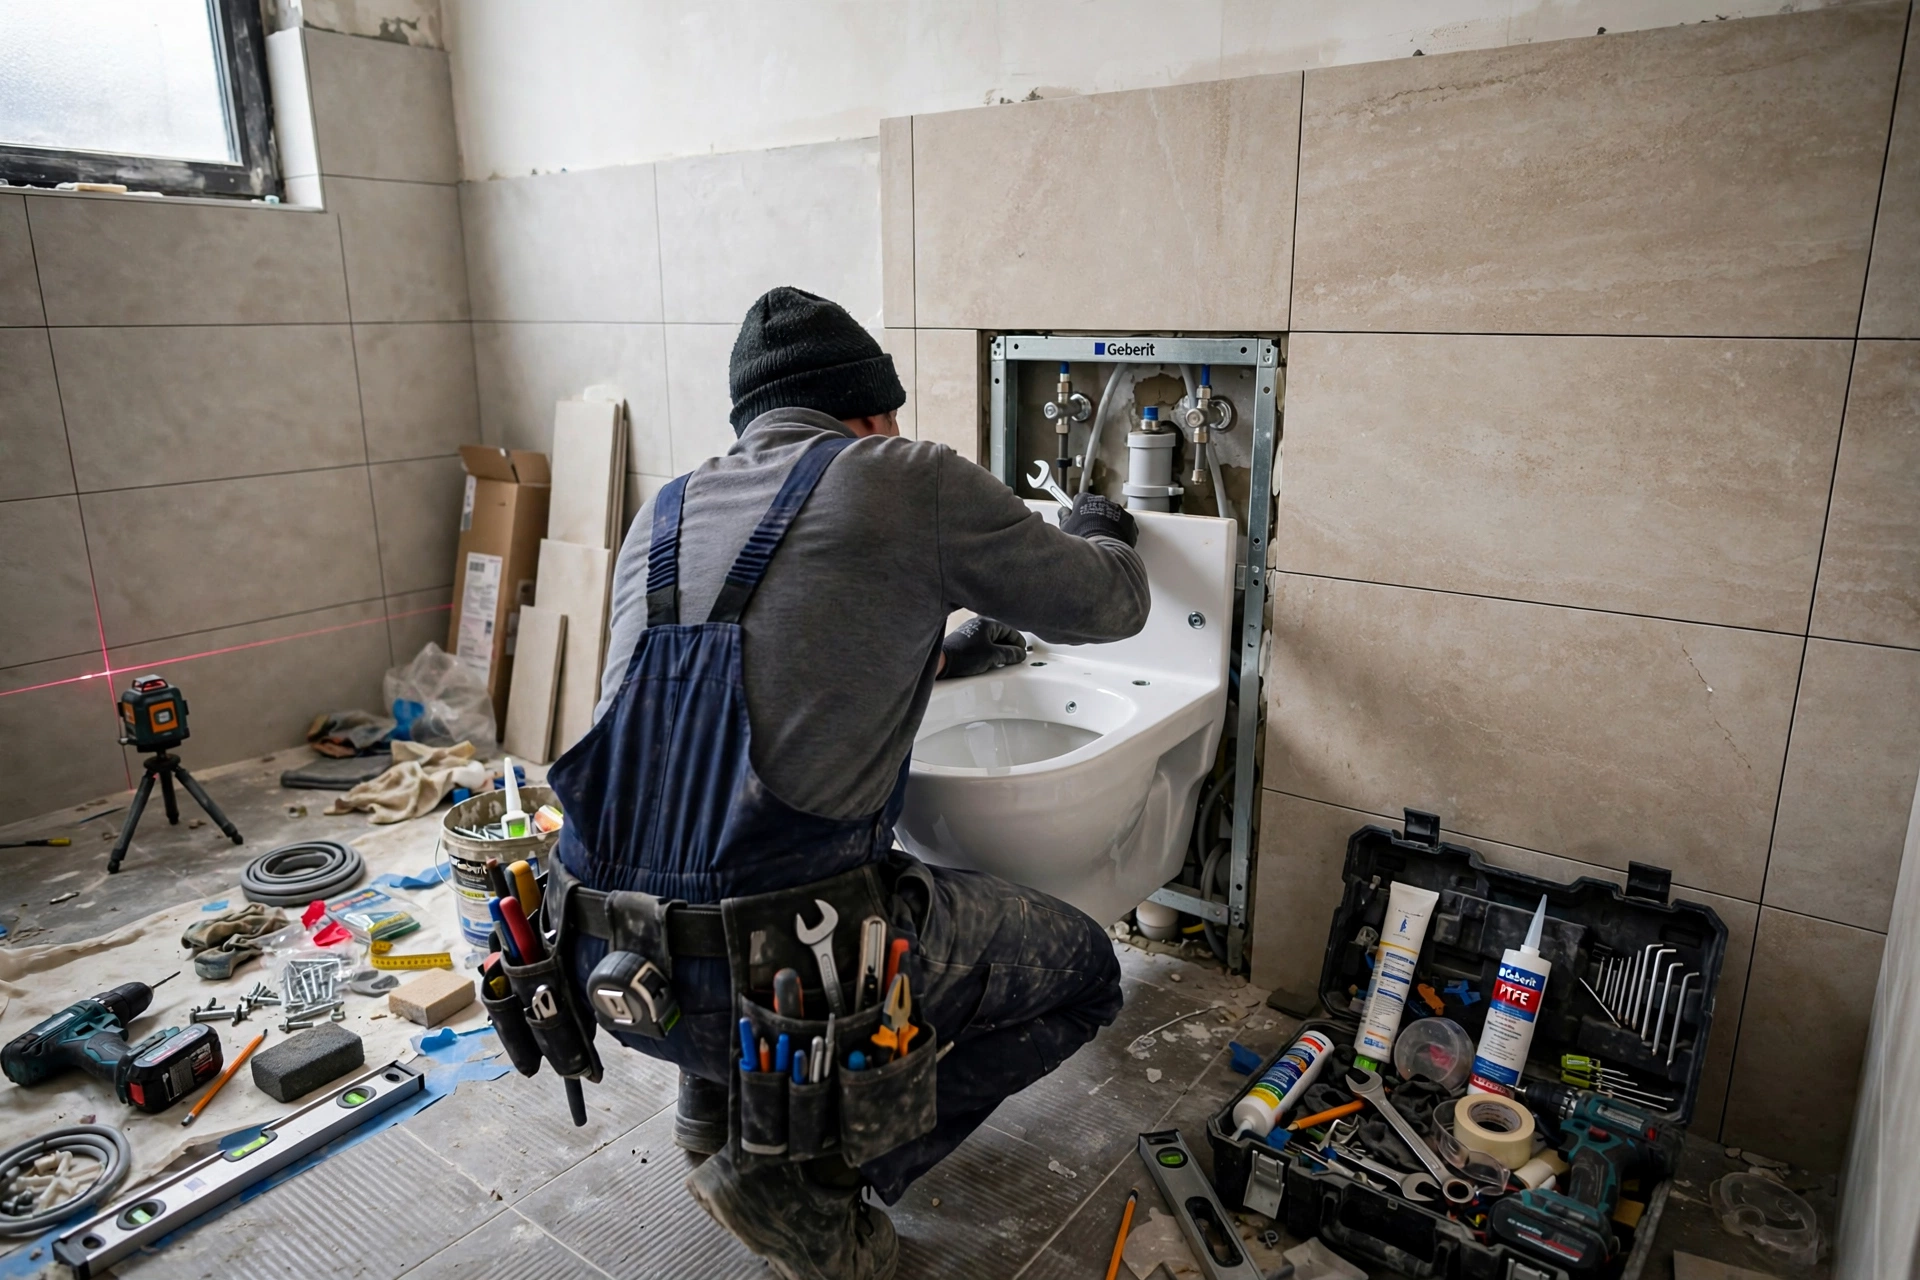
    Installing white ceramic WC and sanitary fixtures in tiled bathroom
    Step 8: Sanitary fixtures set level and sealed at every junction.

    Phase 9: Coloring, Ceiling and Accessories (After Construction)

    The non-tiled surfaces get their finish: moisture resistant paint on the ceiling, which faces the most steam, and washable emulsion on any painted wall areas. Goodwell Technical Services uses anti-fungal ceiling coatings in bathrooms, because ordinary paint peels within a year in constant humidity.

    Accessories complete the room: mirror, towel rods, soap dispensers, robe hooks and the exhaust fan cover. Each is fixed into solid backing, not just tile adhesive, so nothing loosens with daily use.

    • Anti-fungal ceiling paint: The ceiling needs moisture and fungus resistant coating, not ordinary emulsion.
    • Fix into structure: Heavy accessories anchor through tiles into wall plugs, never adhesive alone.
    • Ventilate the paint: Run the exhaust fan while paint cures to carry moisture out.
    • Match the metals: Keep all fittings in one finish family for a designed, premium look.
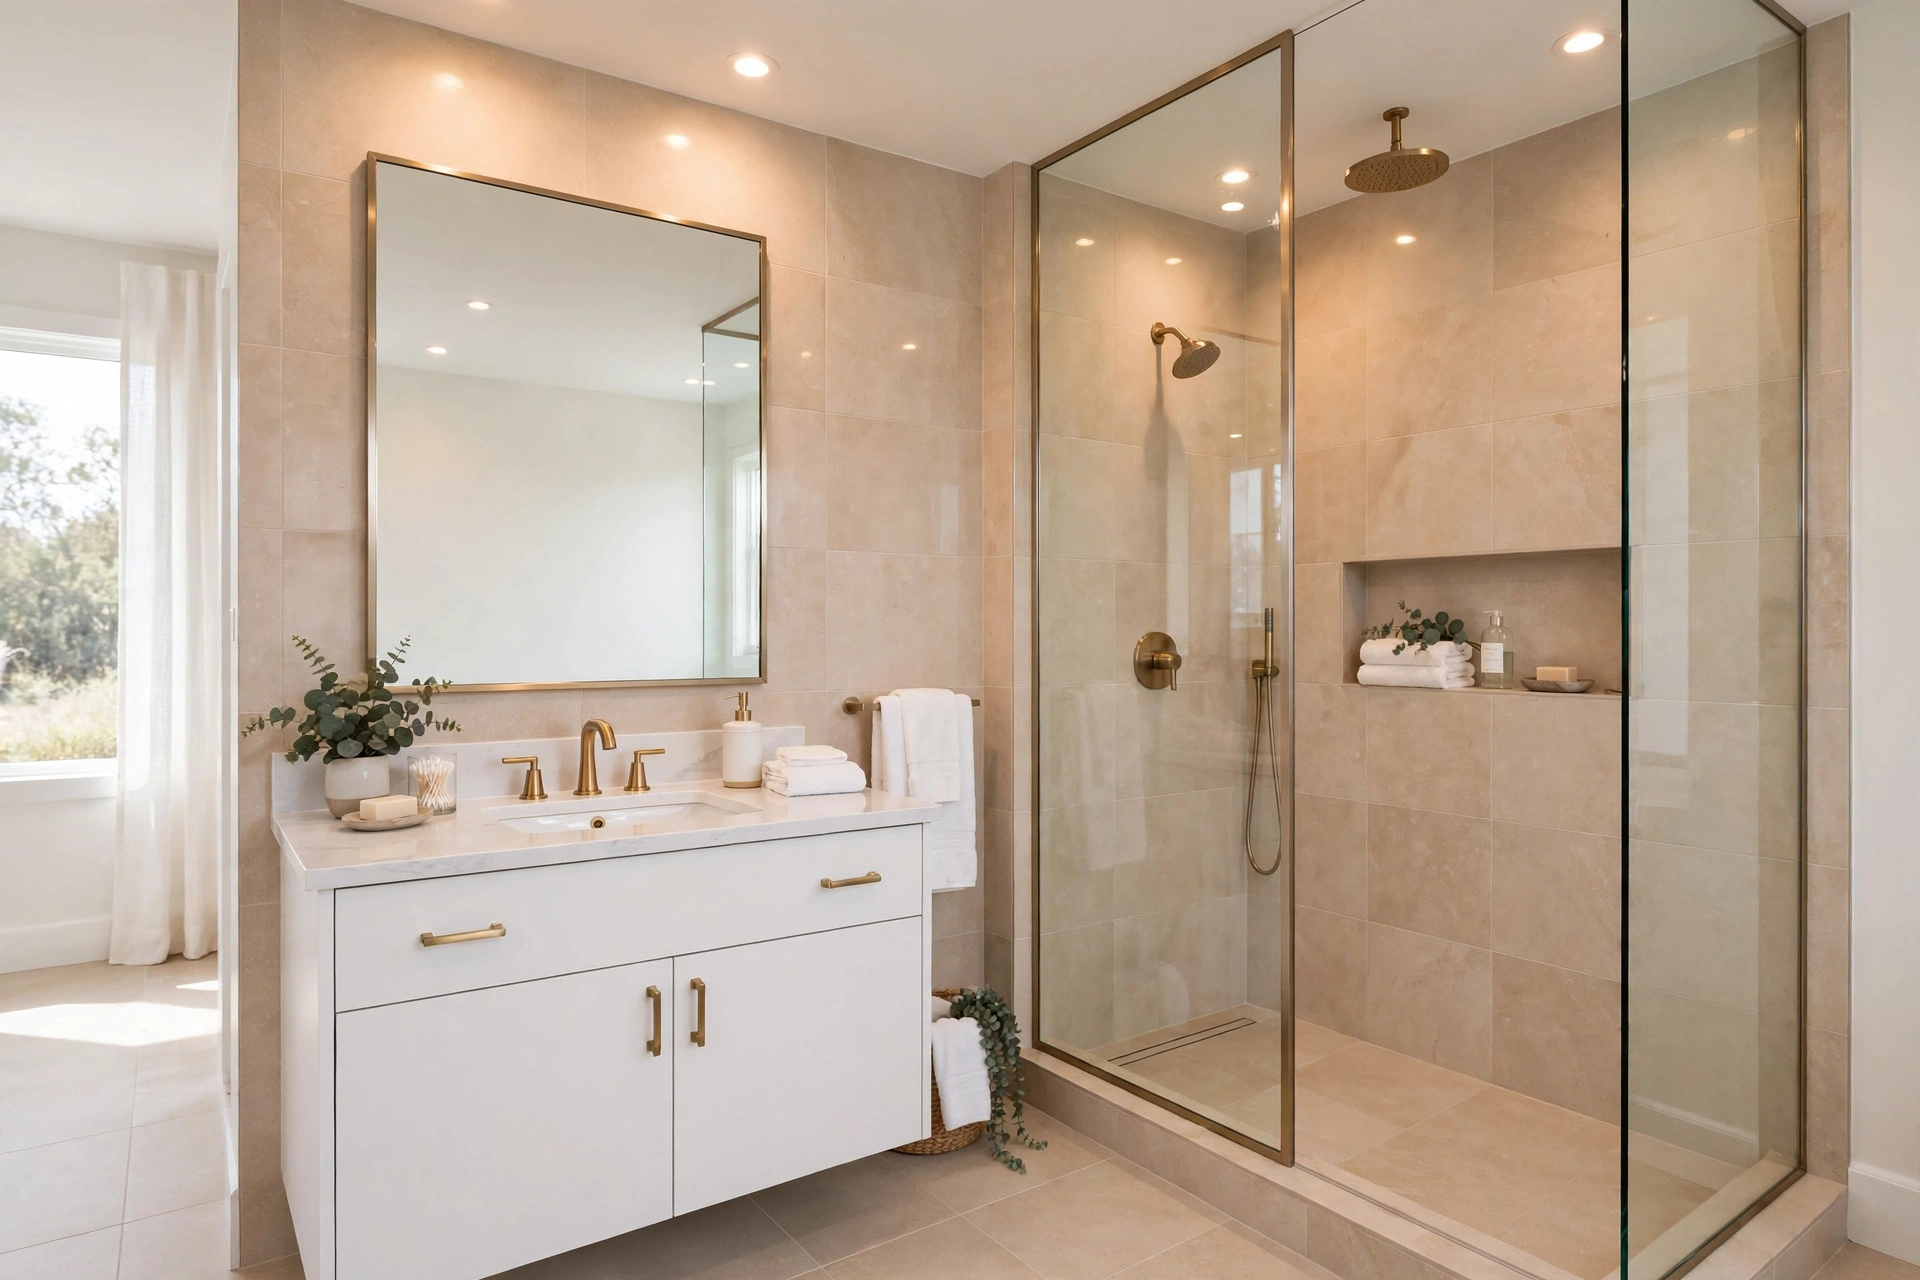
    Finished modern bathroom with fixtures mirror and lighting after construction
    Step 9: Finished bathroom with fixtures, mirror, lighting and accessories in place.

    Phase 10: Final Inspection, Handover and Maintenance (After Construction)

    The snag list is the soul of a professional handover. Run every tap, flush every WC, fill and drain the shower, check every grout line, open and close every fitting, and look at the ceiling below for any sign of damp after forty eight hours of use. Goodwell Technical Services closes every snag before handover and leaves a maintenance card, because a bathroom is only finished when it works perfectly. To book a site visit for your own bathroom project, reach out any time.

    Maintenance keeps it perfect: squeegee shower glass after use, clean silicone lines monthly, never pour harsh acids on tiles or chrome, and reseal silicone junctions every two to three years. Goodwell Technical Services offers periodic bathroom health checks for completed projects.

    • 48-hour use test: Use the bathroom normally for two days, then inspect the ceiling below for damp.
    • Check every seal: Look along all silicone lines for gaps after the first week of use.
    • Keep documents: Fixture warranty cards and the waterproofing system details in one folder.
    • Monthly routine: Clean drains, wipe silicone, run the exhaust fan after every shower.
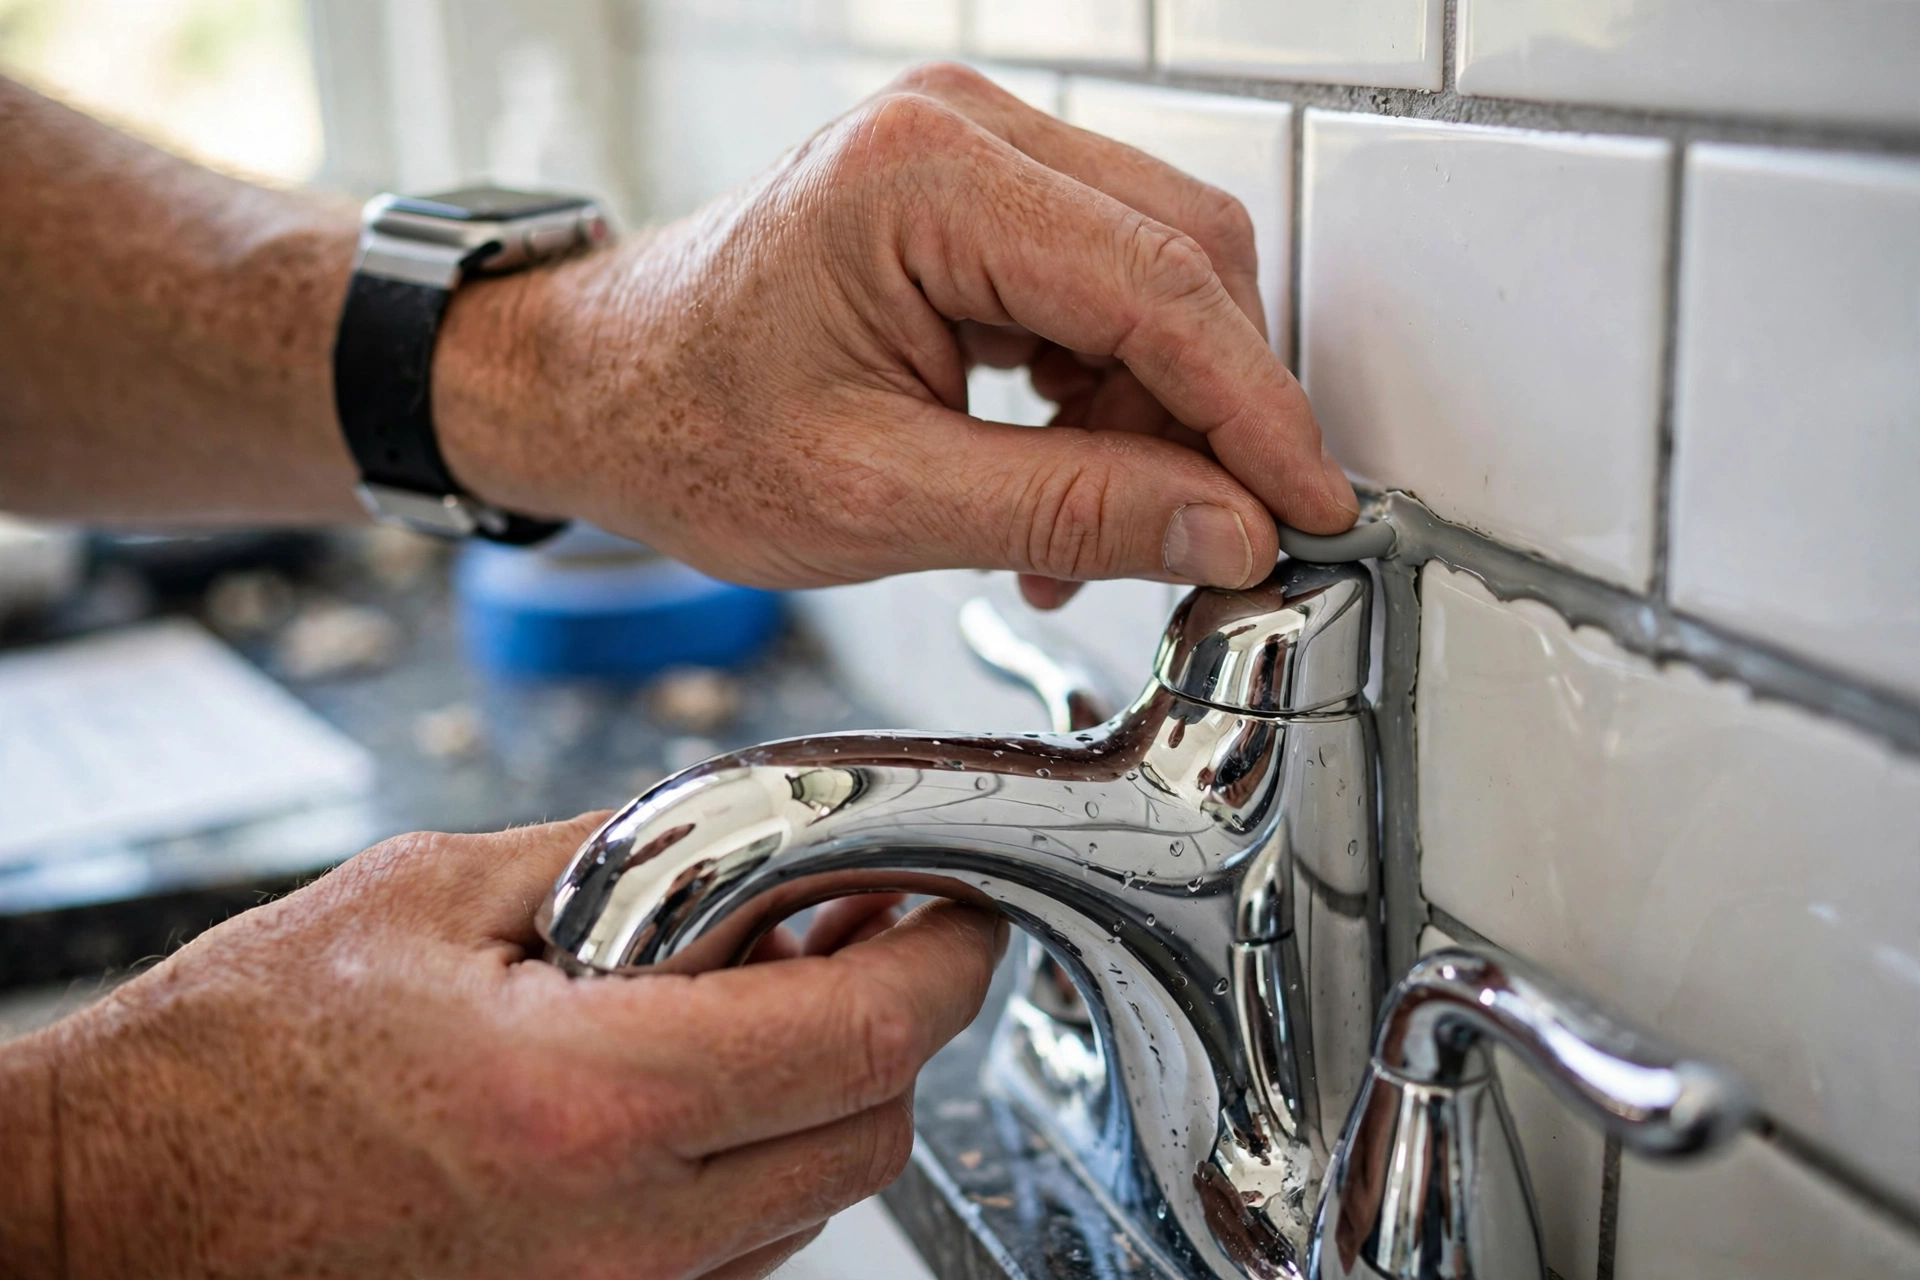
    Final inspection of newly constructed bathroom checking finishing details
    Step 10: Final inspection, snag closure and handover with a maintenance plan.

    Common Mistakes to Avoid During Bathroom Construction

    Across hundreds of sites, Goodwell Technical Services has seen the same bathroom mistakes repeat. Avoid these and your bathroom will stay dry and trouble free:

    • Skipping the ponding test: Tiling over untested waterproofing is the costliest gamble in construction.
    • Glossy floor tiles: Beautiful in the showroom, dangerous under wet feet. Always anti-skid.
    • Flat drainage: Water that cannot flow to the drain becomes smell, stains and mosquito breeding.
    • No exhaust ventilation: Without air movement, even the best bathroom grows fungus.
    • Weak silicone sealing: Gaps at fixture junctions let water behind tiles silently for years.
    • Wrong fixture heights: Basin, shower head and towel rail at uncomfortable heights annoy daily.
    • Rushing the cure: Waterproofing, screed and sealants each need their full curing time.

    Conclusion

    Bathroom construction rewards patience and punishes shortcuts. Plan fixture positions before construction, protect the hidden work of plumbing and electricals during construction, never compromise on waterproofing and its ponding test, and finish with a ruthless inspection after construction. Follow these ten phases and your bathroom will stay dry, safe and beautiful for decades.

    For a bathroom built right the first time, contact Goodwell Technical Services for complete bathroom construction, from design and waterproofing to fixtures and final handover, executed phase by phase exactly as described above.

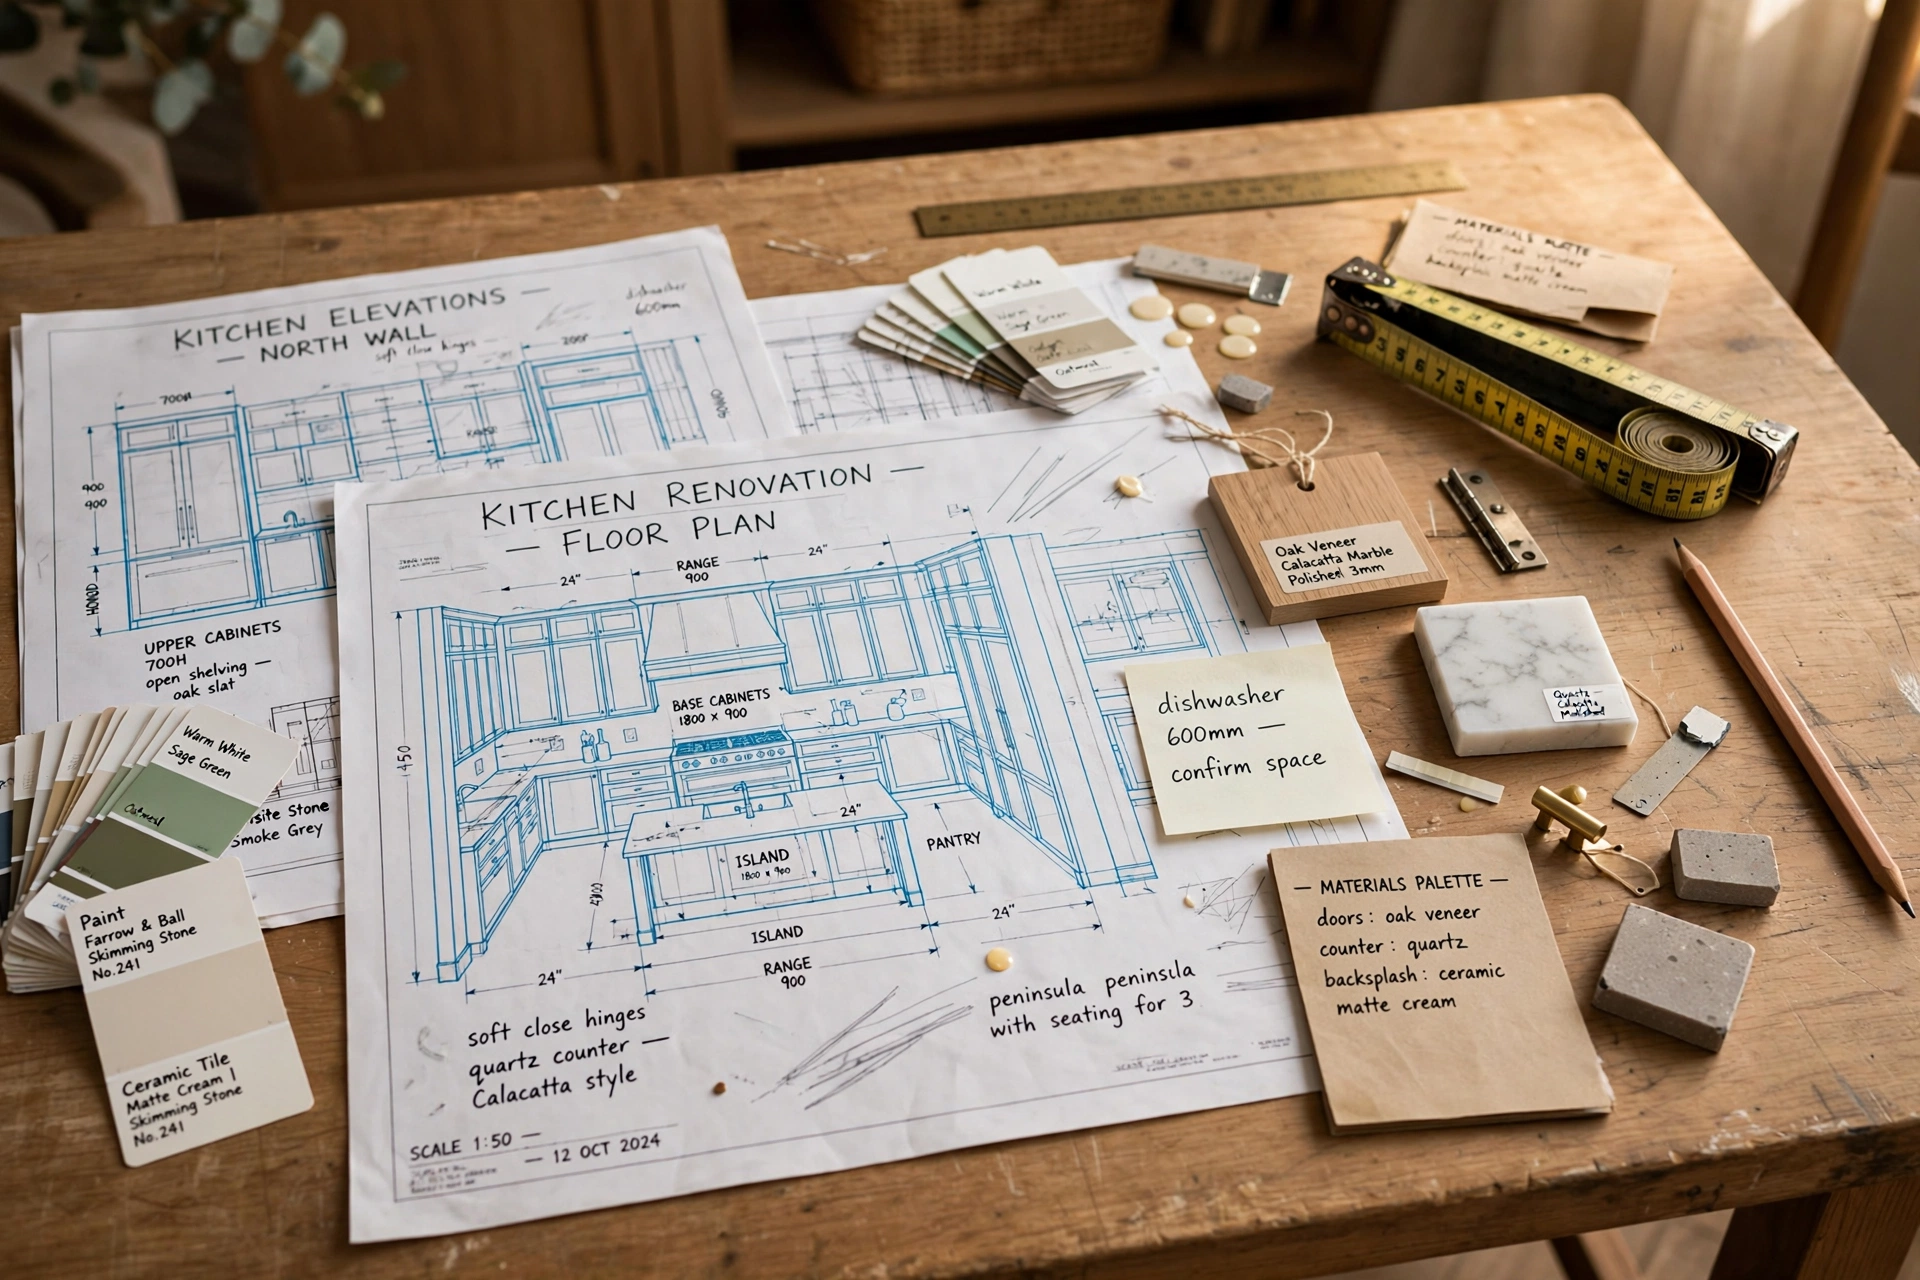
  • Kitchen Construction: A Complete Step-by-Step Guide From Planning to Handover

    Kitchen Construction: A Complete Step-by-Step Guide From Planning to Handover

    Introduction

    A kitchen is the hardest working room in any home. It faces heat, steam, water, oil and constant daily use, which is why building it properly matters more than building it quickly. A well constructed kitchen can serve a family comfortably for fifteen to twenty years, while a rushed one starts showing cracks, stains and loose fittings within two. In this detailed guide, Goodwell Technical Services walks you through every phase of kitchen construction, from the first measurements to the final handover, so you know exactly what happens, in what order, and why each step matters.

    Whether you are building a brand new kitchen or renovating an old one, the sequence below is the professional order followed on real sites. Skipping a phase or doing things out of order is the most common reason kitchens develop problems later, so read each phase carefully before your project begins.

    Phase 1: Planning and Design (Before Construction)

    Every successful kitchen starts on paper, long before a single wall is touched. This is the phase where costly mistakes are cheapest to fix, because moving a line on a drawing costs nothing while moving a built wall costs a fortune. At Goodwell Technical Services, every kitchen project begins with a detailed site measurement, a discussion of how the family actually cooks, and a layout that fits both the space and the budget.

    The heart of kitchen planning is the work triangle: the sink, the stove and the refrigerator should form a compact triangle so cooking does not turn into a marathon. Along with the triangle, you need to decide the layout type. An L-shaped kitchen suits open plans, a U-shaped kitchen gives maximum counter space, a galley kitchen works in narrow rooms, and an island layout needs generous floor area. Getting this decision right in the planning phase saves years of daily frustration.

    • Measure twice: Record exact wall lengths, ceiling height, door and window positions, and the location of existing water and gas lines.
    • Fix the budget early: Divide it into civil work, woodwork, countertops, appliances and finishing, and keep ten percent aside for surprises.
    • Choose materials in advance: Shortlist tiles, cabinet finishes, countertop stone and faucet models before construction starts so nothing stalls later.
    • Plan storage honestly: Count your actual pots, appliances and grocery habits. Deep drawers beat deep shelves every time.
    • Think about light and air: A window near the stove and a proper chimney point should be marked on the plan from day one.
    Kitchen construction planning: architect reviewing kitchen blueprints and measurements
    Step 1: Detailed planning and design drawings come before any physical work begins.

    Phase 2: Demolition and Site Preparation (Before Construction)

    If this is a renovation, the old kitchen must come out before the new one goes in. Demolition sounds simple, but done carelessly it damages walls, plumbing and flooring in adjoining rooms. The professional approach is to first shut off water, gas and electricity to the kitchen, then remove appliances, then cabinets, then tiles and old plaster, working from top to bottom.

    Site preparation also means protecting the rest of the house. Dust sheets go over nearby furniture, doorways get sealed with plastic sheeting, and a clear path is made for debris removal. Our team always schedules debris clearance the same day, because a site buried in rubble slows every trade that follows.

    • Disconnect utilities safely: Water, gas and power lines serving the kitchen must be isolated by qualified workers before demolition.
    • Salvage what has value: Old cabinets, sinks or appliances in working condition can be sold or reused elsewhere.
    • Check the structure: Once walls are exposed, look for damp patches, cracked plaster or weak masonry and repair them now.
    • Protect the home: Seal adjoining rooms against dust and lay protective sheets on floors along the debris route.
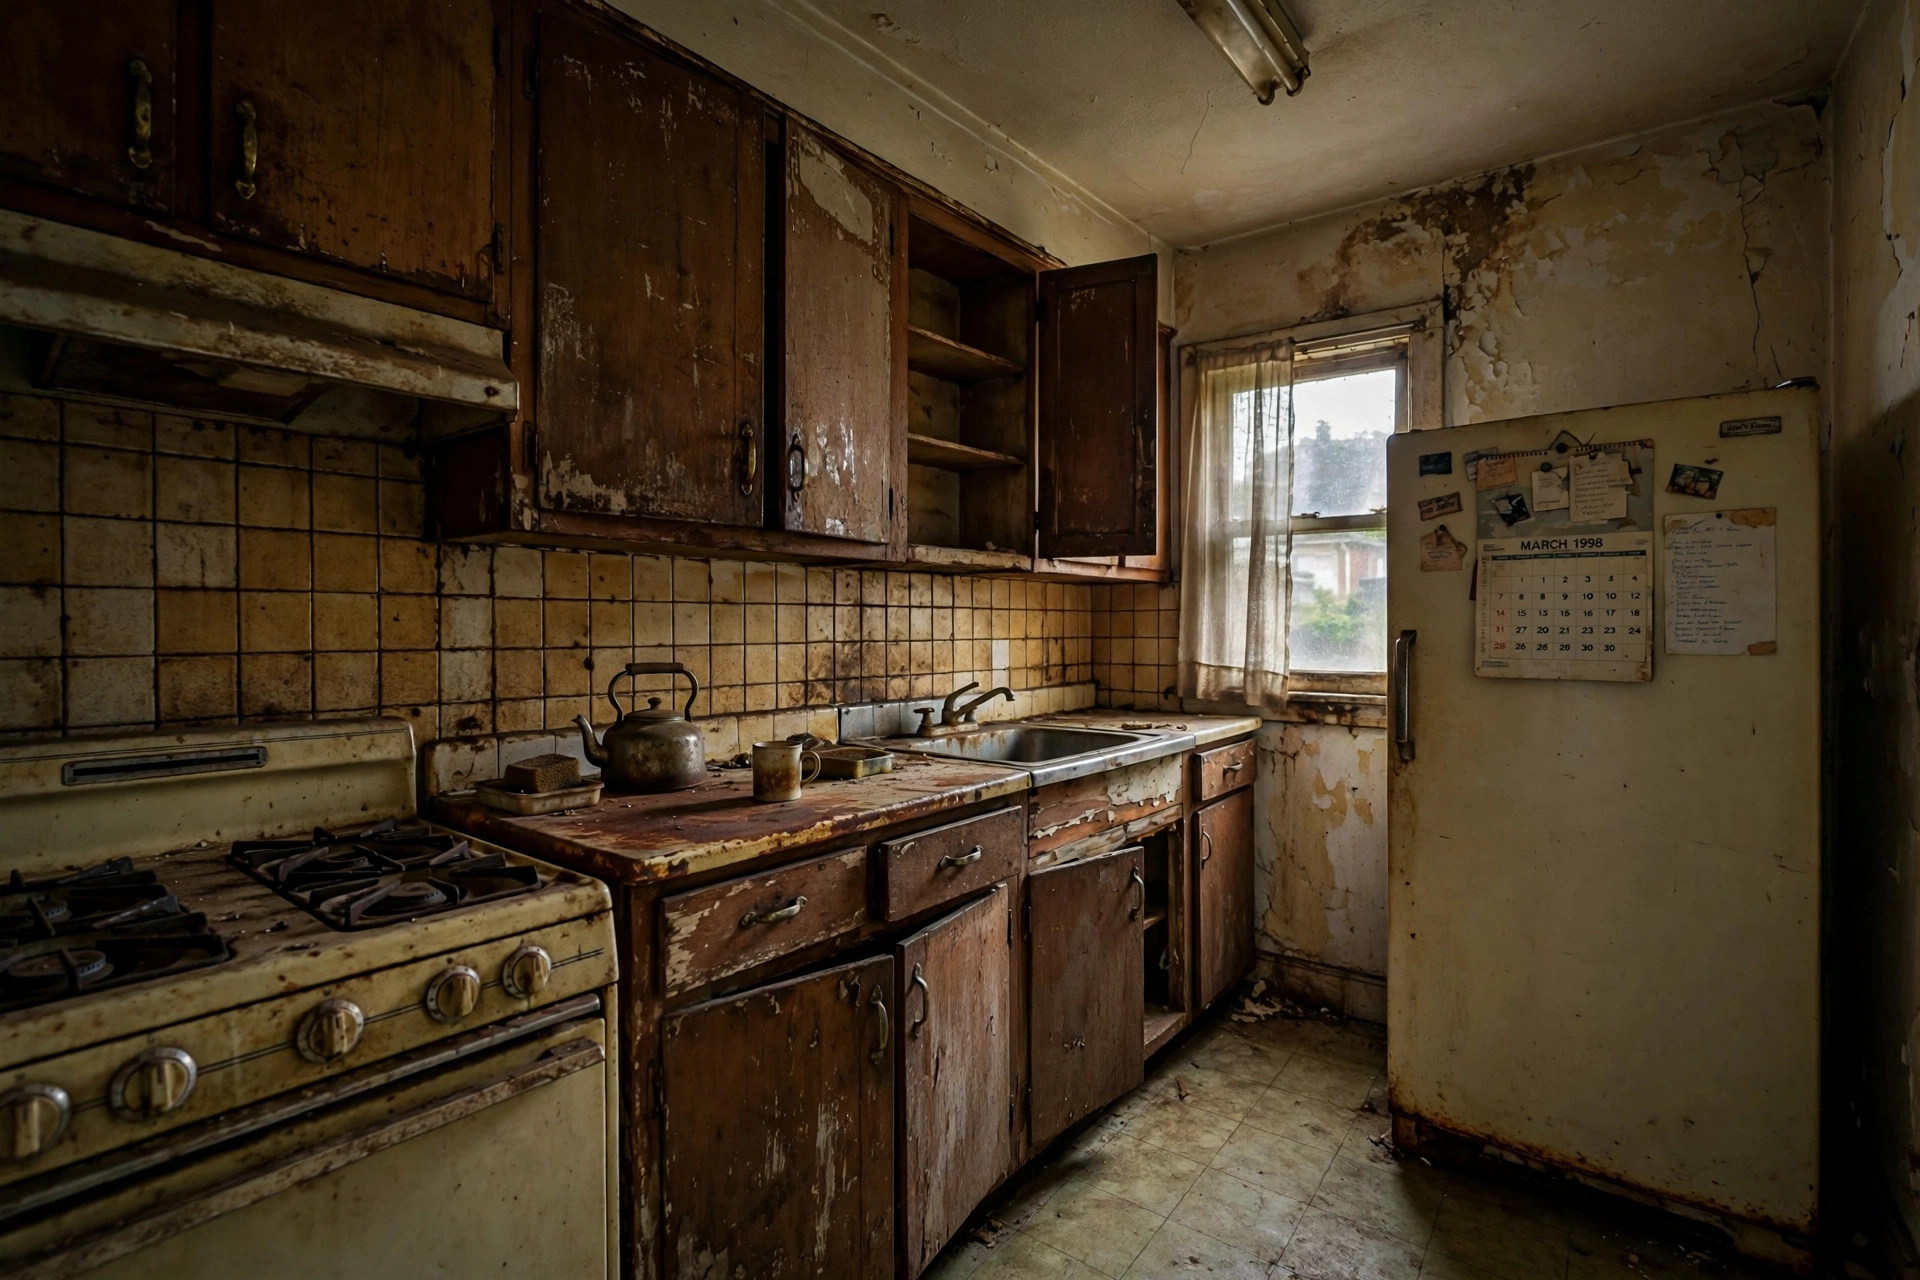
    Old dated kitchen before renovation and demolition
    Step 2: The old kitchen is carefully dismantled and the site is prepared for new work.

    Phase 3: Plumbing and Electrical Rough-In (During Construction)

    This is the invisible phase, and the most punishing to get wrong, because every pipe and wire gets buried inside walls and floors. Plumbing rough-in means laying water supply lines, drainage lines with the correct slope, and gas piping to their exact positions. A drainage pipe without proper slope will clog forever, and no amount of finishing can fix it later. This is why Goodwell Technical Services insists on licensed plumbers and pressure-tests every line before the walls are closed.

    Electrical rough-in happens side by side: dedicated points for the refrigerator, microwave, oven, chimney, water purifier and dishwasher, each on the correct load, plus well placed switches and sockets above counter height. Kitchens today need far more sockets than old plans allowed, so plan for at least six to eight easily reachable points.

    • Pressure-test water lines: Every joint is tested under pressure for twenty four hours before concealing.
    • Slope every drain: Waste pipes need a steady fall toward the drain, or blockages are guaranteed.
    • Separate the circuits: Heavy appliances like ovens and geysers get dedicated MCBs on the distribution board.
    • Mark everything: Photograph pipe and conduit routes before plastering. Future repairs become ten times easier.
    • Chimney ducting: If the chimney vents outside, its duct path is fixed now, not after the cabinets arrive.
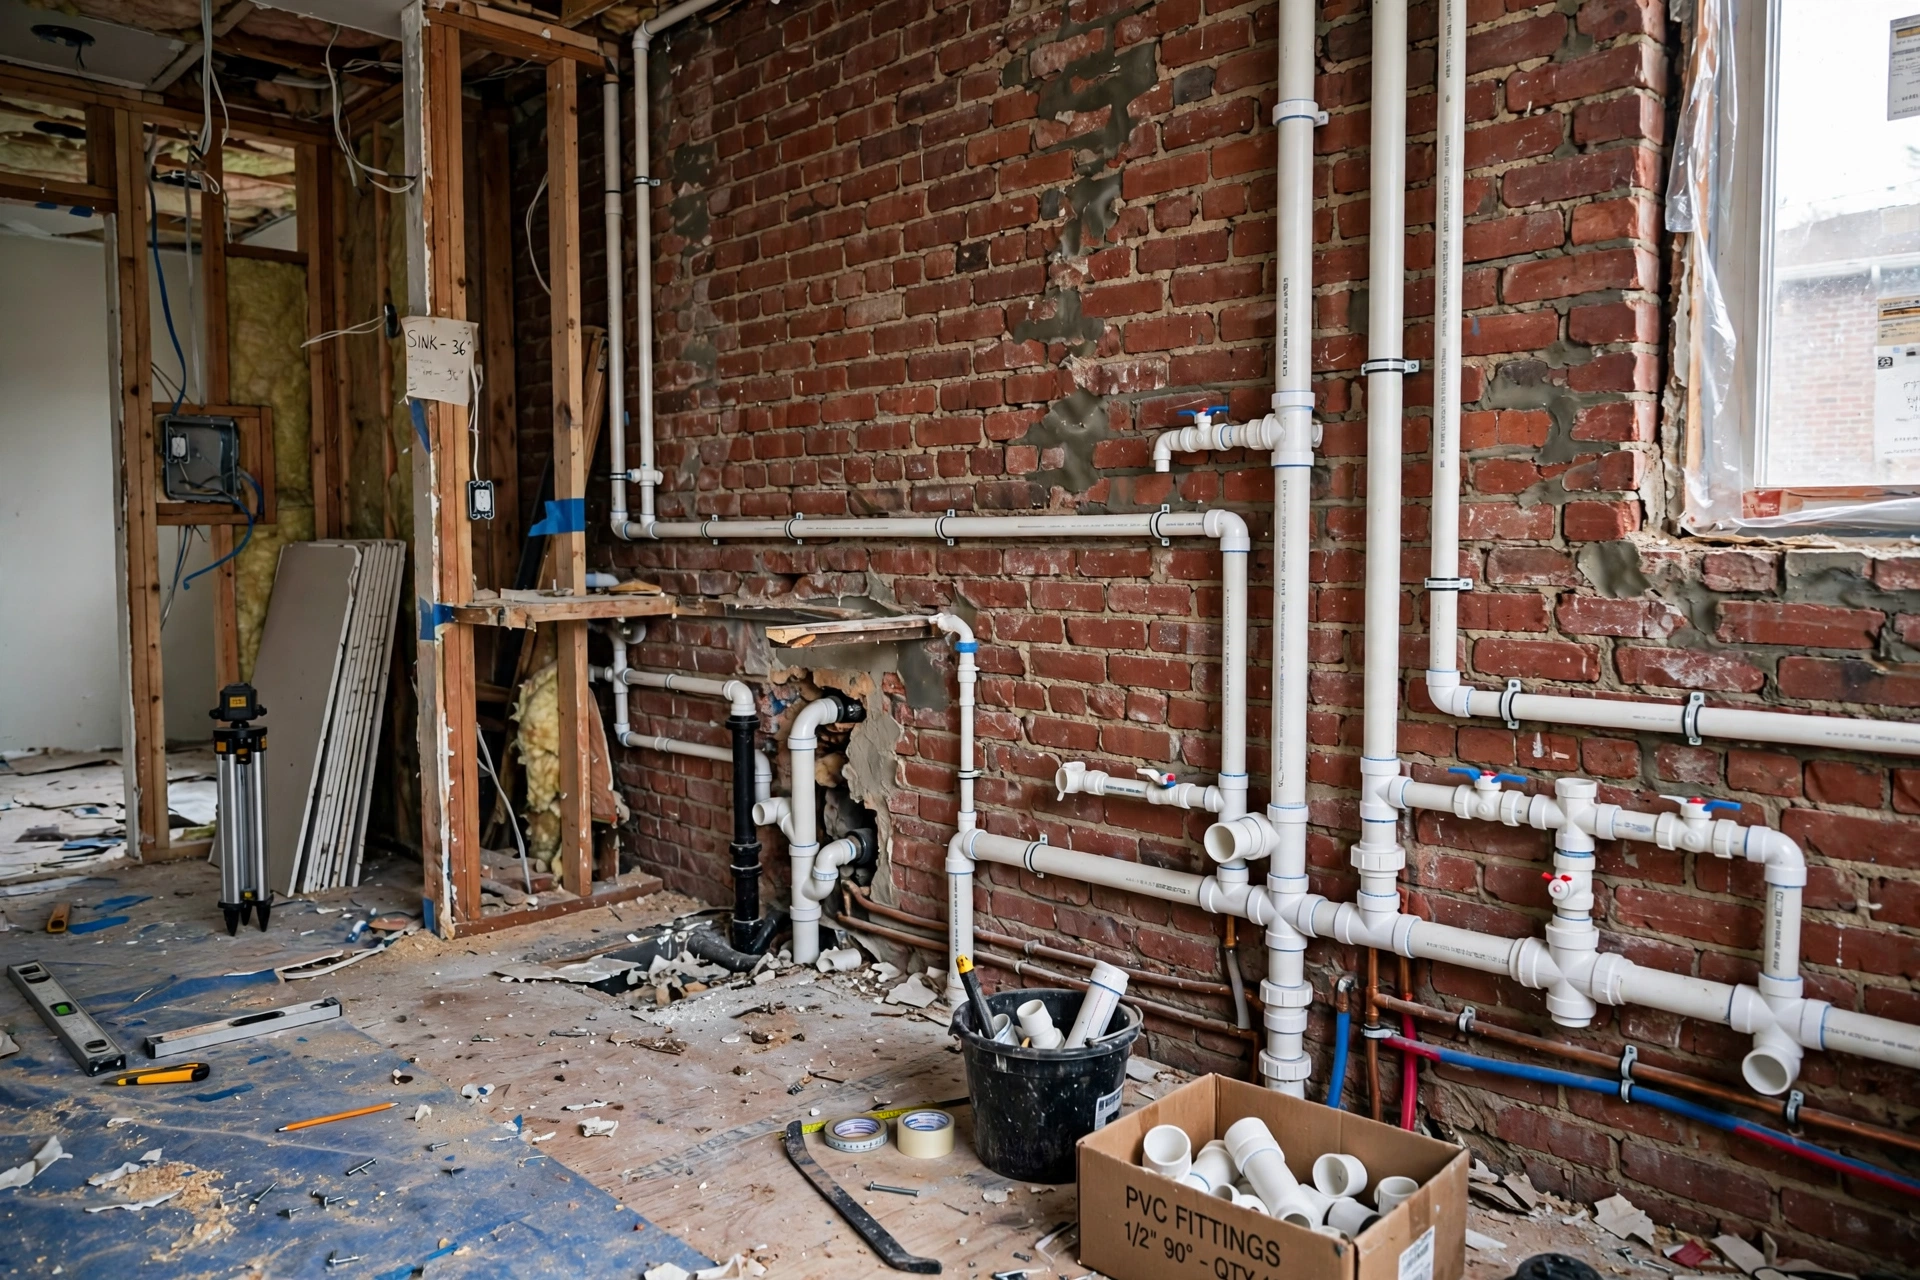
    Kitchen plumbing rough-in with new water pipes installed in wall during construction
    Step 3: Plumbing and electrical lines are laid and tested before walls are closed.

    Phase 4: Masonry, Cementing and Plastering

    With services in place, the walls are made solid and true. Chased channels for pipes and conduits are filled with cement mortar, any new partition walls go up, and then the whole kitchen receives a fresh coat of cement plaster. The quality of this phase decides whether your tiles sit flat and your paint lasts, so Goodwell Technical Services allows a full seven days of water curing for plaster, because rushed curing is the number one cause of cracks reappearing within a year.

    Level and plumb matter enormously here. A wall that leans even slightly will show in the tile lines and in the gap between the countertop and the wall. Professional masons check every surface with a spirit level and straight edge before calling this phase done.

    • Use the right mortar mix: A consistent cement to sand ratio gives plaster its strength. Weak mix crumbles under tile weight.
    • Cure with water for seven days: Keep fresh plaster damp. Skipping curing guarantees shrinkage cracks.
    • Check levels: Walls must be plumb and floors must slope gently toward the drain point, never toward cabinets.
    • Repair damp first: Any seepage found on exposed walls is treated with waterproofing compound before plastering.
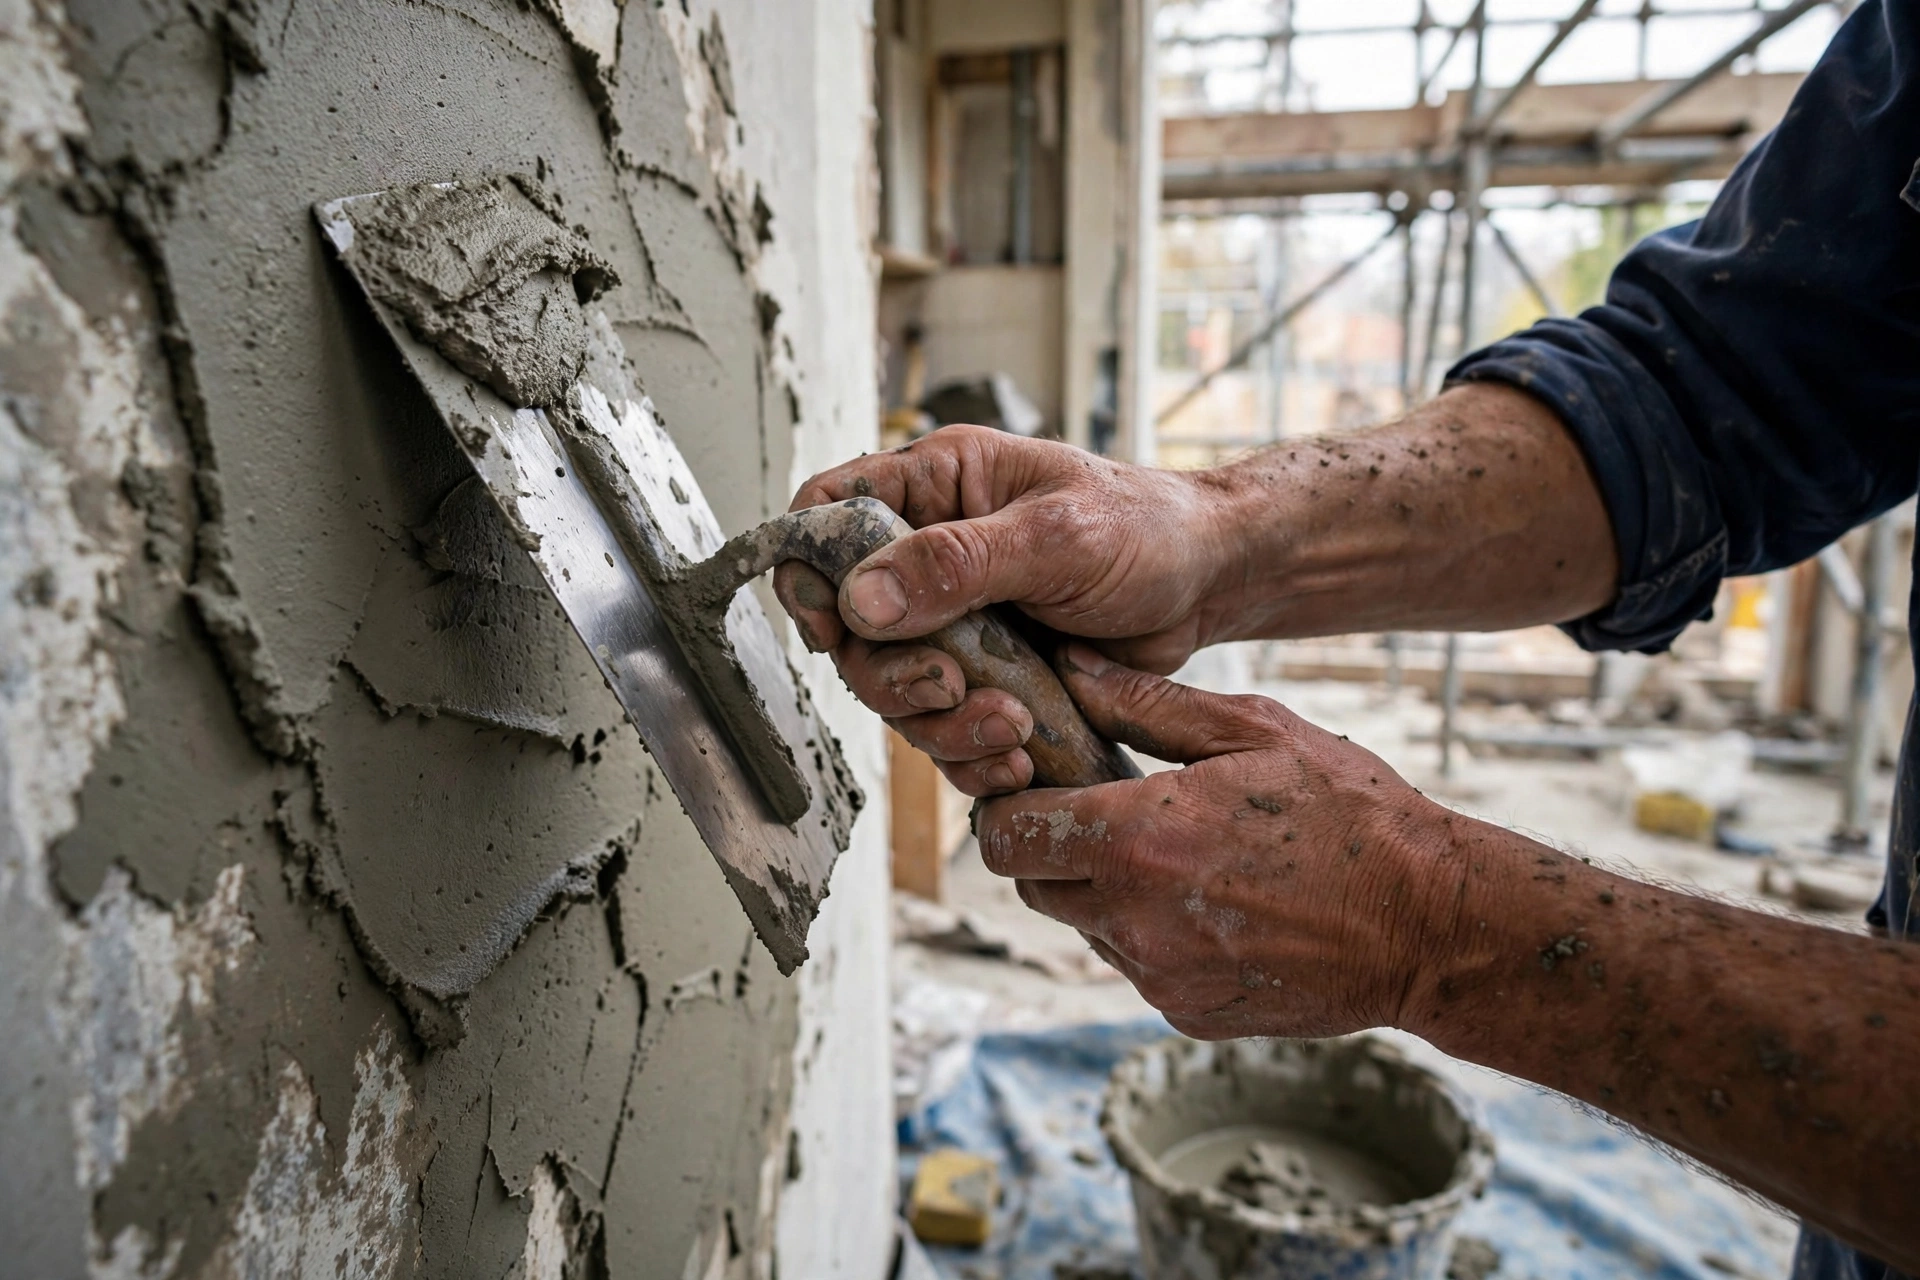
    Mason plastering and cementing a kitchen wall with trowel during construction
    Step 4: Cementing and plastering create the true, level base every finish depends on.

    Phase 5: Flooring and Wall Tiling

    Tiling is where the kitchen starts looking like a kitchen. Floor tiles go in first, then wall tiles, so that wall tiles sit neatly over the floor edge. For kitchen floors, always choose anti-skid tiles, because a wet kitchen floor is a daily hazard. For walls, tiles behind the counter and stove protect plaster from oil, steam and splashes and wipe clean in seconds.

    Waterproofing deserves special attention in this phase. The floor and the lower portion of walls should receive a waterproofing coat before tiling, especially around the sink and any floor drain. For layout guidance and material selection, many homeowners revisit the Goodwell Technical Services homepage to review how finished projects balance beauty with practicality.

    • Waterproof before tiling: Apply waterproofing compound on the floor and up the walls at least one foot before tile adhesive.
    • Keep slopes right: Floor tiles must fall gently toward the drain. Test with a bucket of water before the tiler leaves.
    • Align grout lines: Straight, even grout lines are the visible signature of a careful tiler.
    • Choose grout wisely: Epoxy grout resists stains far better than cement grout in a working kitchen.
    • Leave expansion gaps: Tiles need a small perimeter gap, hidden under skirting, to allow thermal movement.
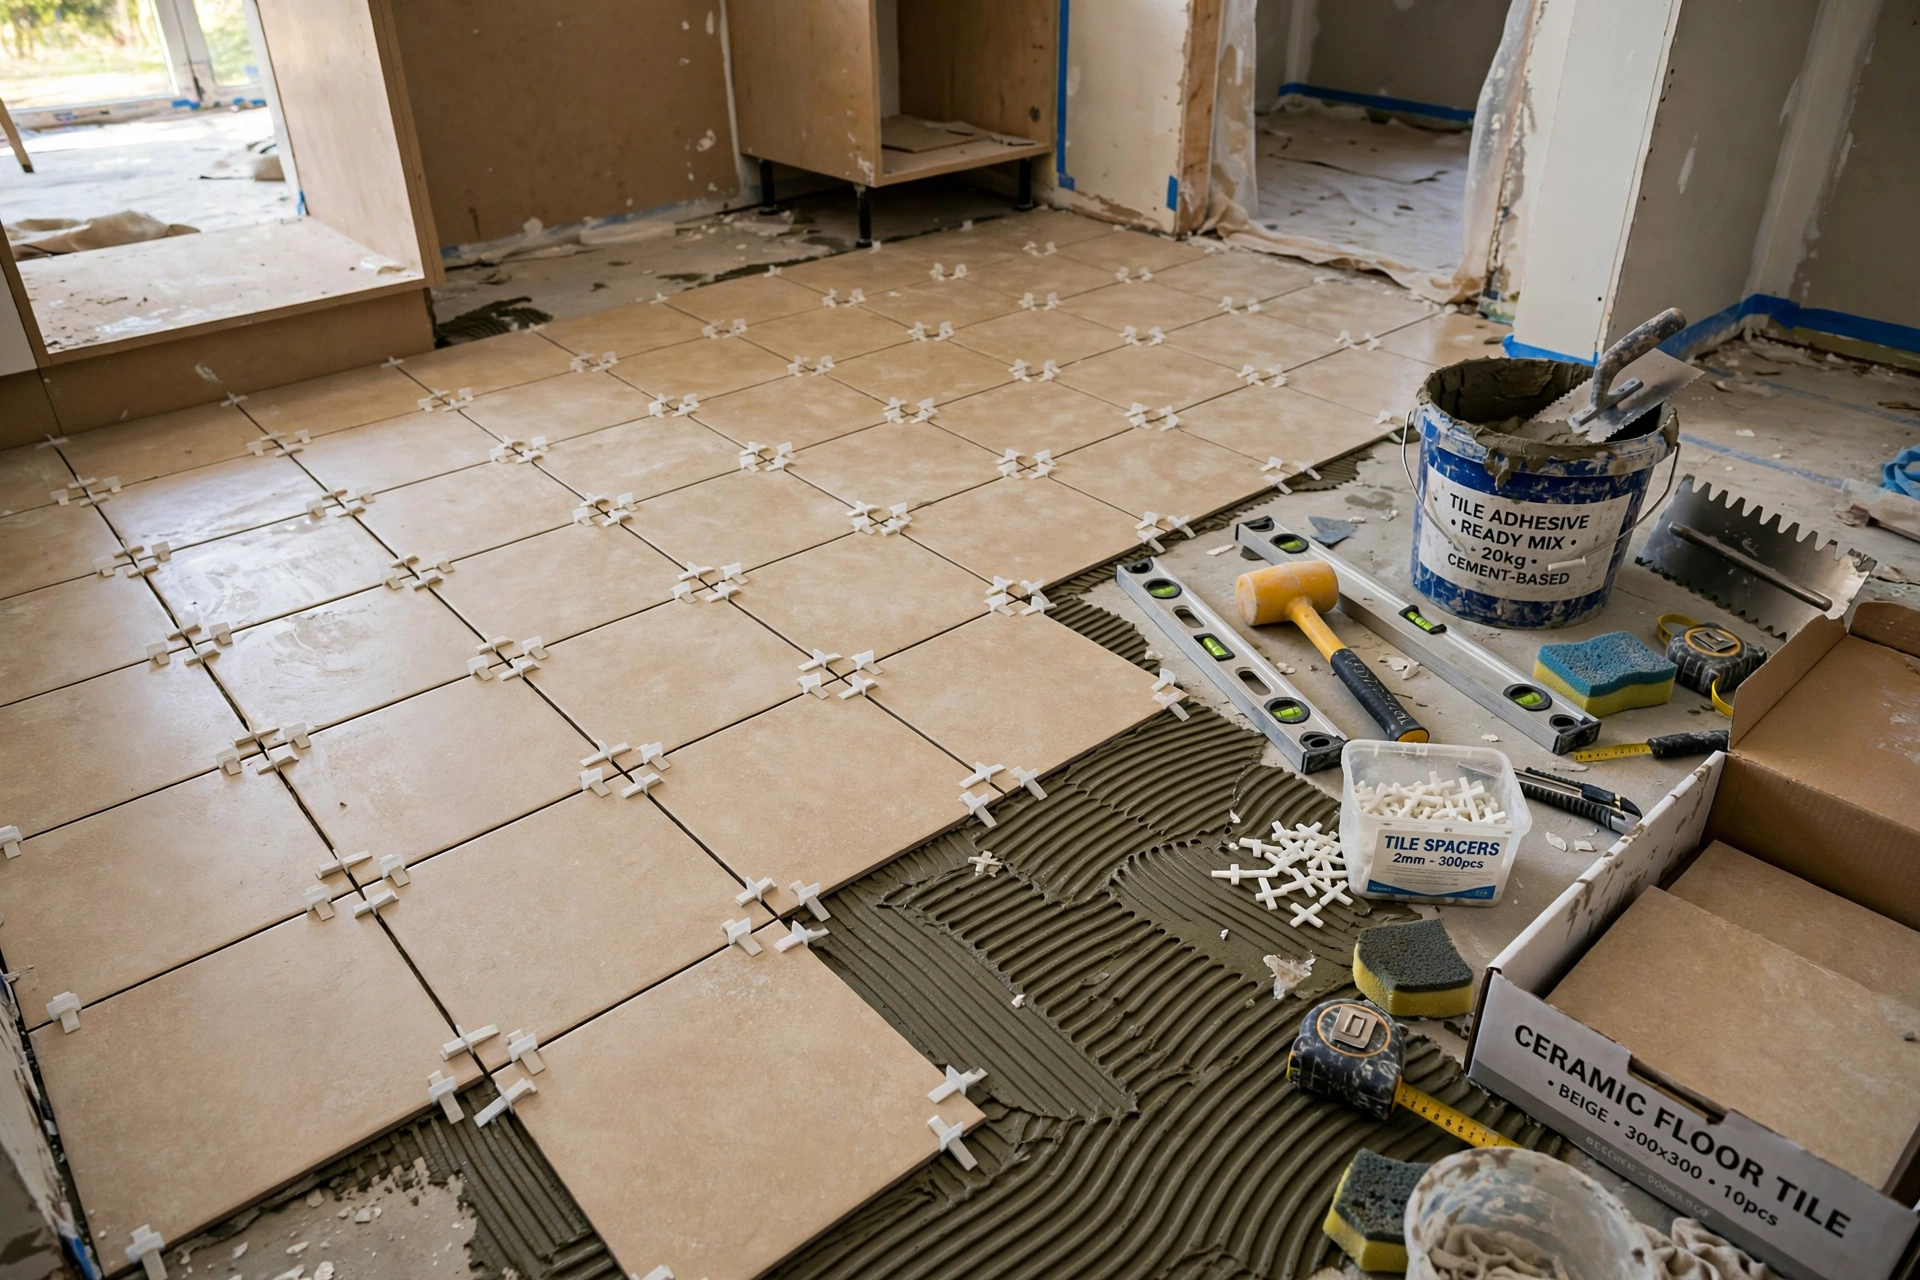
    Kitchen floor tiling in progress with tiles spacers and adhesive
    Step 5: Anti-skid floor tiles and protective wall tiles are laid with correct slopes.

    Phase 6: Cabinetry and Woodwork

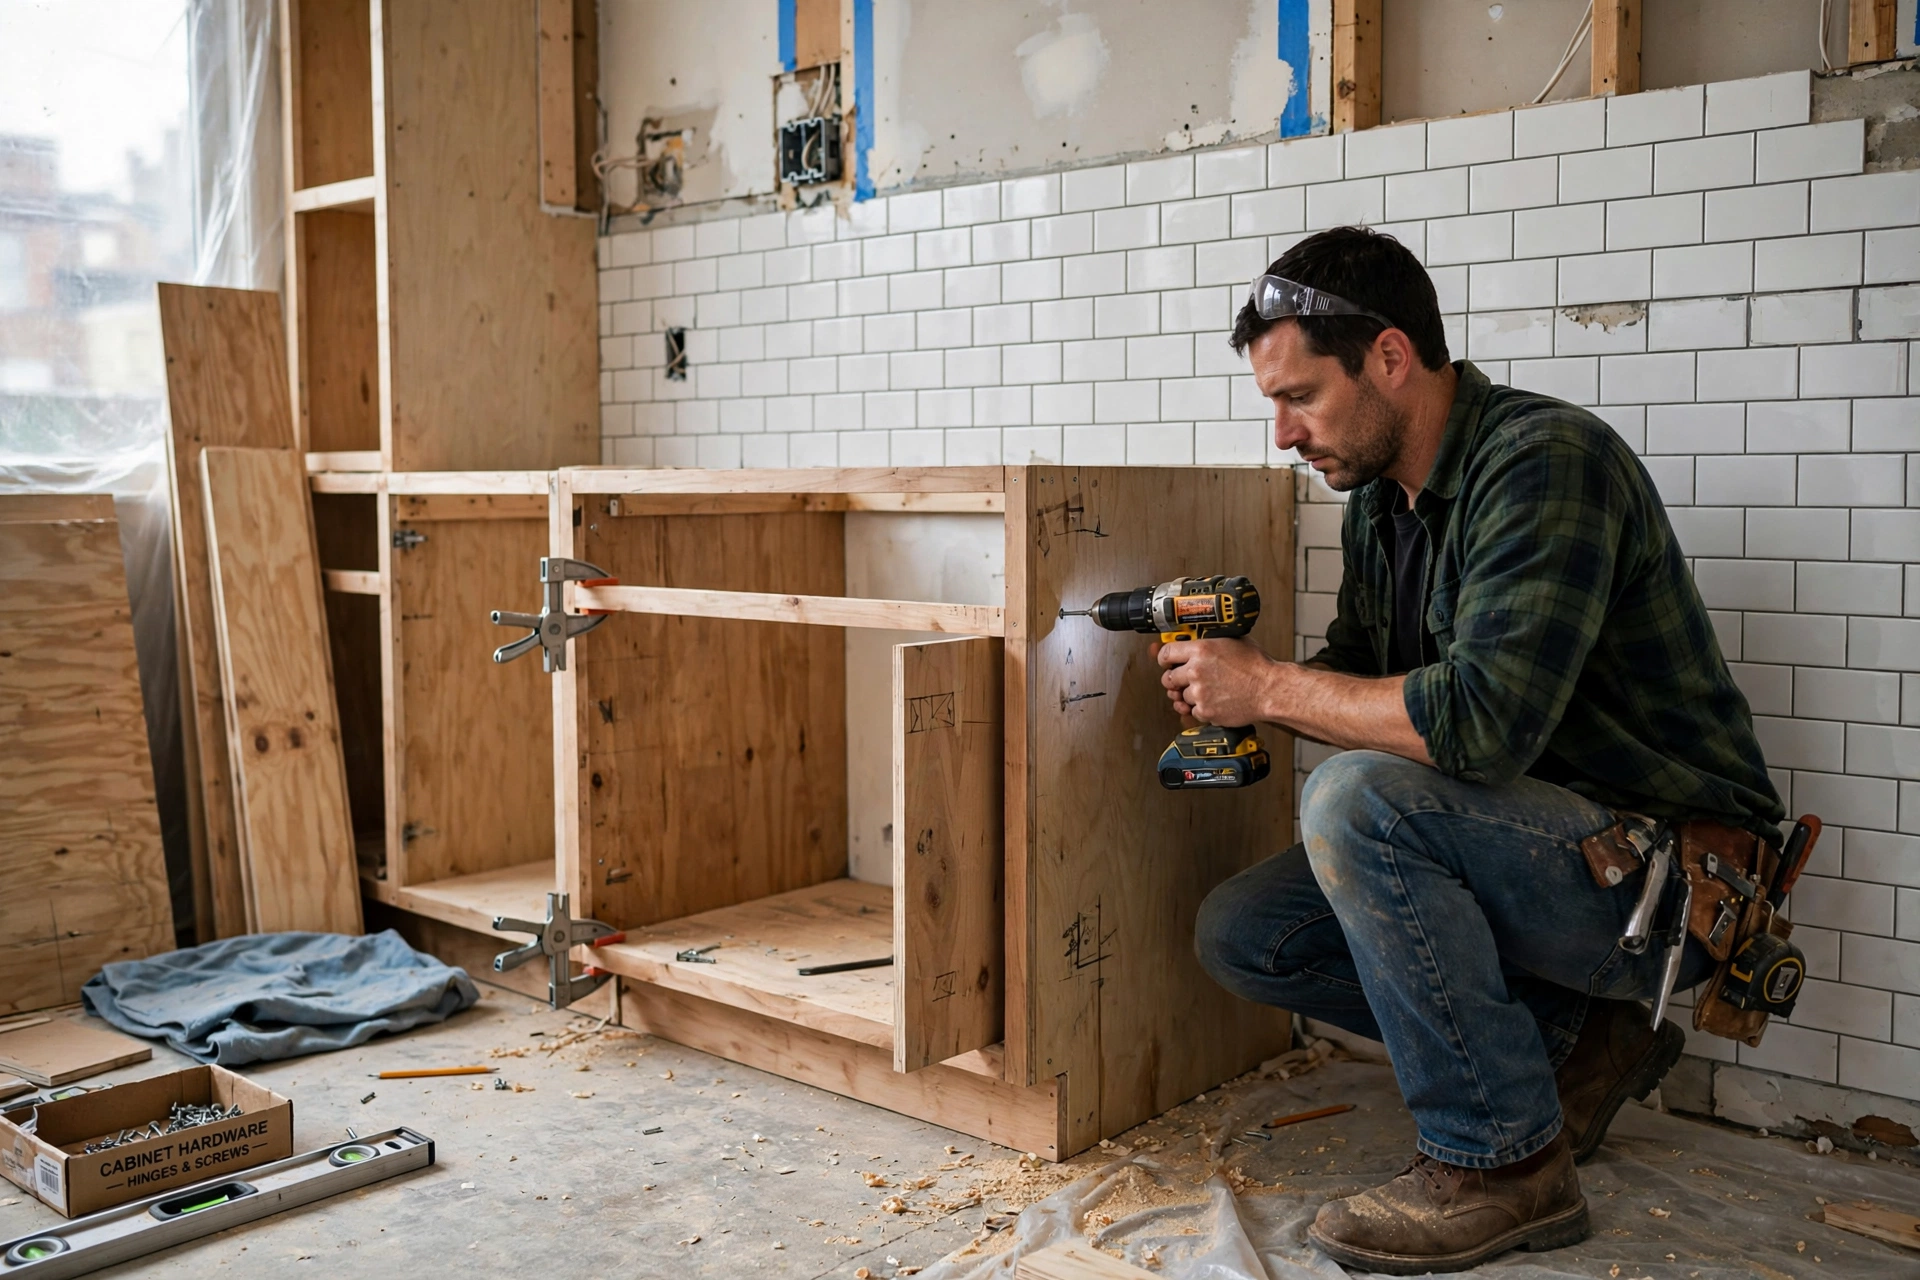
    Cabinets are the furniture of the kitchen and usually the single biggest cost after civil work. The carcass, the box behind the shutters, should be BWR or BWP grade plywood, because ordinary boards swell and fail in kitchen humidity within a few years. Shutters can be laminate, acrylic or membrane finish depending on budget, and the kitchen specialists at Goodwell Technical Services always recommend soft-close hinges and heavy duty drawer channels, since these small hardware choices decide whether cabinets feel premium or cheap every single day.

    Installation must wait until tiling is fully cured and the site is clean and dry. Cabinets are fixed level and plumb, anchored firmly to walls, with tall units and overhead cabinets aligned to the planned heights. This is precision work: a cabinet even a few millimeters out of level will show in the countertop line.

    • Insist on BWP plywood: Boiling water proof ply survives steam and the occasional leak. Anything less is a false economy.
    • Buy branded hardware: Hinges, channels and lift-ups from reputed brands outlast cheap copies by a decade.
    • Plan drawer depths: Deep drawers for pots, shallow for cutlery, tall narrow pull-outs for bottles and spices.
    • Keep a service gap: Leave access panels where plumbing valves and electrical junctions hide behind cabinets.
    Carpenter installing wooden kitchen cabinets during kitchen construction
    Step 6: Cabinets are installed level and plumb on fully cured, clean surfaces.

    Phase 7: Countertop Installation

    The countertop takes the daily beating: hot pots, knife work, spills and constant wiping. Granite remains the most forgiving choice for heavy Indian and Pakistani cooking, while quartz offers a more uniform, modern look with excellent stain resistance. Goodwell Technical Services recommends quartz for clients who want a seamless designer finish and granite for kitchens that will see the heaviest daily use.

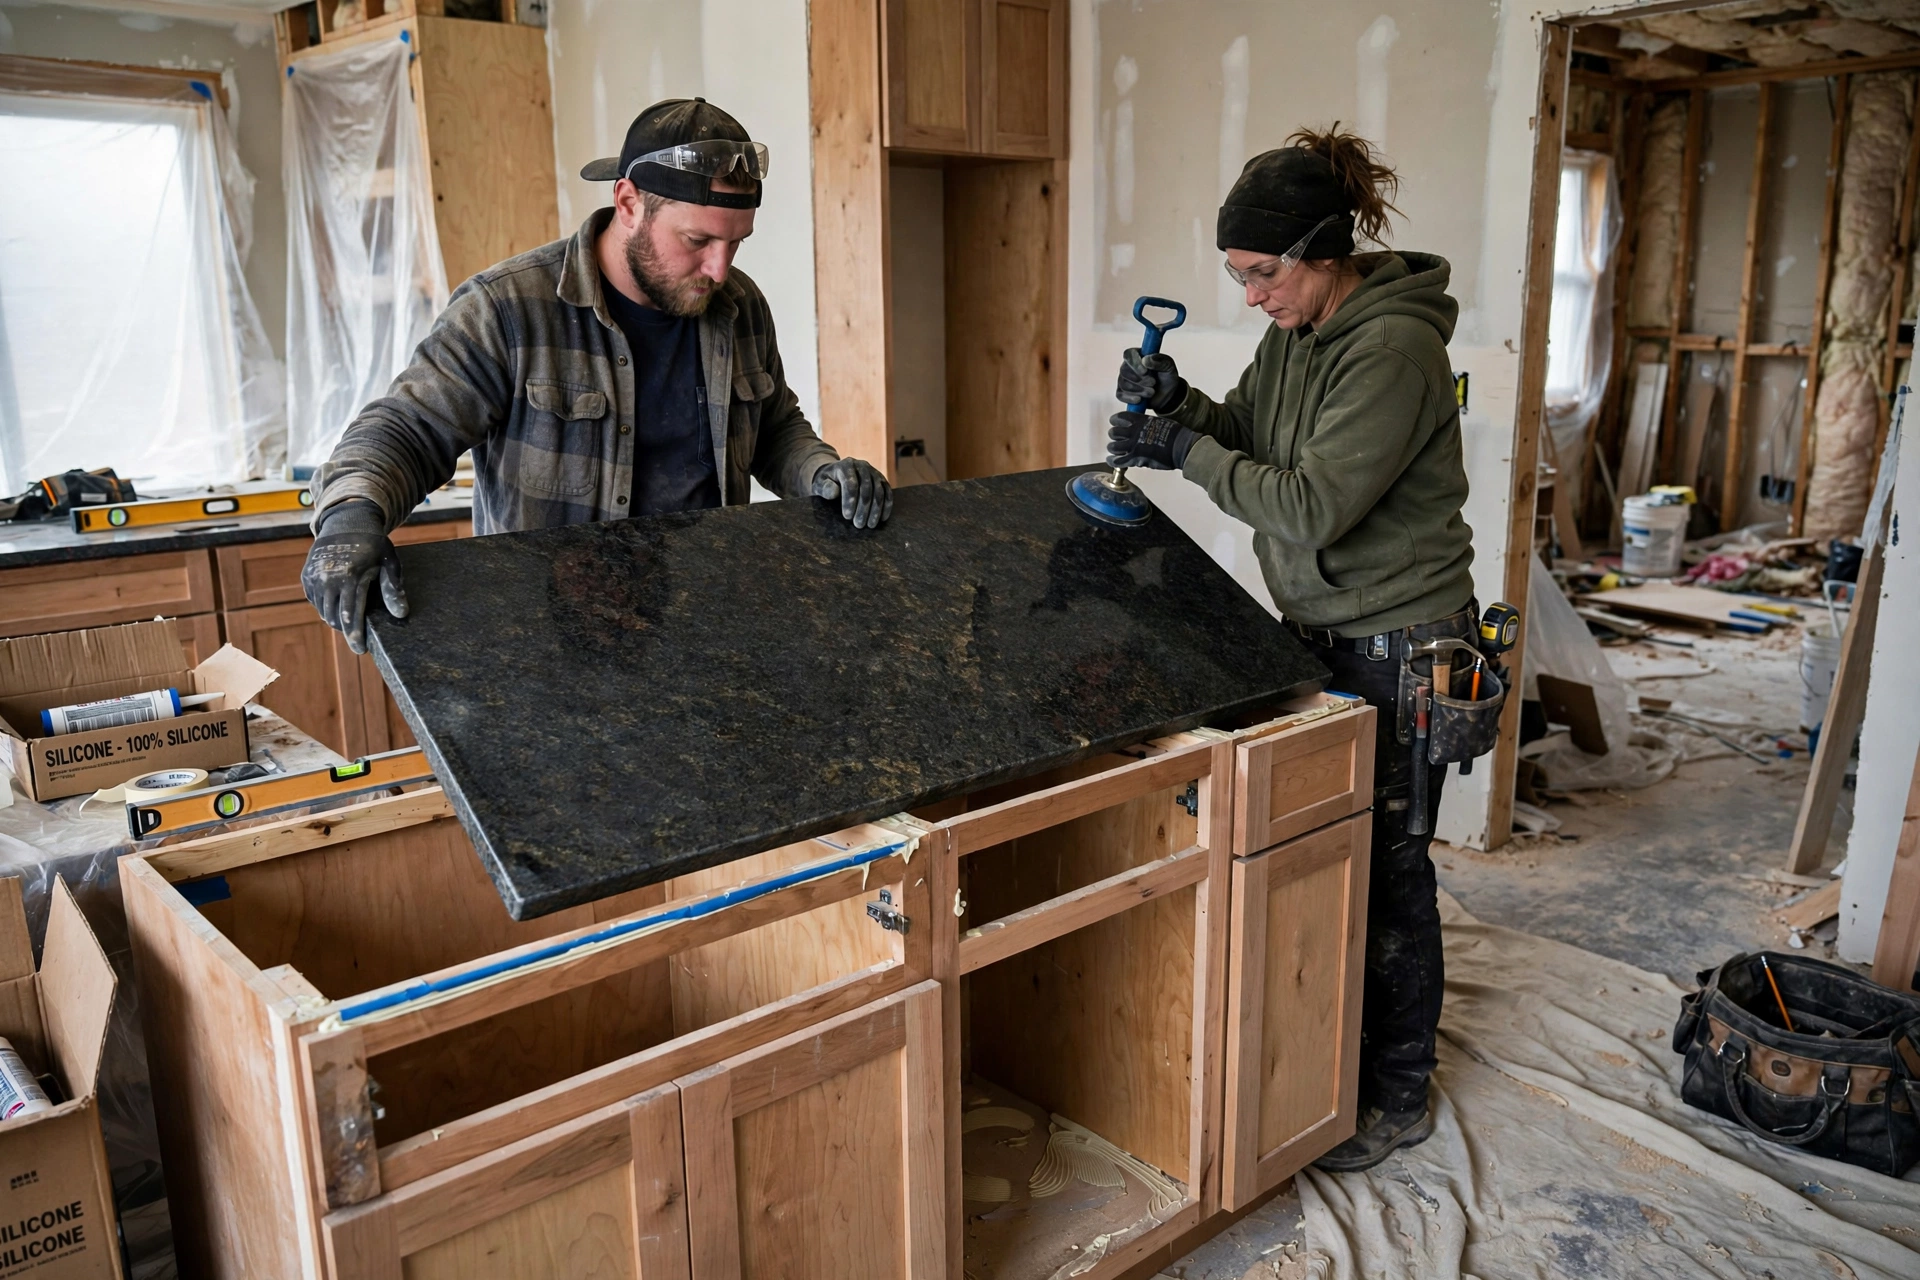
    Measurement for the countertop happens only after cabinets are fixed, because the stone is cut to the real, as-built dimensions, not the drawing. The sink cutout, hob cutout and faucet holes are made at the workshop or on site with water cooled cutting, and all exposed edges are polished and sealed.

    • Measure after cabinets: Never order the stone from drawings alone. As-built measurement prevents costly re-cutting.
    • Seal natural stone: Granite and marble need periodic sealing to resist oil and turmeric stains.
    • Support overhangs: Any breakfast ledge or overhang beyond ten inches needs concealed steel brackets.
    • Check the joint: Where two slabs meet, the joint should be tight, level and nearly invisible after polishing.
    Installing granite countertop on kitchen cabinets
    Step 7: The countertop is cut to as-built measurements and sealed for daily use.

    Phase 8: Coloring (Painting and Surface Finishing)

    Coloring is not decoration alone; in a kitchen it is protection. Walls need washable plastic emulsion that survives steam and can be wiped clean, and the ceiling needs a moisture resistant coating because hot air rises and condenses there first. Goodwell Technical Services uses only washable, low odor paints in kitchens, applied in two full coats over a proper primer, because single coat work fades and patches within months.

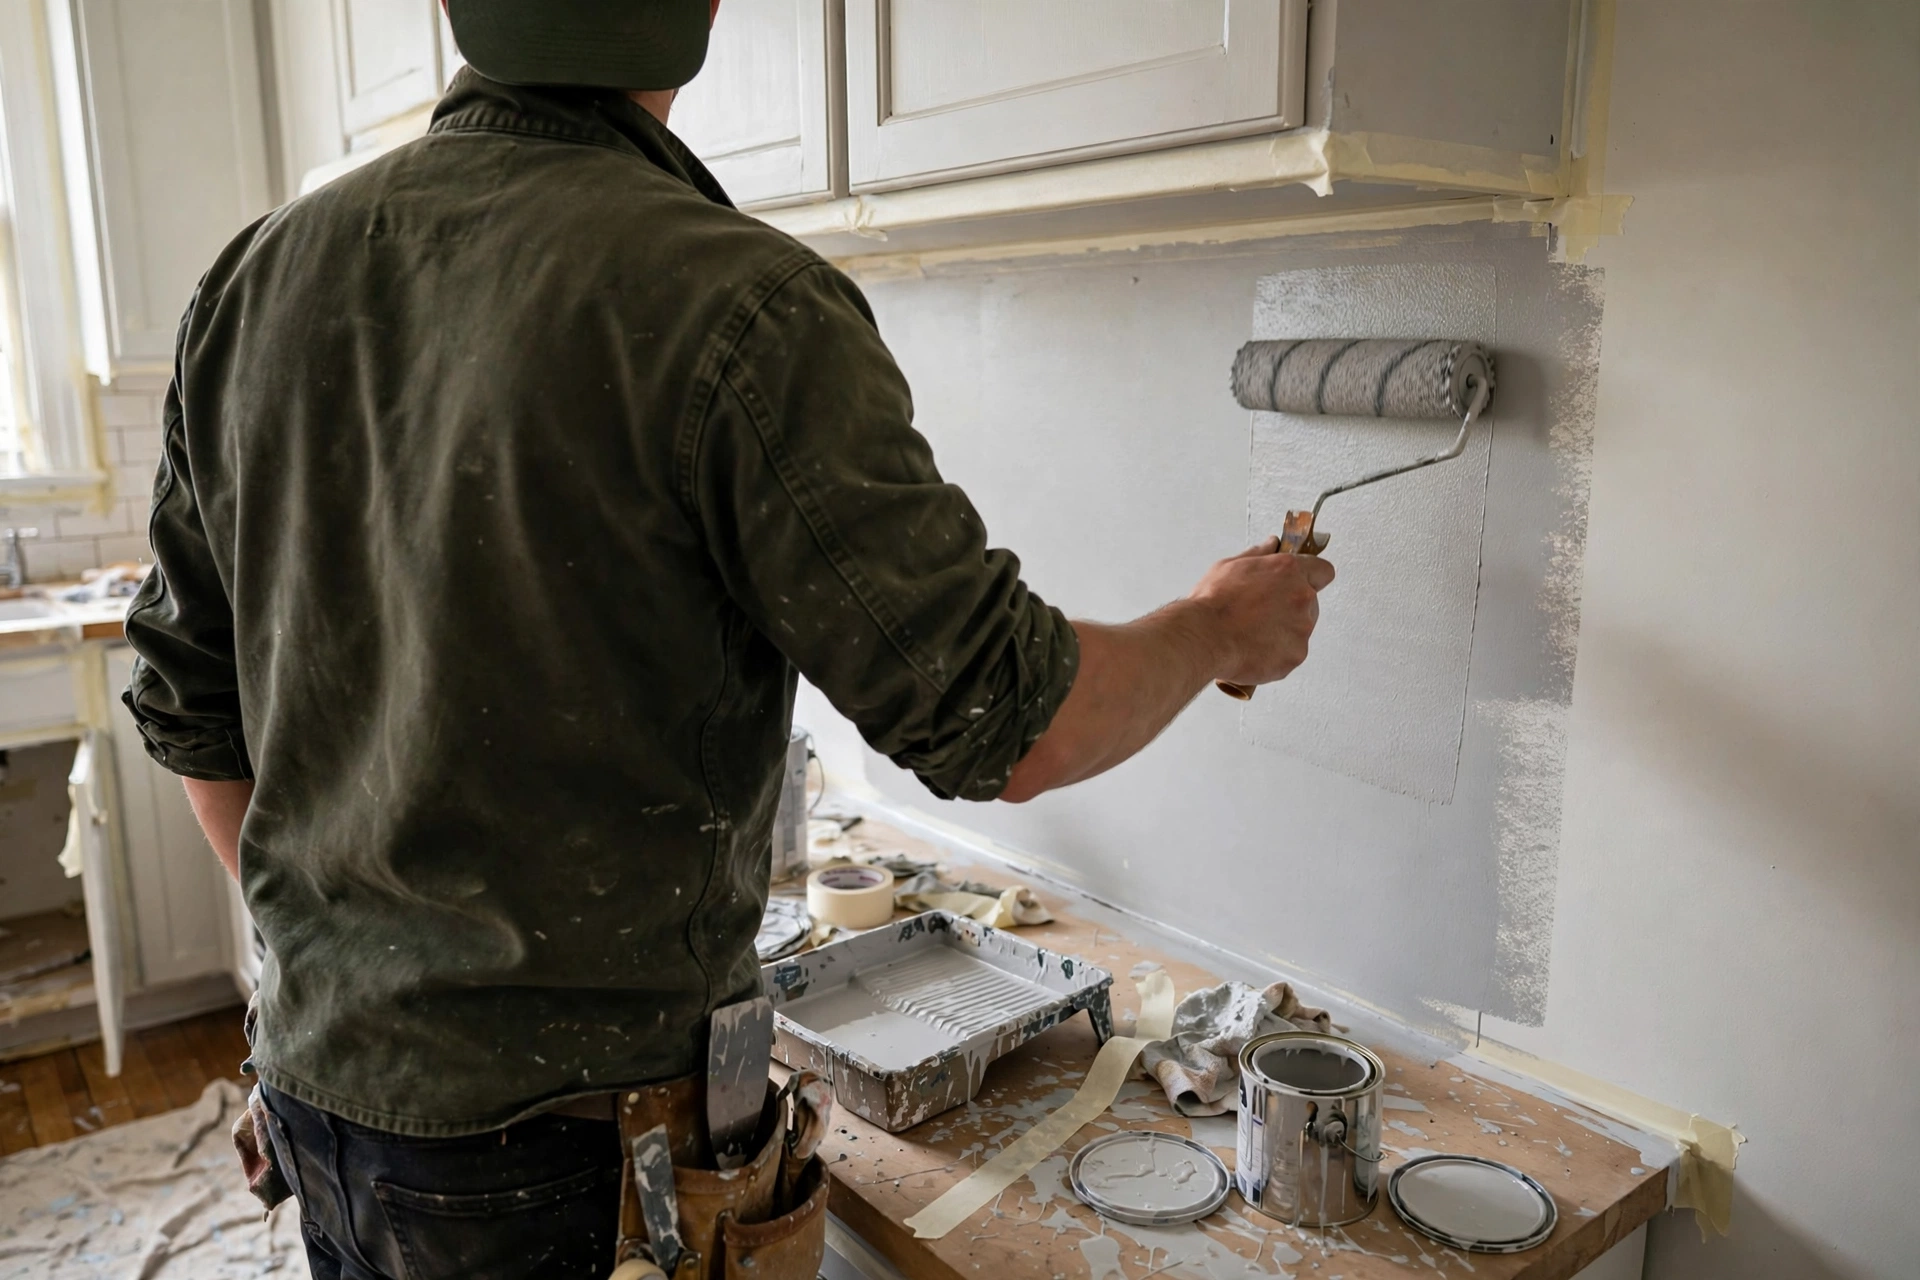
    Timing matters: painting happens after all dusty work is done but before final appliance placement, so walls are clean and nothing gets splattered. Masking tape protects cabinets, countertops and switch plates, and each coat is allowed its full drying time.

    • Use washable emulsion: Kitchen walls must be scrubbable. Flat distemper absorbs grease permanently.
    • Prime every surface: Primer seals plaster and old paint alike, giving the topcoat even color and longer life.
    • Two coats minimum: One coat always looks patchy under kitchen lighting. Two coats give depth and uniformity.
    • Ventilate while drying: Good airflow during painting prevents trapped moisture and speeds curing.
    Painter painting kitchen wall with roller during coloring phase
    Step 8: Washable paint in two coats gives color that survives kitchen life.

    Phase 9: Fixtures, Appliances and Lighting (After Construction)

    With the shell complete, the kitchen comes alive. The sink and faucet go in first, sealed properly to the countertop so no water seeps into the cabinet below. Then the hob, chimney, oven, refrigerator and water purifier are placed and connected, each tested on its own circuit. Goodwell Technical Services tests every appliance under load before handover, because a socket that trips on day one is a failure of this phase, not bad luck.

    Lighting deserves the same care as any appliance. A kitchen needs three layers: bright task lighting under overhead cabinets for the counter, general ceiling light for the room, and a warm accent if there is an island or breakfast counter. Done right, the kitchen feels welcoming at night instead of harsh.

    • Seal the sink fully: Silicone seal all around the sink rim. A leaking sink rots the cabinet beneath it silently.
    • Test every circuit: Run the microwave, oven and chimney together to confirm the wiring handles real load.
    • Layer the lighting: Under-cabinet task lights plus ceiling light plus optional accents. One tube light is never enough.
    • Demo every appliance: Get a working demonstration of the chimney, hob ignition, purifier and any built-in oven.
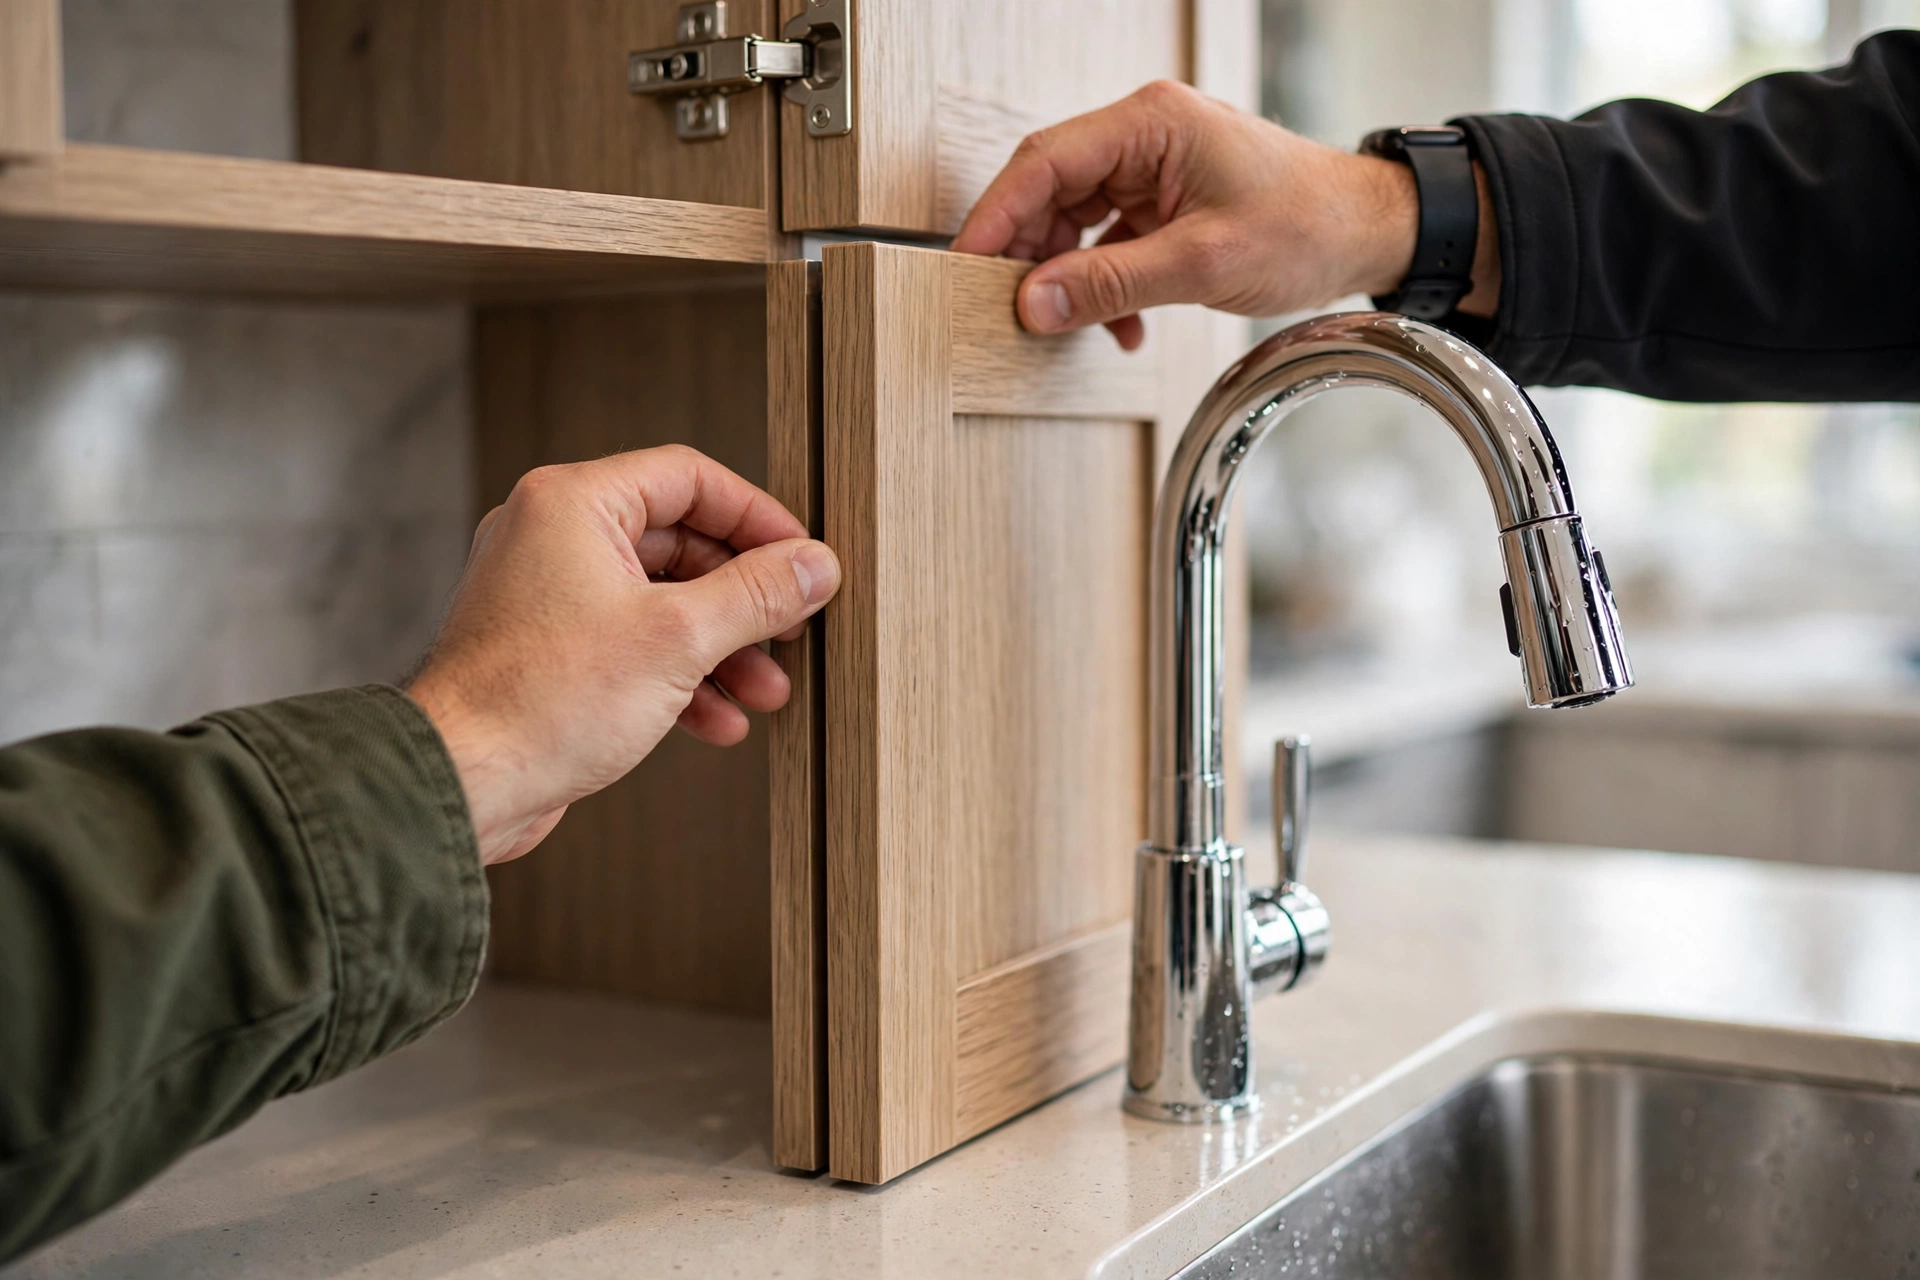
    Finished modern kitchen with appliances island and lighting after construction
    Step 9: Fixtures, appliances and layered lighting complete the working kitchen.

    Phase 10: Final Inspection, Handover and Maintenance (After Construction)

    No professional project ends without a snag list. Walk through the finished kitchen slowly and note everything imperfect: a paint touch up here, a hinge adjustment there, a grout line to clean, a socket plate to align. Goodwell Technical Services hands over only after every snag is closed, and provides a simple maintenance sheet so the kitchen stays new for years. To book a site visit for your own project, you can reach out any time.

    Deep cleaning comes before handover: construction dust hides inside every drawer and behind every appliance. A proper handover also includes all warranty cards, the contact numbers for appliance service, and a short briefing on what not to do, like pouring grease down the sink or using abrasive scrubbers on the countertop.

    • Make a snag list: Inspect in daylight and under artificial light. Note every defect, however small, and get it fixed.
    • Test water behavior: Run taps, check drainage speed, and look under the sink for any drip after an hour.
    • Collect documents: Keep warranty cards, paint shade codes and hardware brand details in one folder.
    • Schedule maintenance: Chimney filters need monthly cleaning, granite needs yearly sealing, and hinges deserve an annual check. Goodwell Technical Services provides a maintenance reminder service for completed kitchens.
    Final inspection of newly constructed kitchen checking finishing details
    Step 10: Final inspection and snag closure before the kitchen is handed over.

    Common Mistakes to Avoid During Kitchen Construction

    Over the years, Goodwell Technical Services has seen the same mistakes repeat in kitchens built without professional sequencing. Avoid these and your project will stay on budget and on time:

    • Ignoring the work triangle: A beautiful kitchen that forces long walks between sink, stove and fridge will annoy you daily.
    • Too few electrical points: Count every appliance you own and will own, then add four spare sockets. Retrofitting is messy.
    • Weak ventilation: Without a proper chimney and cross ventilation, grease coats every surface within months.
    • Cheap hardware: Saving on hinges and channels is the most expensive saving in kitchen construction.
    • Skipping waterproofing: Invisible on day one, catastrophic in year three. Never skip it.
    • Rushing the curing: Plaster and screed need their full curing time. Every rushed day steals years of life.
    • No drawings: Building without approved drawings guarantees arguments between trades and rework.

    Conclusion

    Kitchen construction is a chain of ten linked phases, and the strength of the finished kitchen equals the strength of the weakest phase. Plan carefully before construction, respect the hidden work of plumbing and electricals during construction, give cementing and coloring their full time, and finish with a ruthless inspection after construction. Follow this sequence and your kitchen will look beautiful on day one and still work beautifully in year fifteen.

    If you want this entire process handled by professionals, contact Goodwell Technical Services for a complete kitchen construction service, from design drawings to final handover, executed phase by phase exactly as described above.