

Introduction
A false ceiling does far more than hide the slab above it. It lowers an overly high ceiling, conceals wiring, ducts and pipes, improves room acoustics, and carries the layered lighting that makes a modern interior feel finished. A well installed gypsum ceiling sits perfectly level, shows no joints, and holds its smooth finish for decades, while a carelessly built one sags, cracks along every joint, and stains around the light fittings within a year. In this detailed guide, Goodwell Technical Services explains all ten phases of false ceiling installation step by step, from design and measurement to framing, board fixing, finishing and final handover.
Whether you are building a new villa or renovating a living room, bedroom or office, the sequence below is the professional order followed on real sites. In ceiling work more than any other interior trade, accuracy at the marking and framing stage decides everything that follows, so understand each phase before work begins.
Phase 1: Design and Measurement (Before Installation)
Good false ceiling design starts with honest measurement and a clear plan of what the ceiling must do. Measure the room length, width and slab height, note the positions of beams and ducts, and decide how much height the room can afford to lose, because every inch matters in low rooms. At Goodwell Technical Services, every false ceiling installation project begins with this survey, since the design must answer to the structure above it, not fight against it.
Decide the design type early: a simple perimeter tray for a clean modern look, a layered or coffered design for a formal living room, or a full plain ceiling where the goal is lighting and air conditioning alone. The lighting plan belongs on the drawing too: cove positions, downlight spacing and chandelier points are fixed now, because moving a light point after the boards go up means cutting into a finished ceiling.
- Measure everything: Room dimensions, slab height, beam depths and the exact position of ducts and existing services.
- Fix the finished height: Decide the ceiling level now, keeping comfortable headroom and enough space for ducts and wiring above.
- Draw the lighting plan: Cove lights, downlights and fan or chandelier points marked on the ceiling drawing from day one.
- Choose the design early: Tray, layered, coffered or plain; late design changes mean reframing finished work.
- Budget with a buffer: Keep ten percent aside; hidden slab problems often appear once work starts.

Phase 2: Material Selection (Before Installation)
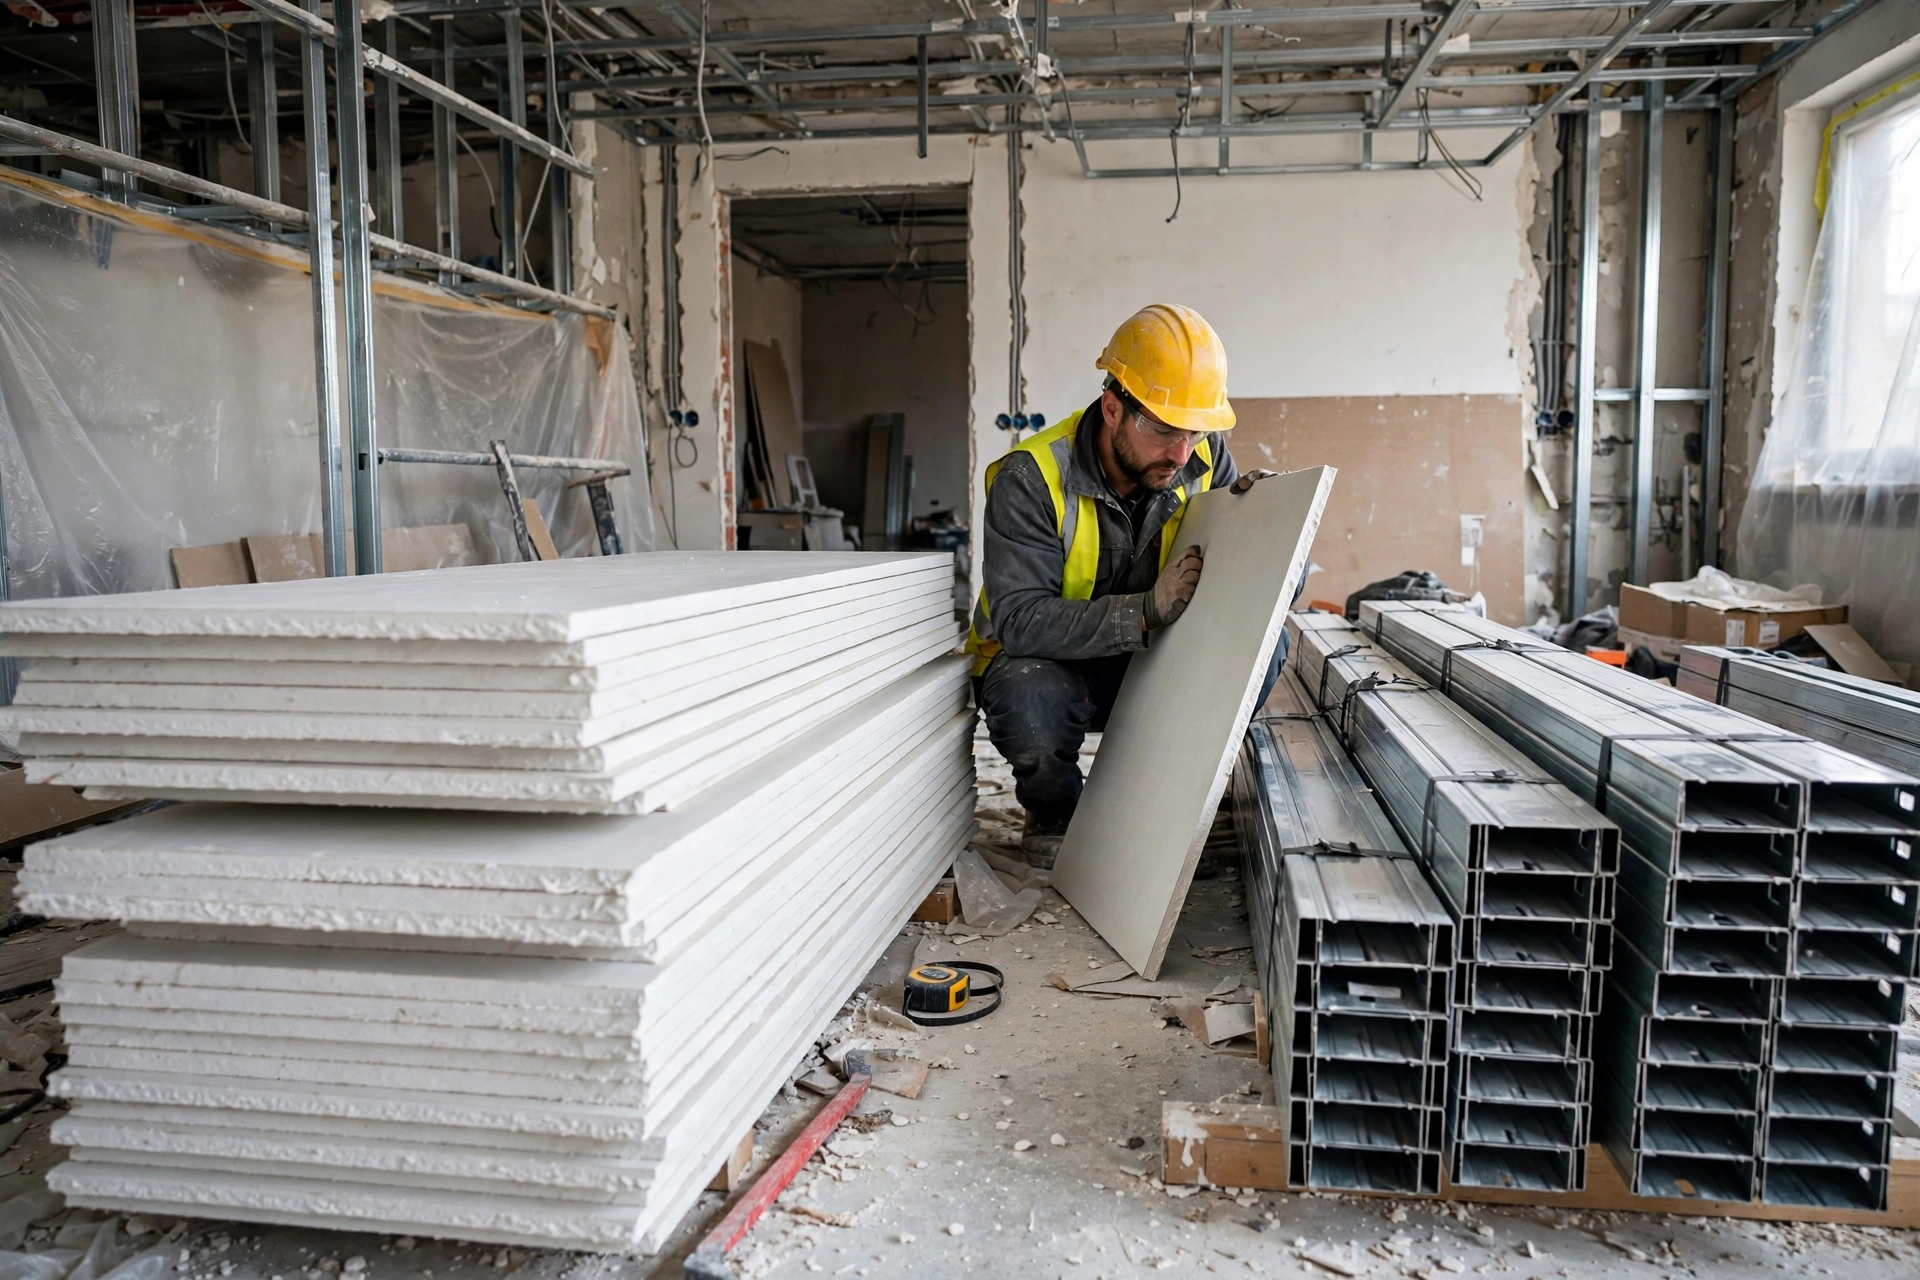
The materials chosen in this phase decide how long the ceiling stays flat and crack free. Standard gypsum boards serve most rooms, moisture resistant boards belong in kitchens and bathrooms, and fire rated boards are used where safety rules demand them. Board thickness matters just as much: 12.5 mm boards are the professional standard for ceilings, because thinner boards flex and sag between the frame members.
The frame deserves the same care as the boards. Galvanized steel channels and sections resist rust and stay straight, while poor framing twists under load. Our team checks every board for damaged edges and every bundle of channels for straightness on delivery, because defective material built into a ceiling cannot be corrected later without opening finished work.
- Match board to room: Standard gypsum for dry rooms, moisture resistant for kitchens and bathrooms, fire rated where required.
- Use 12.5 mm boards: Thinner boards sag and flex; full thickness boards hold a flat plane for decades.
- Galvanized framing only: Rust resistant steel channels and angles keep the frame straight and stain free.
- Quality screws and tapes: Drywall screws, fiber mesh tape and branded joint compound prevent joint cracks.
- Inspect on delivery: Reject bent channels, chipped boards and damp cartons before they enter the site.
Phase 3: Level Marking and Layout (Before Installation)
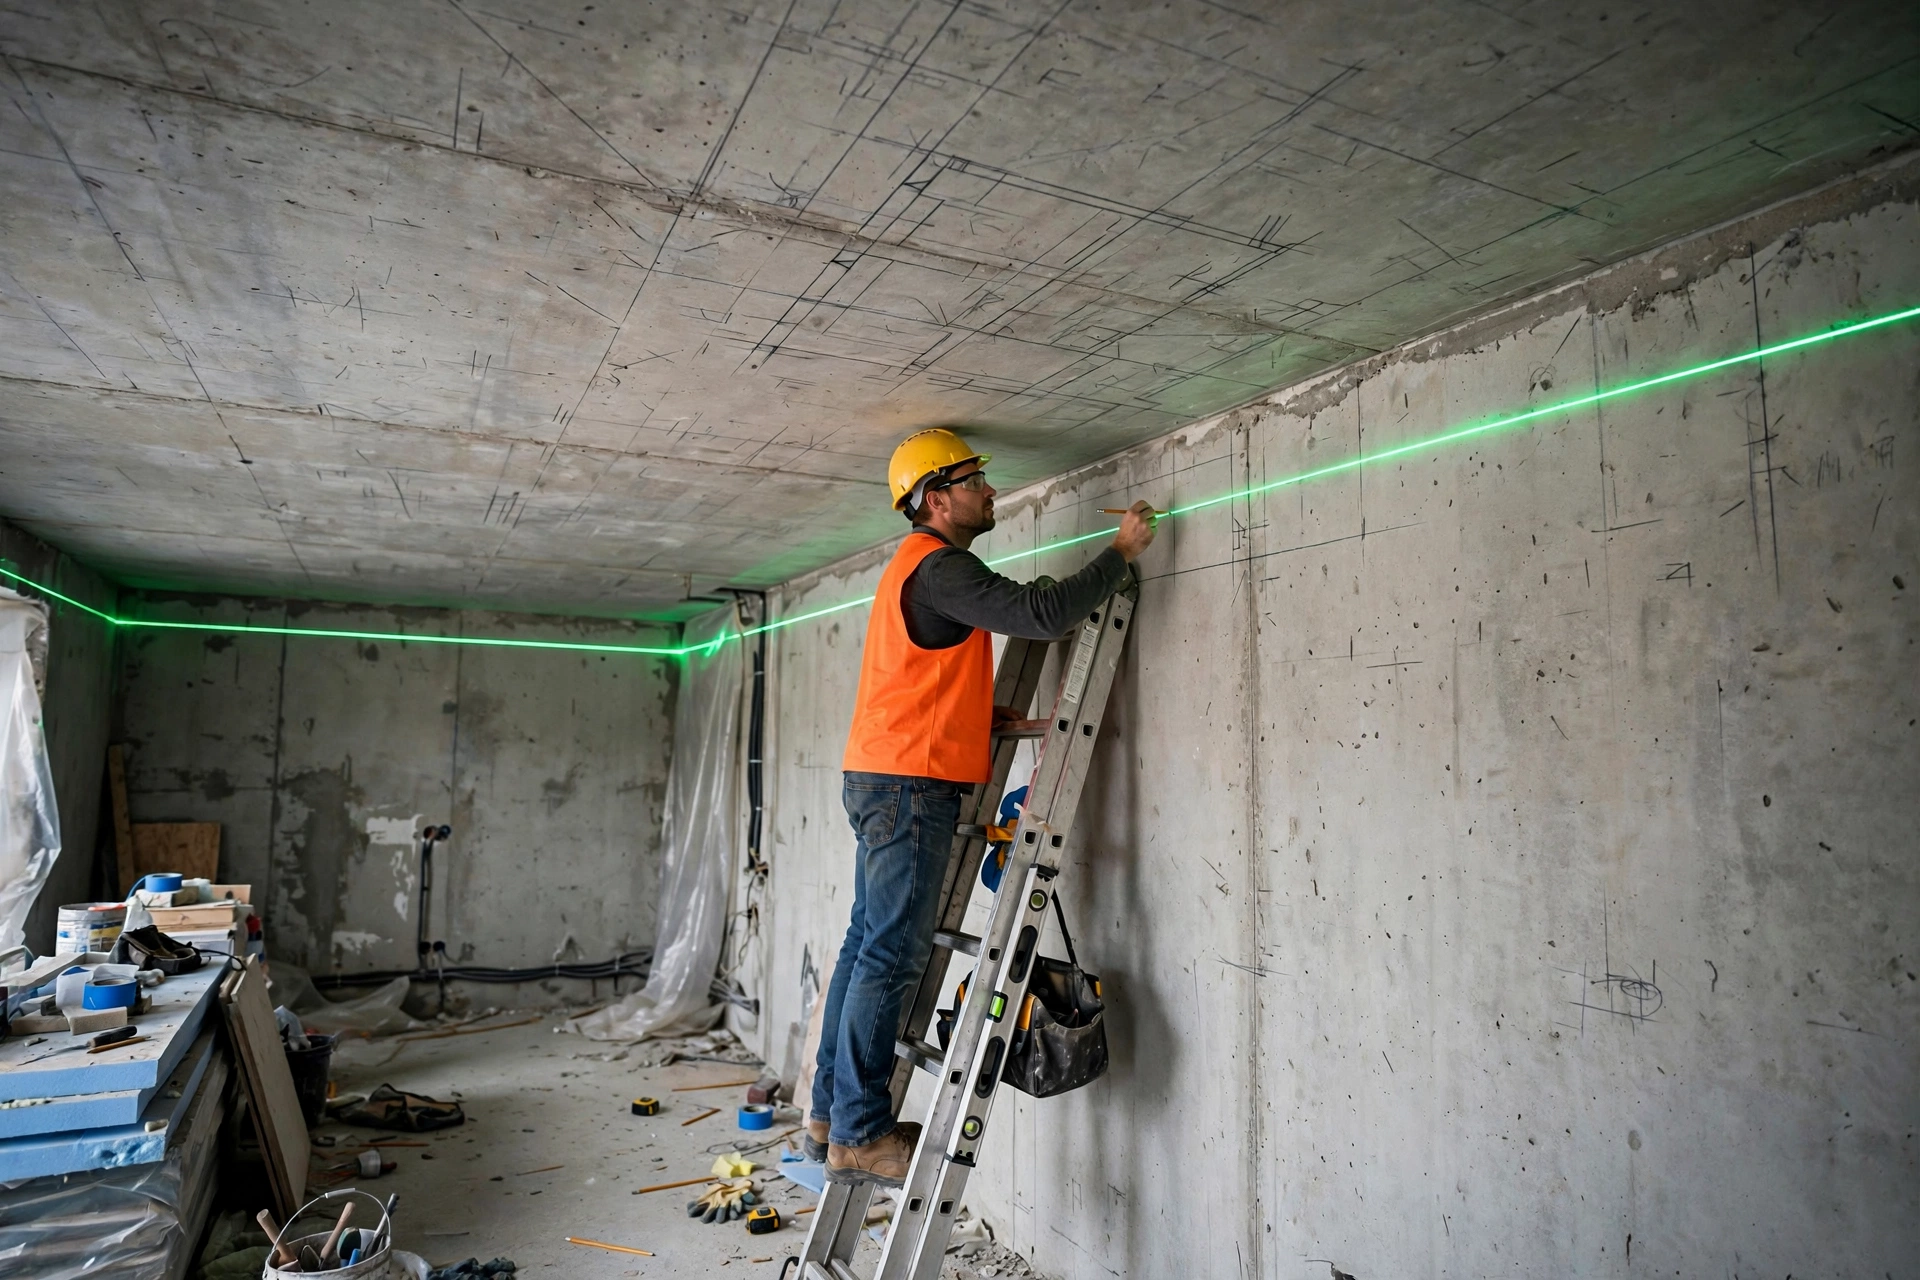
A false ceiling is only as level as the lines it is built from. The finished ceiling level is marked on all four walls using a laser level or a water level pipe, checked corner to corner, and the layout of the main channels, cross channels, hangers and board joints is drawn on the slab above. Goodwell Technical Services treats marking as a measured survey, not a rough guide, because every channel and board that follows inherits these lines exactly, errors included.
The layout must also respect the design drawing: light points, cove edges, AC grill positions and access panels for valves and junction boxes are all marked now, so nothing has to be cut blindly through finished boards later. Perimeter levels are double checked against door heads and window tops, since a finished ceiling that clashes with a window frame line looks wrong forever.
- Laser level the perimeter: One continuous level line on all walls, checked diagonally corner to corner.
- Draw the frame grid: Main channels, cross channels and hanger positions marked on the slab before drilling.
- Mark every opening: Lights, AC grills, speakers and access panels positioned on the layout now.
- Respect door and window lines: The finished level must clear frames and pelmets without awkward steps.
- Photograph the layout: Record the marked grid and service positions before the frame hides them.
Phase 4: Metal Framing and Channel Work (During Installation)
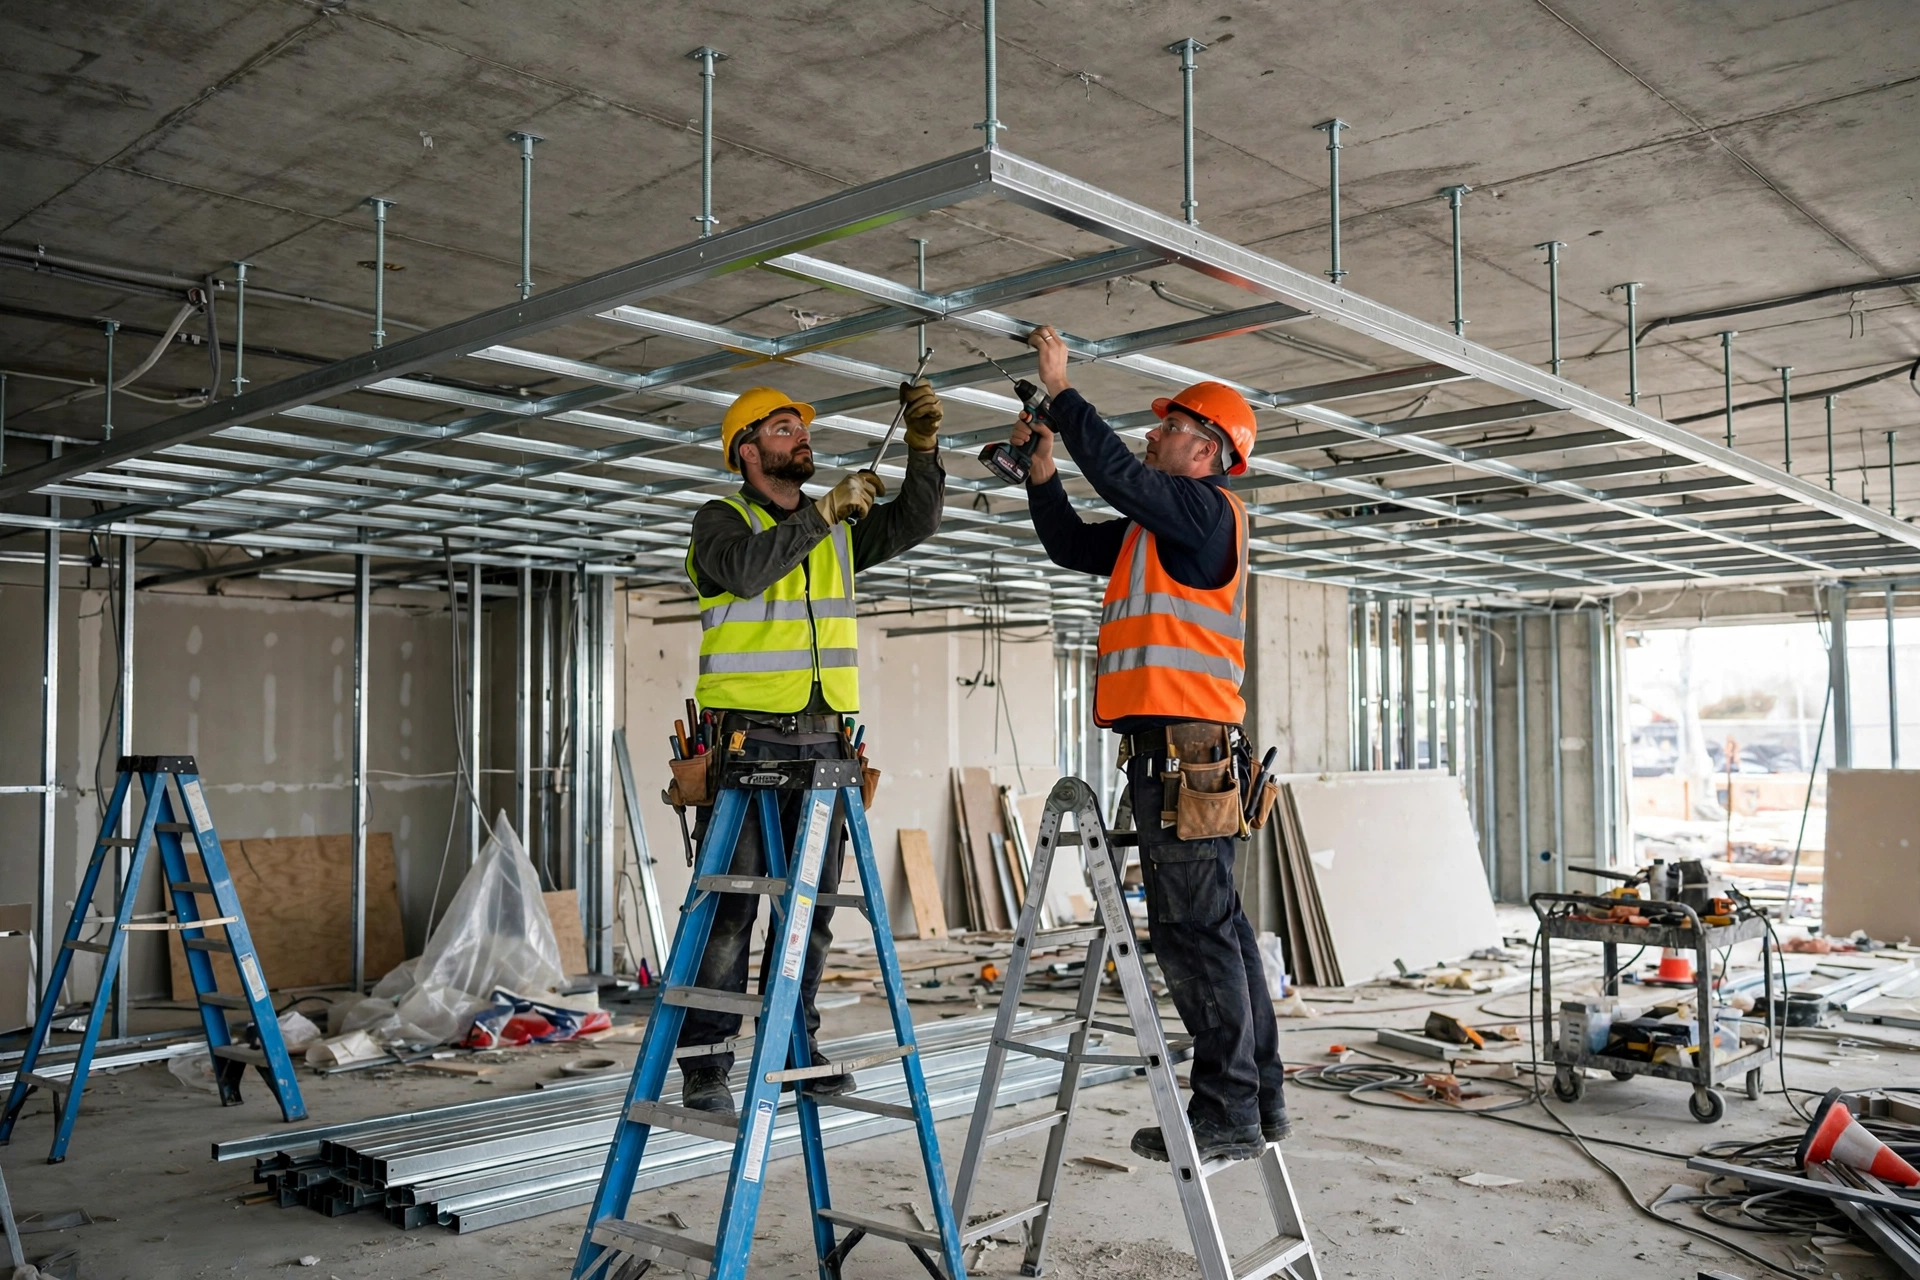
The frame is the skeleton of the ceiling, and it carries every board, light fitting and cove above it. Perimeter channels are fixed to the walls at the marked level, main channels are suspended from the slab on hangers with anchor fasteners, and cross channels lock into them to form a rigid grid. Spacing is disciplined: hangers and channels follow the board manufacturer’s grid, never stretched wider to save material, because an under-framed ceiling waves, sags and eventually cracks.
The completed grid is checked with a laser and a long straight edge in both directions before a single board is lifted. Goodwell Technical Services never compromises on this check, because a frame that is out of level by five millimetres shows in every light reflection on the finished ceiling, and no amount of joint compound or paint can hide it.
- Anchor hangers into the slab: Proper anchor fasteners, never nails or wire twists, carry the ceiling load safely.
- Follow the grid spacing: Channels and hangers at the specified centres; wider spacing invites sagging.
- Level as you build: Check the grid with laser and straight edge section by section, not at the end.
- Frame the design features: Cove edges, drops and pelmet boxes are built into the frame, not added later.
- Extra support at loads: Chandelier and fan points get independent hangers fixed directly to the slab.
Phase 5: Electrical, Lighting and AC Coordination (During Installation)
Everything that will live above the ceiling goes in now, while the frame is still open. Electricians run concealed conduits and wiring to every light point, fan point and switch line shown on the drawing, and junction boxes are fixed to the slab or the frame, never left resting on the boards. AC ducts are installed or adjusted in the same window, and grill positions are confirmed against the frame grid so every opening lands exactly between channels.
The proof of this phase is a full test before boarding: every circuit is checked, every duct joint is sealed, and insulation above the ceiling is laid wherever the design calls for it. Goodwell Technical Services never allows boards to close over untested services, because a fault found after finishing means cutting open a painted ceiling.
- Wire to the drawing: Every downlight, cove strip and fan point wired and labelled before boards close.
- Fix junction boxes solidly: Boxes mount to the slab or frame; nothing electrical rests on gypsum boards.
- Coordinate AC early: Ducts, grills and drain lines positioned with the frame grid, not forced through it.
- Test before closing: All circuits and duct joints checked and sealed while access is still open.
- Add insulation where planned: Acoustic or thermal blankets laid above boards in bedrooms and home theatres.

Phase 6: Gypsum Board Fixing (During Installation)
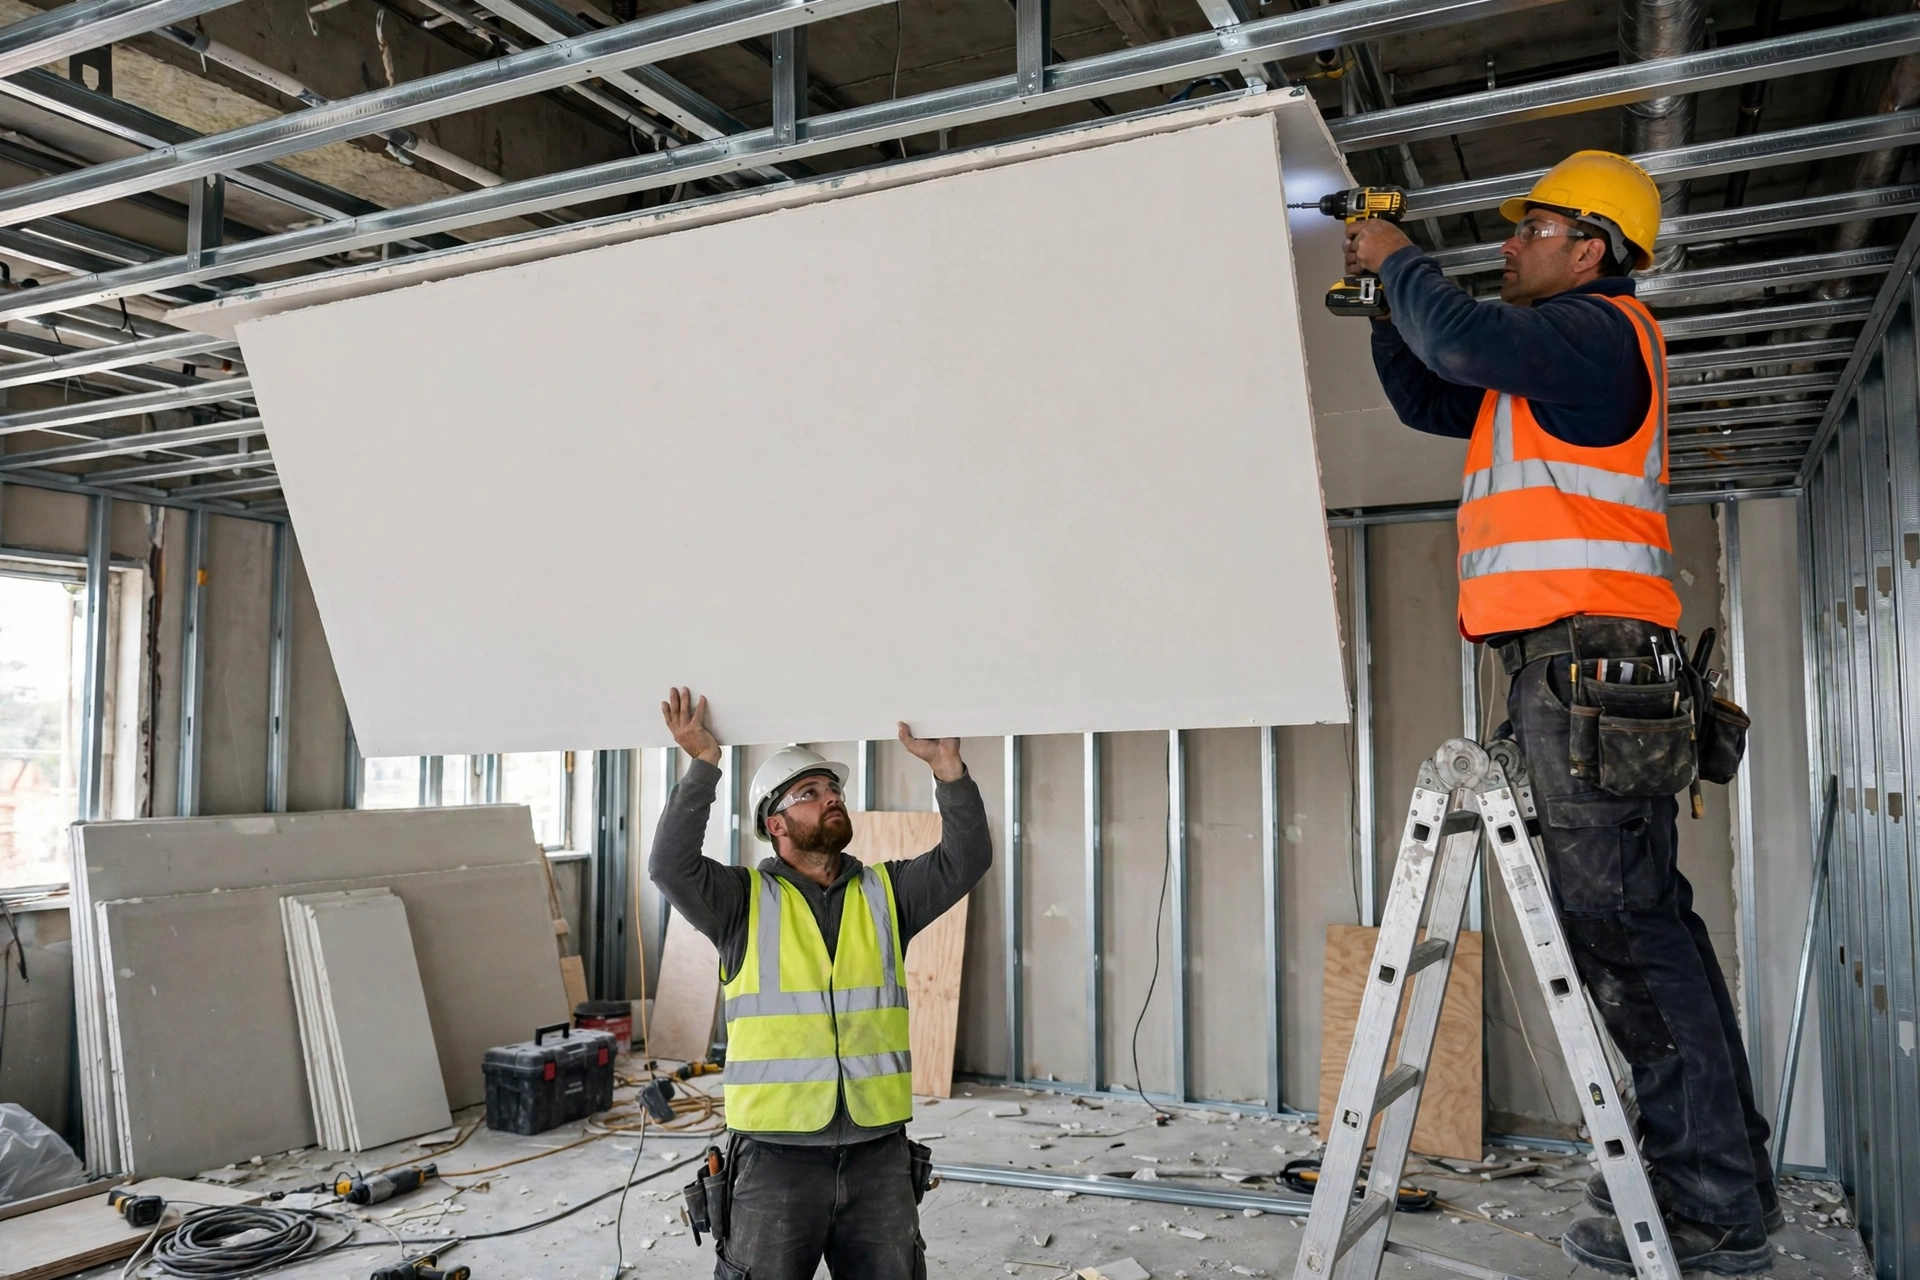
With the frame level and the services tested, the boards go up. Boards are lifted flat against the grid and fixed with drywall screws at close, regular spacing, each screw driven just below the surface without tearing the paper face. The false ceiling installation experts at Goodwell Technical Services stagger board joints so that no four corners ever meet at one point, because aligned joints concentrate stress and are always the first to crack.
Openings for lights, grills and access panels are cut accurately as the boards are fixed, with extra framing around them for support. Perimeter gaps are kept small and consistent, and any board with a torn edge is rejected rather than hidden, since buried defects eventually print through the paint.
- Screw, never nail: Drywall screws at regular centres, sunk just below the face without breaking the paper.
- Stagger all joints: Board ends offset from row to row so cracks cannot run in a straight line.
- Cut openings cleanly: Light and grill cut-outs measured from the layout, with edges framed for support.
- Keep joints tight: Boards butted neatly with a hairline gap for compound, never forced or overlapped.
- Support heavy fittings: Chandelier and projector mounts fixed to independent slab anchors, not to boards.
Phase 7: Joint Taping and Filling (During Installation)
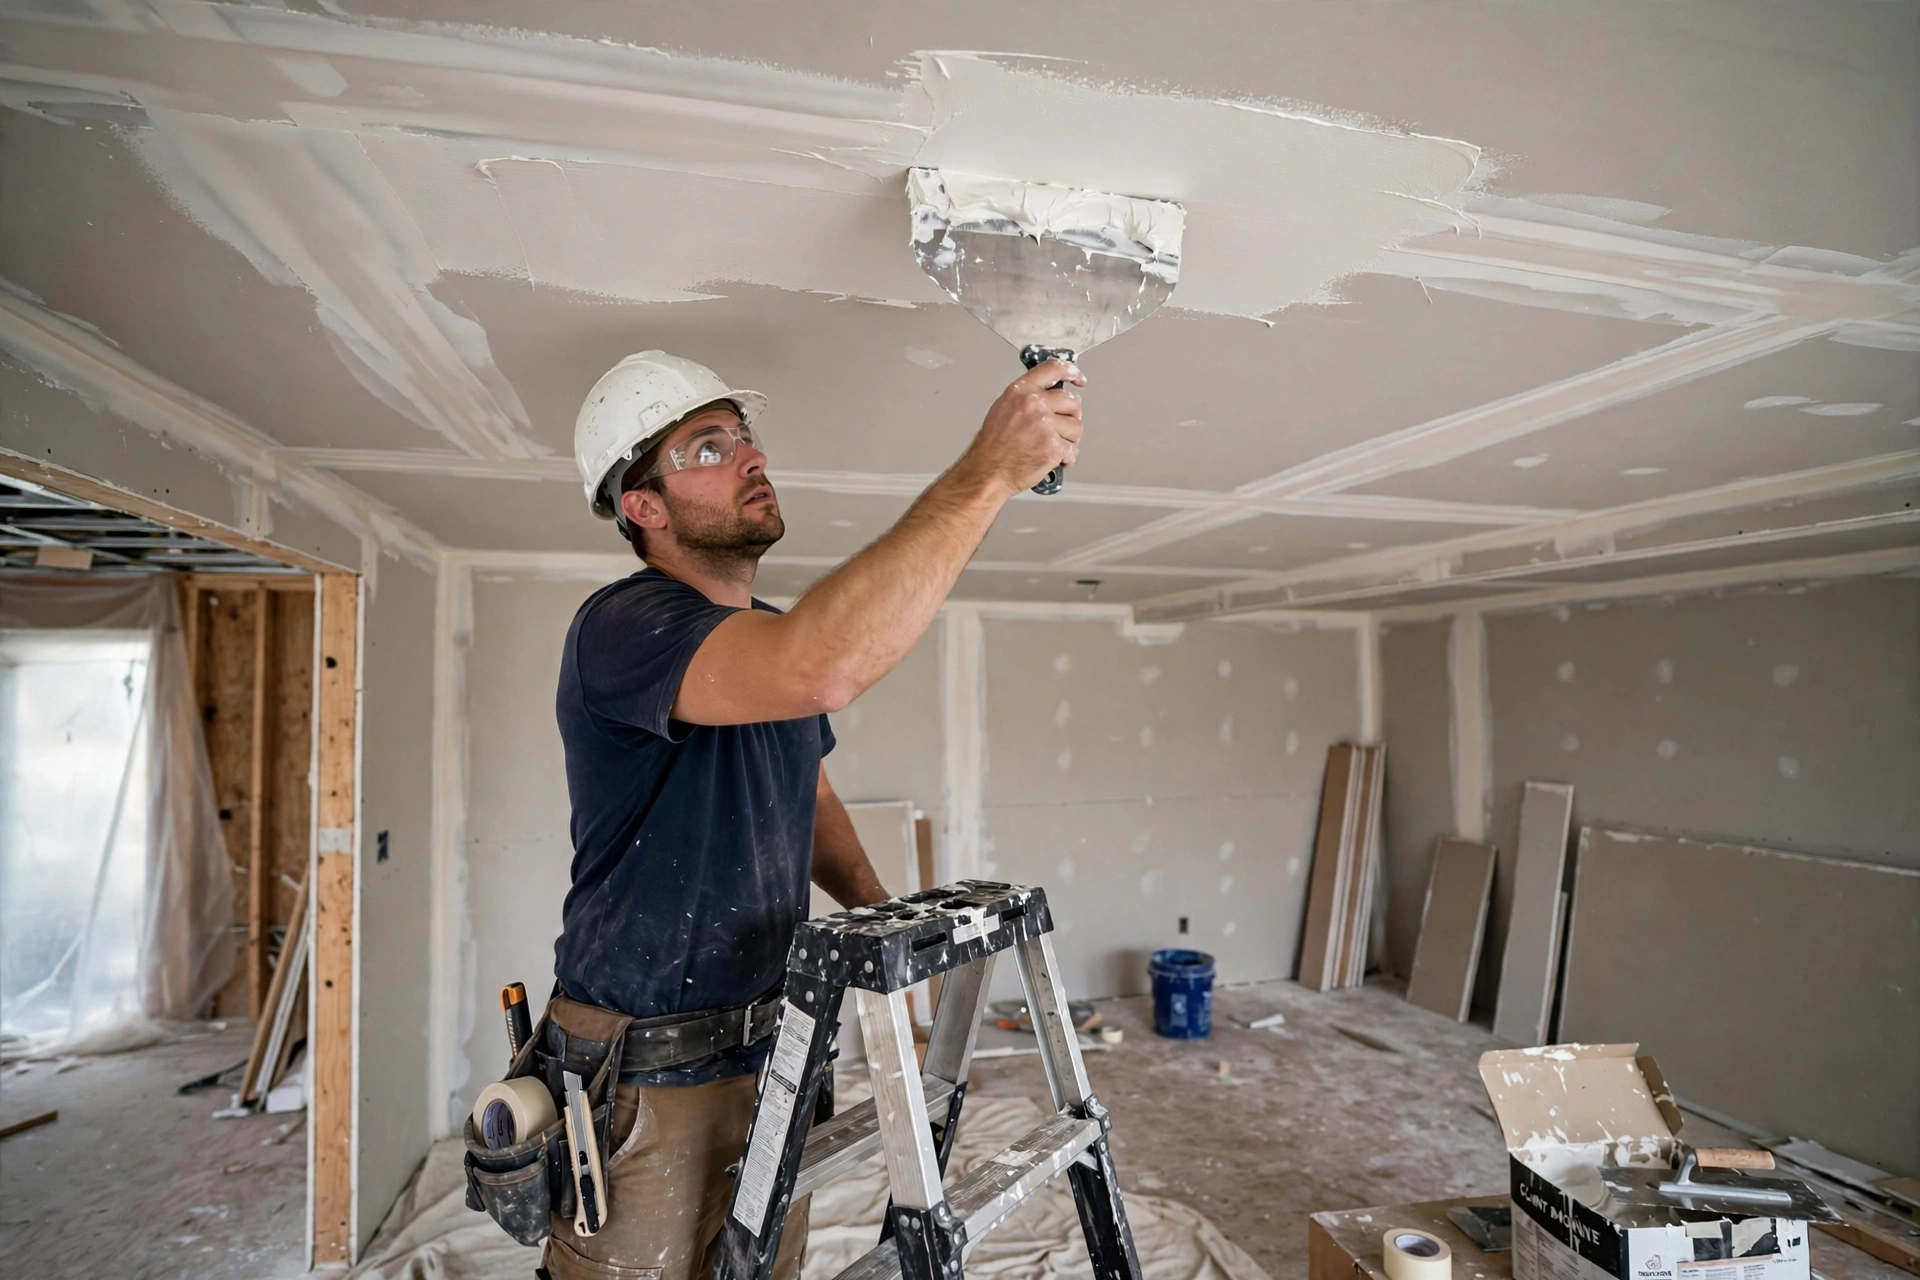
Boarding leaves a ceiling of visible joints and screw heads; this phase makes them disappear. Every joint is covered with fiber mesh or paper tape embedded in joint compound, screw heads are spotted over, and corner beads are set on external angles. The first coat is kept tight and thin, bedding the tape fully without building humps that the later coats would have to fight.
For design ideas and finish selection, homeowners often browse the Goodwell Technical Services homepage to see how completed ceilings handle cove lighting and layered designs. Back on site, compound is applied in two or three passes, each wider than the one before and each allowed to dry fully, feathering the joint into the board surface until the filled zone is far wider than the joint.
- Tape every joint: Mesh or paper tape embedded in compound stops cracks before they start.
- Thin first coat: The bedding coat locks the tape; thick first coats shrink and crack.
- Feather each pass: Second and third coats spread wider, blending the joint invisibly into the board.
- Set corner beads: External corners get metal or PVC beads for straight, damage resistant edges.
- Dry between coats: Compound must dry fully before the next pass; trapped moisture softens joints.
Phase 8: Sanding and Surface Finishing (During Installation)
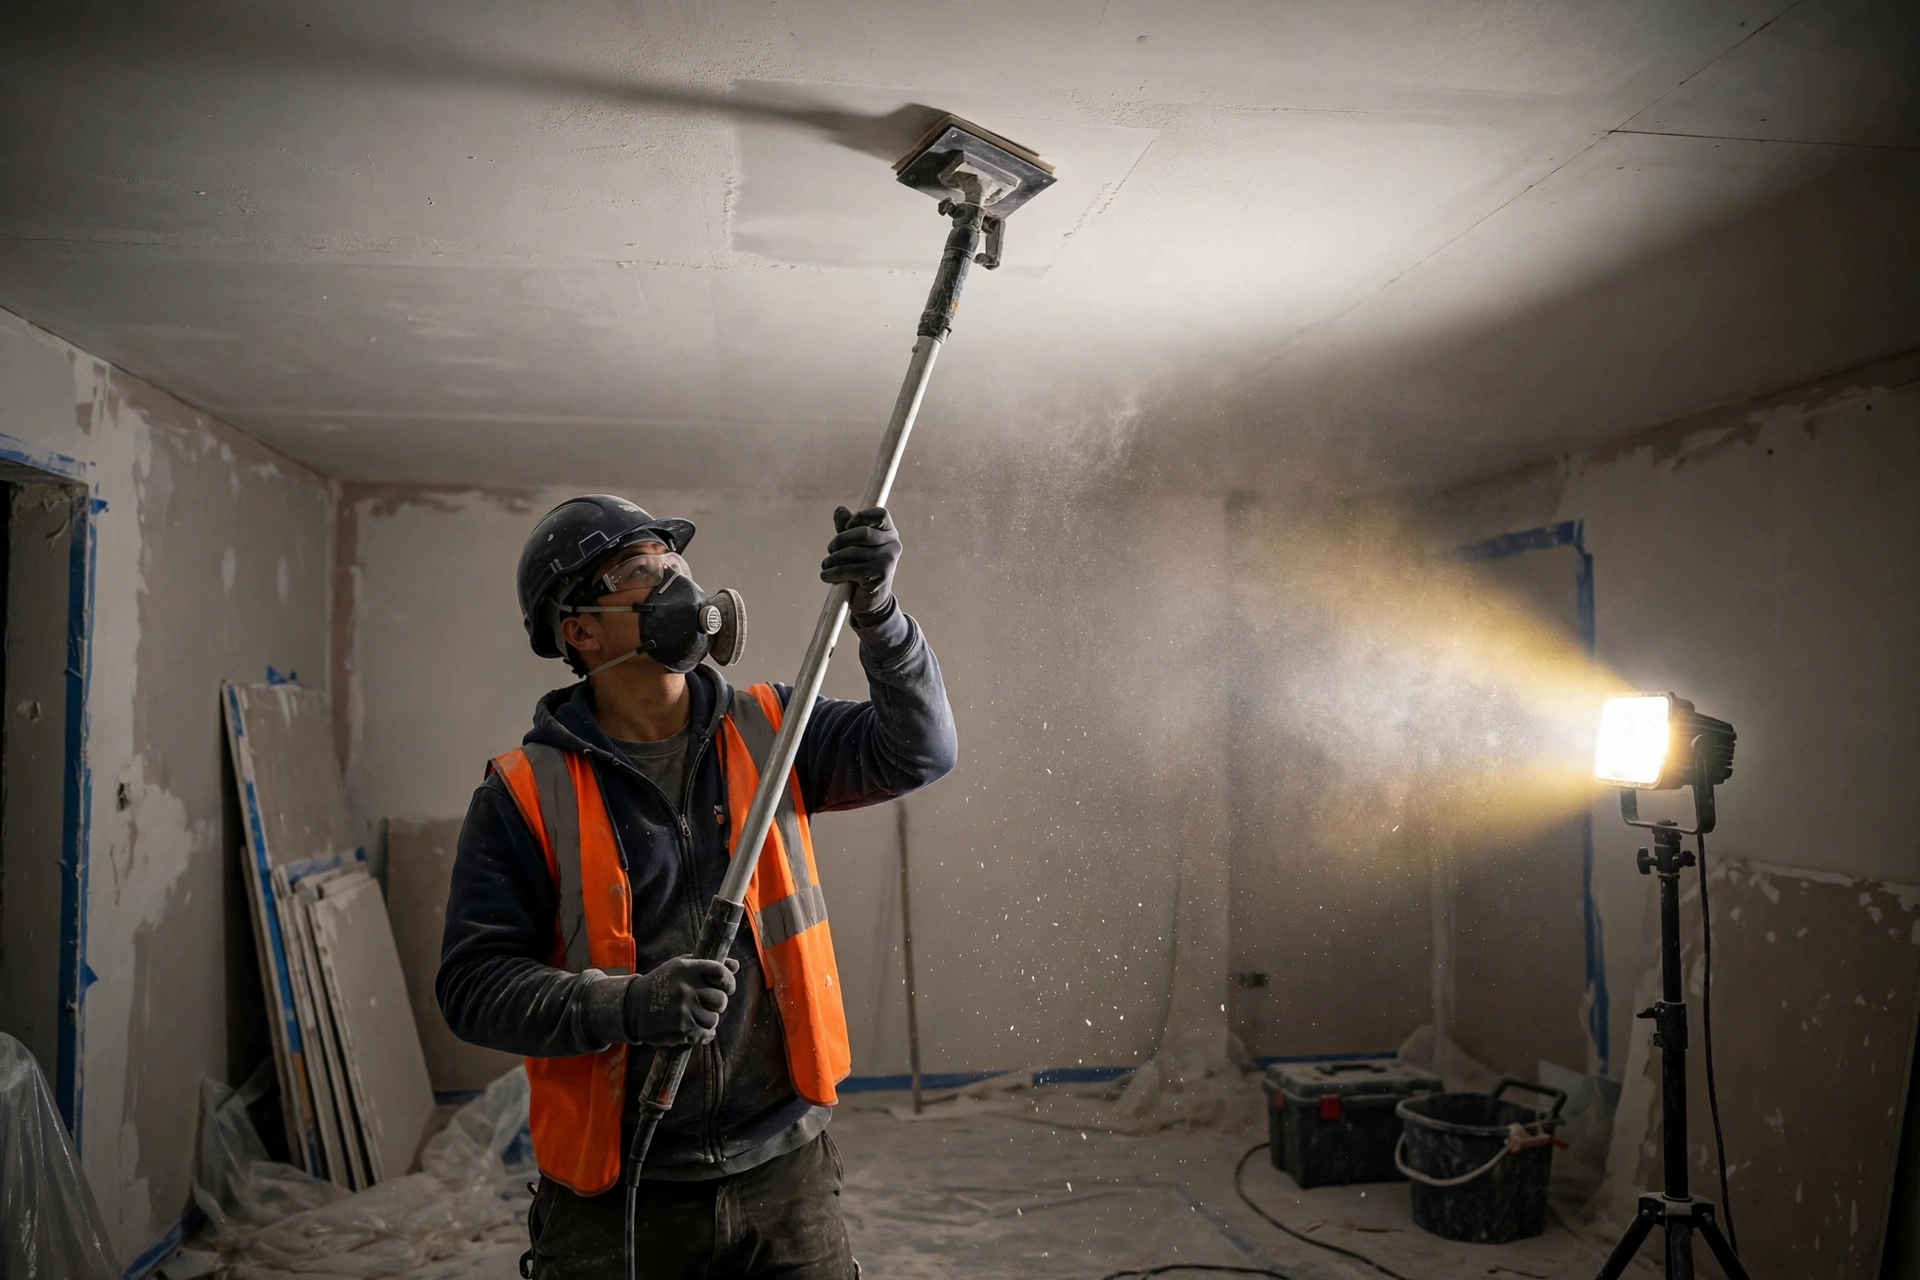
Once the compound has dried hard, the whole ceiling is sanded smooth: joints are levelled with fine sandpaper on a pole sander, ridges are knocked down, and the surface is checked under a raking work light that exposes every remaining wave and pinhole. Goodwell Technical Services treats this light test as the real inspection, because a ceiling that looks flat in daylight can show every single joint under evening downlights.
Dust control matters as much as smoothness. Sanding dust is vacuumed and wiped from the surface, the ledges and the floor, because paint laid over dust loses adhesion and dries rough. Every pinhole found under the light is filled and re-sanded, and only when the surface passes the test from every direction is the ceiling ready for paint.
- Sand with fine grit: Pole sanders and fine paper level the joints without gouging the board face.
- Use raking light: A work light held along the surface reveals waves and pinholes invisible from below.
- Fill and re-sand: Every defect found under the light is touched up before paint, never after.
- Remove all dust: Vacuum and wipe the ceiling clean; paint bonds to the surface, not to a dust layer.
- Check the coves: Corners and cove curves sanded by hand for a clean, continuous line.
Phase 9: Painting and Lighting Installation (After Installation)
The finished surface gets its colour: one coat of primer seals the compound and the boards evenly, followed by two coats of ceiling paint, usually flat or matte white to hide minor imperfections and spread the light softly. Goodwell Technical Services uses quality washable emulsions on ceilings in kitchens and living areas, because cooking fumes and household dust dull ordinary paint surprisingly quickly.
With the paint cured, the electricians return for the visible fittings: recessed downlights are clipped into their cut-outs, cove LED strips are fixed and concealed along the tray edges, and the chandelier or fan is mounted on its independent slab support. Each fitting is aimed and dimmer-checked, so the lighting design drawn in phase one is exactly what the room receives.
- Prime before paint: Sealer evens out compound and board absorption for a uniform finish.
- Two finish coats: Matte ceiling paint in two coats for full coverage and a soft, even sheen.
- Fit lights after paint: Downlights and strips installed on the cured finish, never painted around.
- Test every circuit: Each light, strip and dimmer run and checked before the team leaves the room.
- Align the fittings: Downlight rows checked from the doorway; one crooked light spoils the whole grid.

Phase 10: Final Inspection, Handover and Maintenance (After Installation)
The snag list is the soul of a professional handover. Stand in the doorway at night with only the ceiling lights on and look for joint shadows, check every cove line for straightness, run every light and dimmer, open the access panels to confirm the services above are reachable, and scan for screw pops or hairline cracks. Goodwell Technical Services closes every snag before handover and leaves a maintenance note, because a ceiling is only finished when it looks perfect under its own lighting. To book a site visit for your own ceiling project, reach out any time.
Maintenance keeps it perfect: dust the cove ledges monthly, repaint on the normal interior cycle, never hang anything from the boards without first finding the frame or a slab anchor, and ask for an inspection if a joint line ever appears. Goodwell Technical Services offers periodic interior health checks for completed projects, catching small issues early.
- Night light test: Inspect the ceiling under its own downlights; raking light hides nothing.
- Check access panels: Every valve and junction box above the ceiling must stay reachable.
- Run all fittings: Lights, strips, fans and dimmers tested together at full load.
- Keep documents: Board type, paint code and the frame layout photograph stored in one folder.
- Hang loads correctly: Future fittings must fix to the frame or slab anchors, never to gypsum alone.

Common Mistakes to Avoid During False Ceiling Installation
Across hundreds of sites, Goodwell Technical Services has seen the same ceiling mistakes repeat. Avoid these and your ceiling will stay flat, bright and crack free:
- Skimping on the frame: Wide channel spacing and weak hangers guarantee a sagging, wavy ceiling.
- Skipping the level check: A frame out of level shows in every reflection once the lights come on.
- Closing boards over untested services: Wiring and duct faults found later mean cutting a finished ceiling.
- Thick joint coats: Heavy compound shrinks and cracks; thin feathered coats are the professional way.
- Painting over dust: Uncleaned sanding dust breaks paint adhesion and roughens the finish.
- Hanging loads from boards: Chandeliers fixed to gypsum alone will pull through. Always anchor to the slab.
- No access panels: Valves and junction boxes sealed above a ceiling become demolition jobs later.
Conclusion
False ceiling installation rewards accuracy and punishes shortcuts. Design and measure honestly before installation, mark true levels, build a rigid and level frame and test every service during installation, and finish with patient jointing, sanding and a ruthless inspection after installation. Follow these ten phases and your ceiling will stay level, bright and joint free for decades.
For a ceiling built right the first time, contact Goodwell Technical Services for complete false ceiling installation, from design and framing to lighting and final handover, executed phase by phase exactly as described above.