

Introduction
The driveway, courtyard and garden paths are the first surfaces every visitor walks on, and they carry cars, foot traffic, harsh sun and heavy rain every single day. Interlock paving is popular because the individual blocks share loads across the whole surface, so a well built paved area stays flat and strong for decades, while a badly built one sinks in the wheel tracks, spreads at the edges and grows weeds within a year or two. In this detailed guide, Goodwell Technical Services explains all ten phases of interlock paving step by step, from design and excavation to base work, laying, jointing and final sealing.
Whether you are paving a villa driveway, a parking court or a full garden, the sequence below is the professional order followed on real sites. With interlock paving, almost everything that decides quality is hidden below the surface, in excavation depth, base compaction and edge strength, so understand each phase before work begins.
Phase 1: Design, Pattern and Paver Selection (Before Installation)
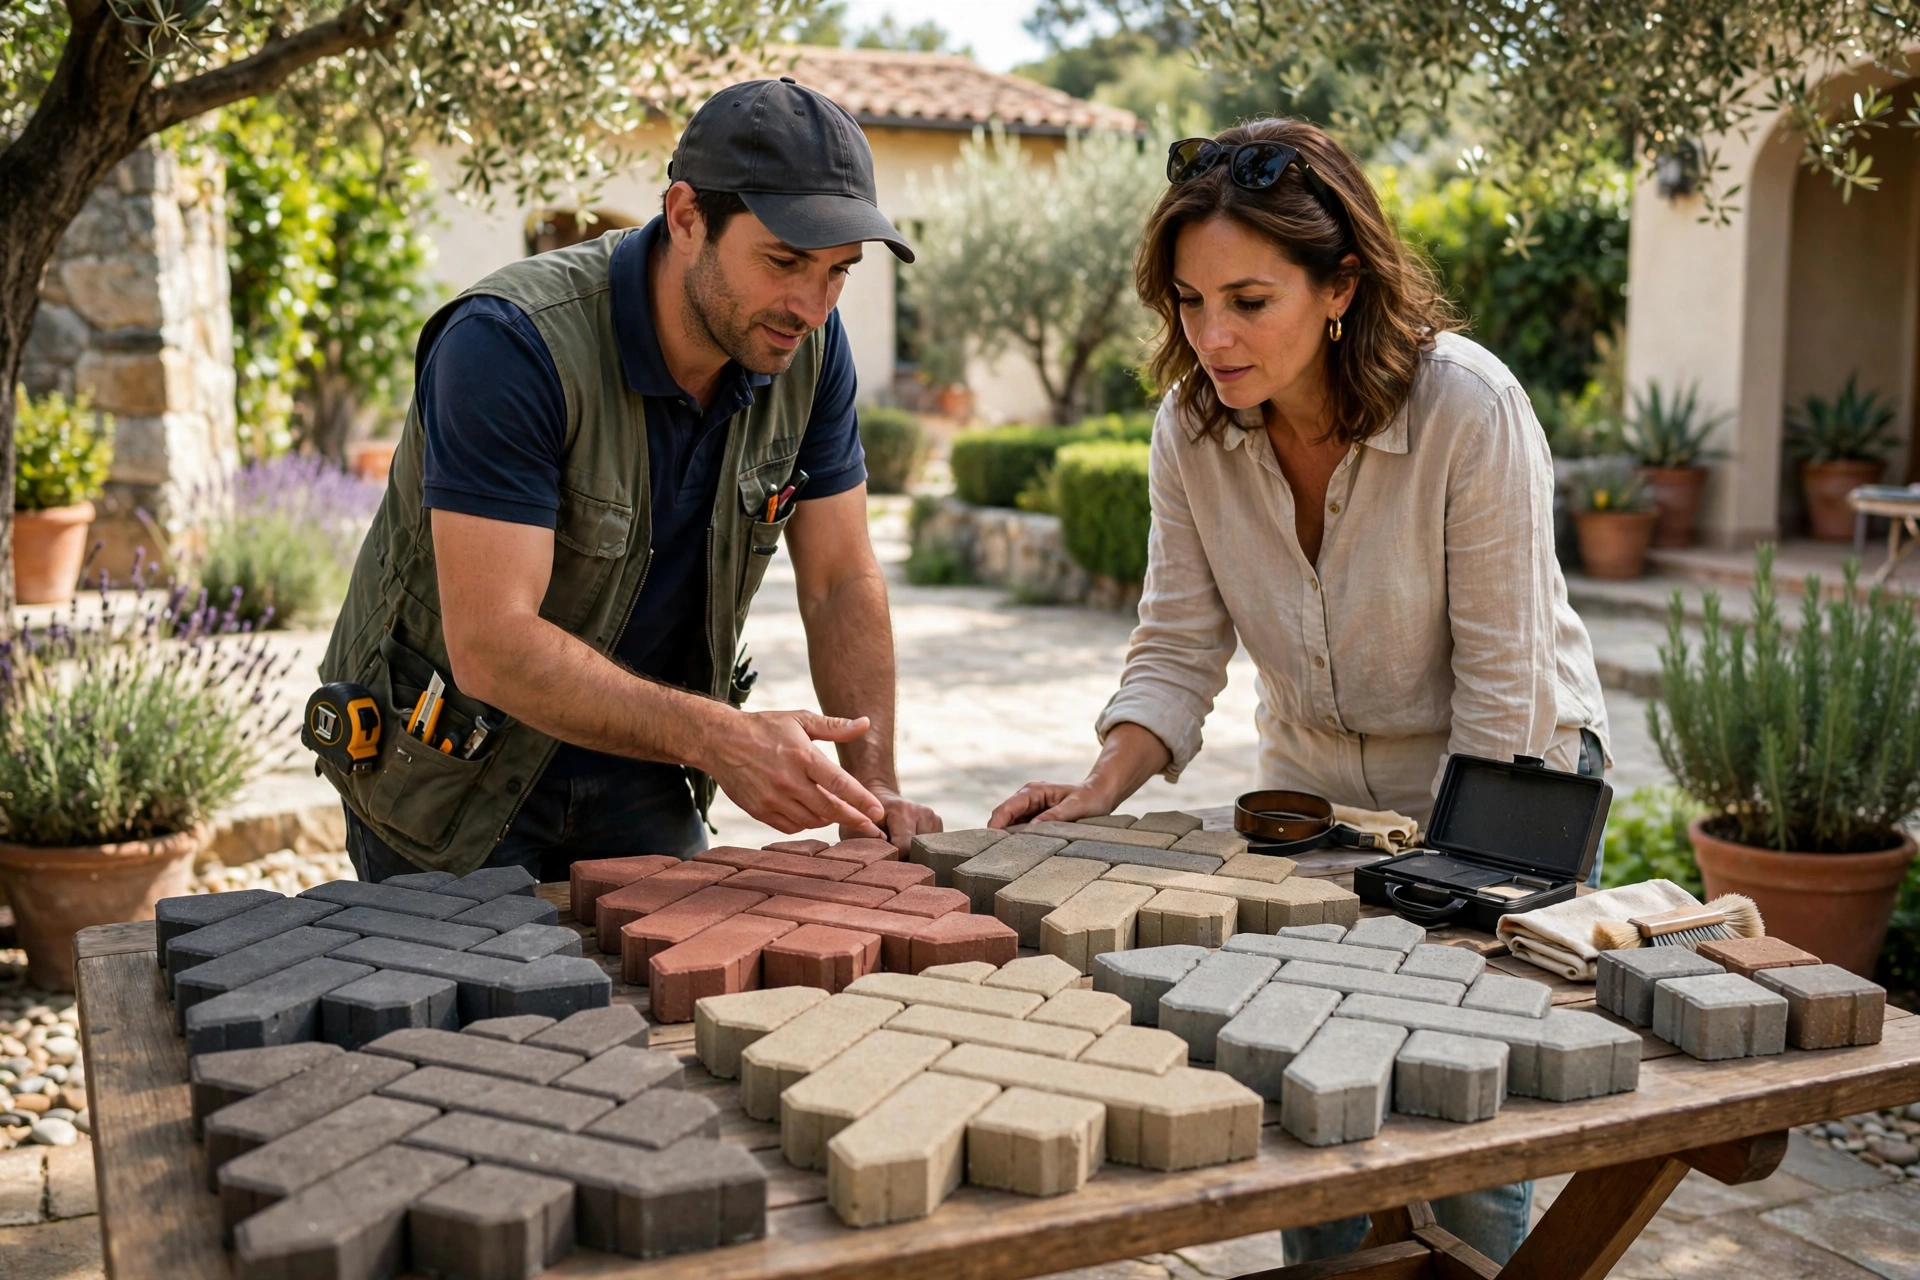
Good paving starts with a design, not with a delivery of blocks. The laying pattern is chosen first: herringbone at forty five or ninety degrees gives the strongest interlock for driveways, running bond suits paths and courtyards, and basket weave or stretcher patterns give a softer look for garden areas. At Goodwell Technical Services, every interlock paving project begins with matching the pattern and the paver to the load it will carry, because a pattern that looks fine on a footpath can slowly creep apart under turning car tyres.
Paver thickness matters as much as pattern. Standard sixty millimetre blocks suit cars and light vehicles, eighty millimetre heavy duty blocks are used where vans, water tankers or delivery trucks will pass, and slimmer blocks are kept for pedestrian areas only. Colours are blended from several packs during laying so no single batch tone shows as a patch, and a sample panel is always approved before full laying starts.
- Choose the pattern for the load: Herringbone for driveways, running bond for paths, decorative patterns for courtyards.
- Match thickness to traffic: 60 mm for cars, 80 mm for heavy vehicles, thinner blocks for footpaths only.
- Check the finish: Smooth, textured or tumbled pavers; textured surfaces grip better in wet weather.
- Approve a sample panel: Lay one square metre dry and view it in daylight before committing.
- Blend from multiple packs: Mix blocks from several packs to avoid visible colour patches.
Phase 2: Site Measurement and Quantity Calculation (Before Installation)
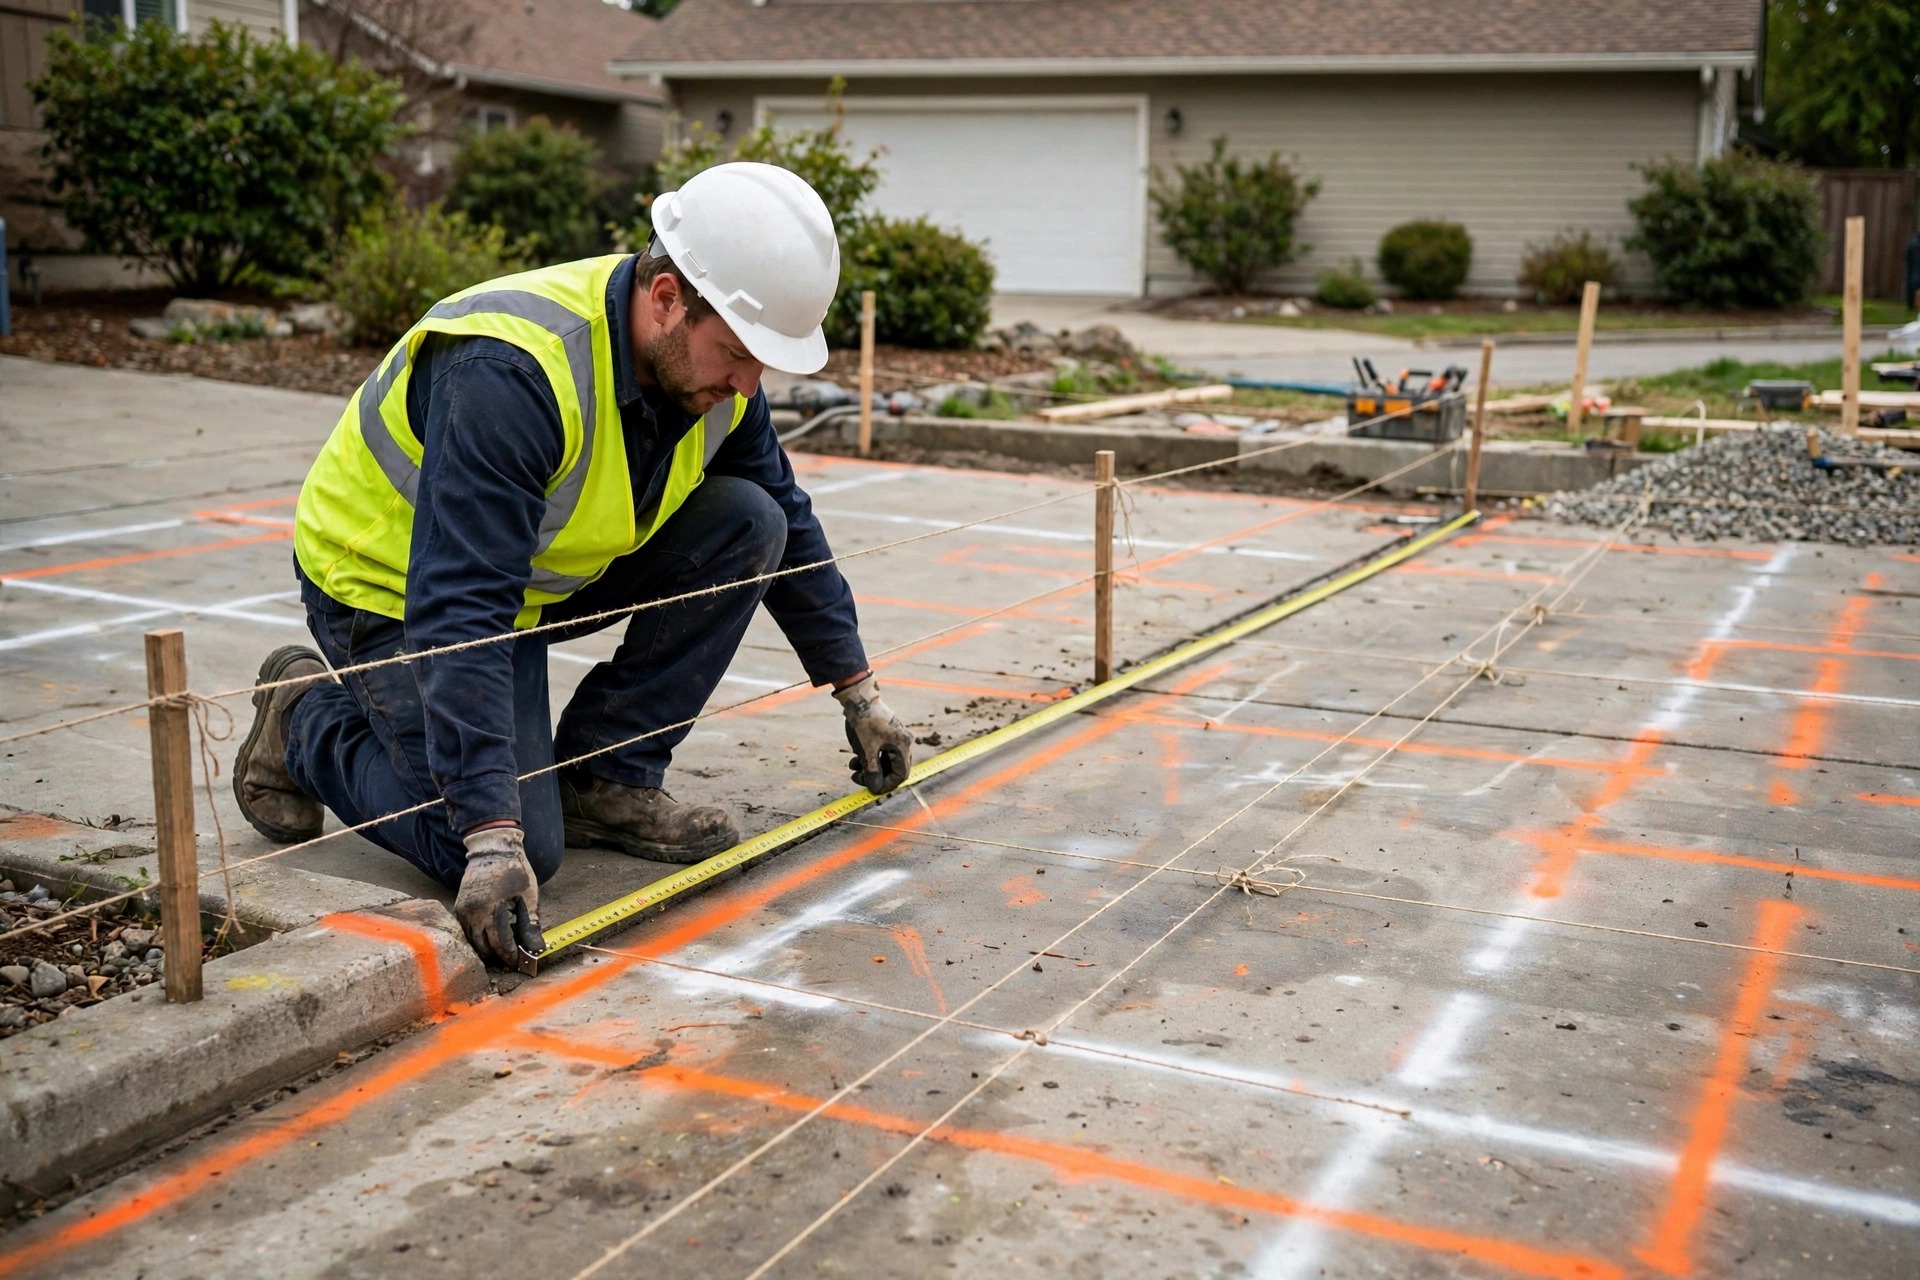
Accurate measurement protects both the budget and the finish. The area is measured length by length, levels are taken across the site, and the falls are planned so rainwater runs away from the house toward a drain or garden edge, never pooling against walls. String lines and spray marks fix the exact boundaries, finished level and any steps or ramps before a single spade touches the ground.
Quantities are calculated from these measurements, never guessed. Our team orders pavers with five to ten percent extra for cuts and spares, calculates sub-base stone by compacted volume, and works out bedding and jointing sand tonnage in advance, so the job never stops halfway waiting for material.
- Survey the levels: Check falls across the whole area; water must drain away from the building.
- Mark everything: Boundaries, finished level, steps and drain positions fixed with lines and spray paint.
- Calculate stone by volume: Sub-base tonnage from compacted depth, not loose guesswork.
- Order cutting allowance: Five to ten percent extra pavers for edge cuts, breakage and future spares.
- Locate services first: Confirm water, drainage and cable routes before any excavation.
Phase 3: Excavation and Ground Preparation (Before Installation)
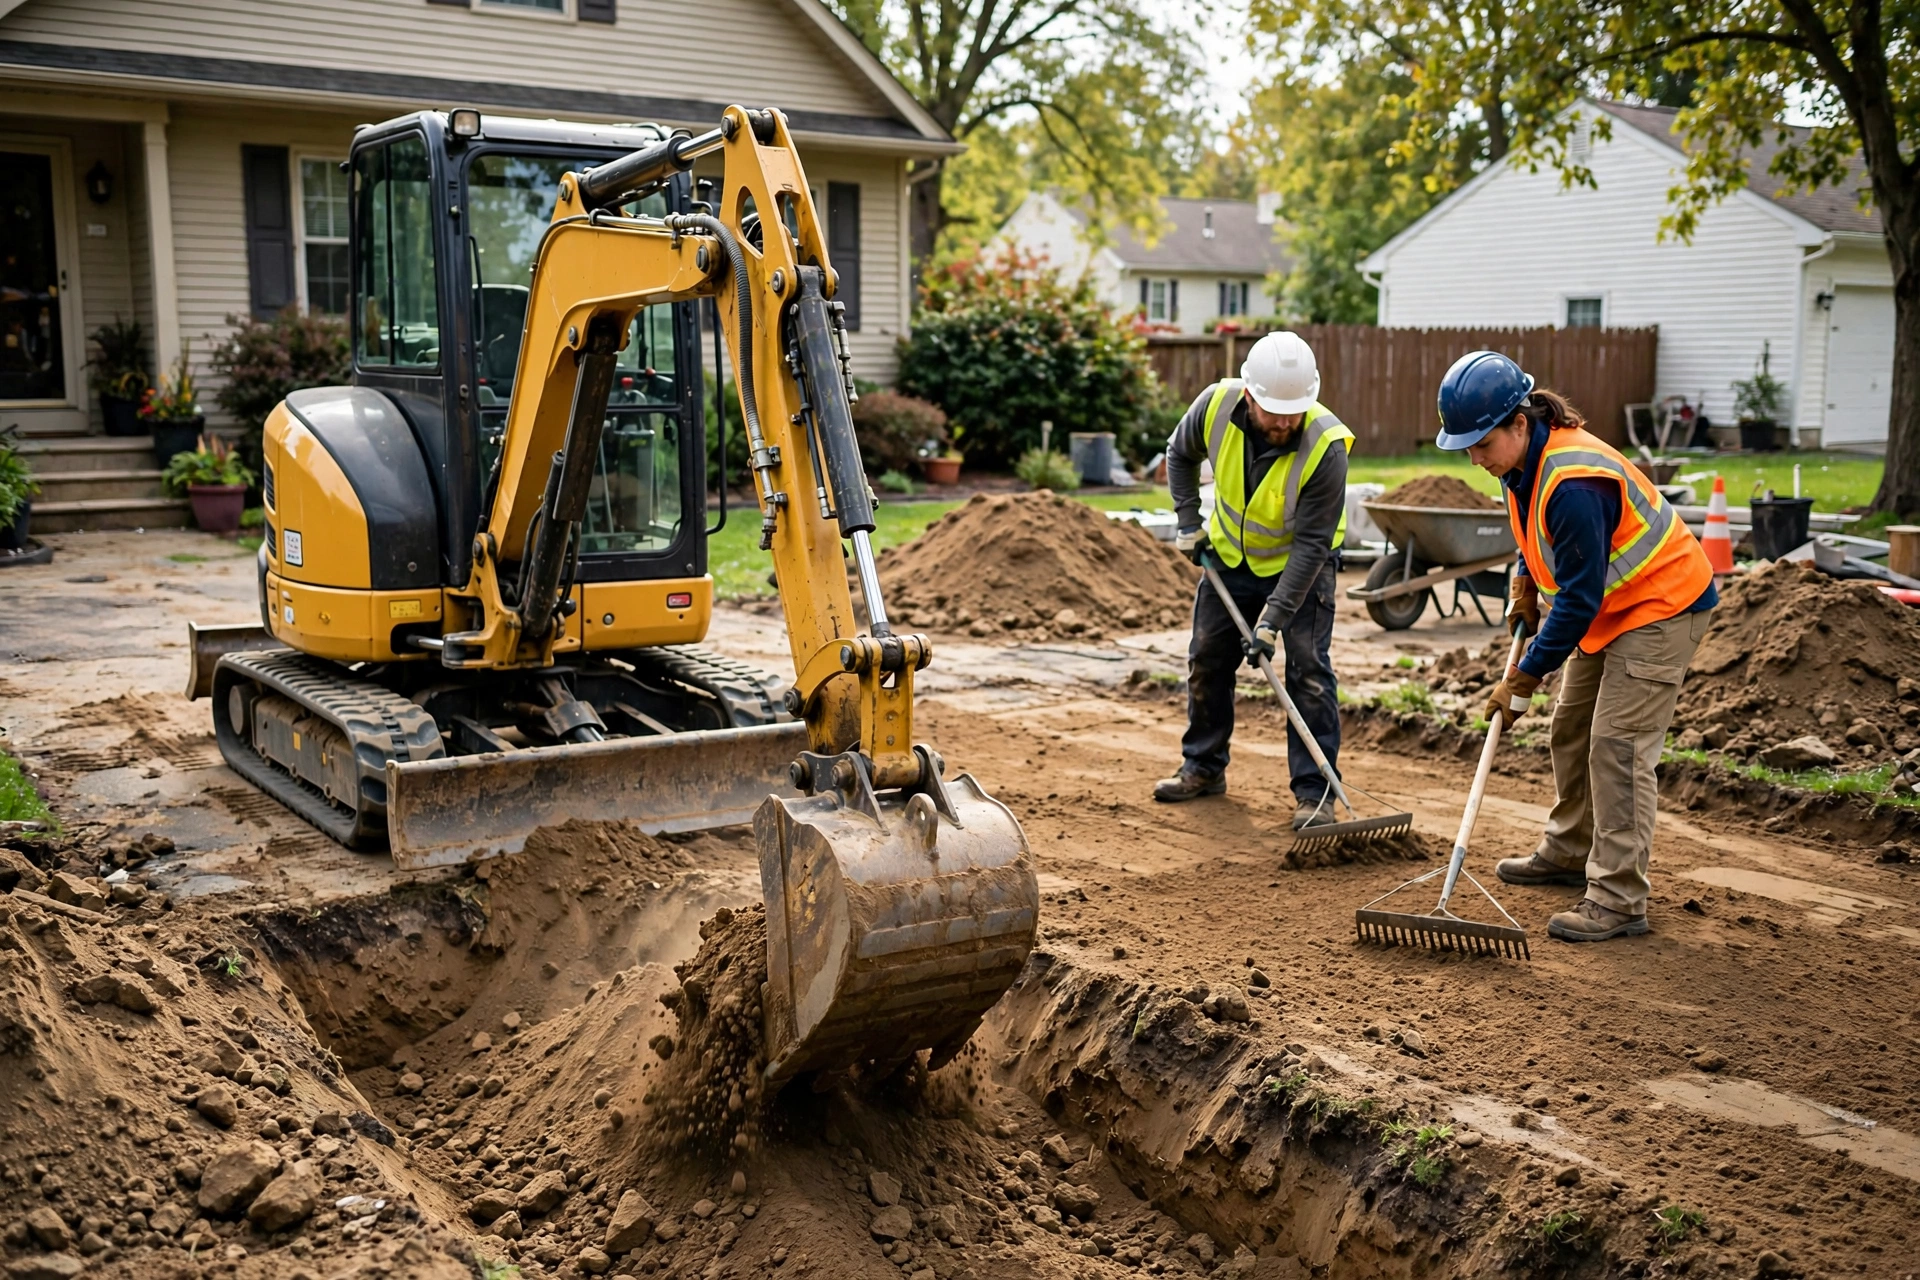
Excavation depth is worked out from the finished surface downwards: paver thickness, plus thirty to forty millimetres of bedding sand, plus one hundred to one hundred and fifty millimetres of compacted sub-base. For a standard driveway this means digging out roughly two hundred to two hundred and fifty millimetres of soil. Digging too shallow is the most common cause of sinking paving, because a thin base cannot spread vehicle loads into the ground.
The excavated ground is then proof rolled and inspected. This is why Goodwell Technical Services treats ground preparation as a structural phase: soft spots are dug out and replaced with compacted stone, tree roots are removed, and a geotextile membrane is laid over weak or clay soil so the sub-base cannot punch down into the earth over time.
- Dig to full depth: Paver plus bedding plus sub-base; shallow excavation guarantees settlement.
- Remove all topsoil: Organic soil compresses and rots; only firm natural ground stays.
- Proof roll the base: Compact over the formation to reveal soft spots before stone goes down.
- Lay geotextile on weak soil: A separation membrane stops the sub-base mixing into the soil below.
- Grade the formation: The dug surface already follows the final falls before stone is laid.
Phase 4: Sub-Base Laying and Compaction (During Installation)
The sub-base is the foundation of the whole paved surface and the phase that decides whether it stays level for twenty years or dips within two. Crushed stone aggregate, usually graded road base material, is spread in layers no thicker than seventy five millimetres at a time, and every layer is compacted with a plate compactor or roller before the next one goes down. A single thick, loosely compacted layer may look finished, but it settles unevenly under the first heavy vehicle.
The finished sub-base is graded to the planned falls and checked against string lines from edge to edge. Goodwell Technical Services never allows bedding sand to hide a bad base, because sand cannot correct level errors underneath it; the stone surface must already be firm, even and within a few millimetres of the design level.
- Compact in thin layers: Maximum 75 mm per layer, each fully compacted before the next.
- Use graded crushed stone: Angular road base locks together; rounded gravel never compacts properly.
- Keep the falls: The base is shaped to the final drainage slope, checked with levels and lines.
- Test for movement: Walk and roll the finished base; any soft or rocking area is reworked.

Phase 5: Edge Restraints and Kerb Installation (During Installation)
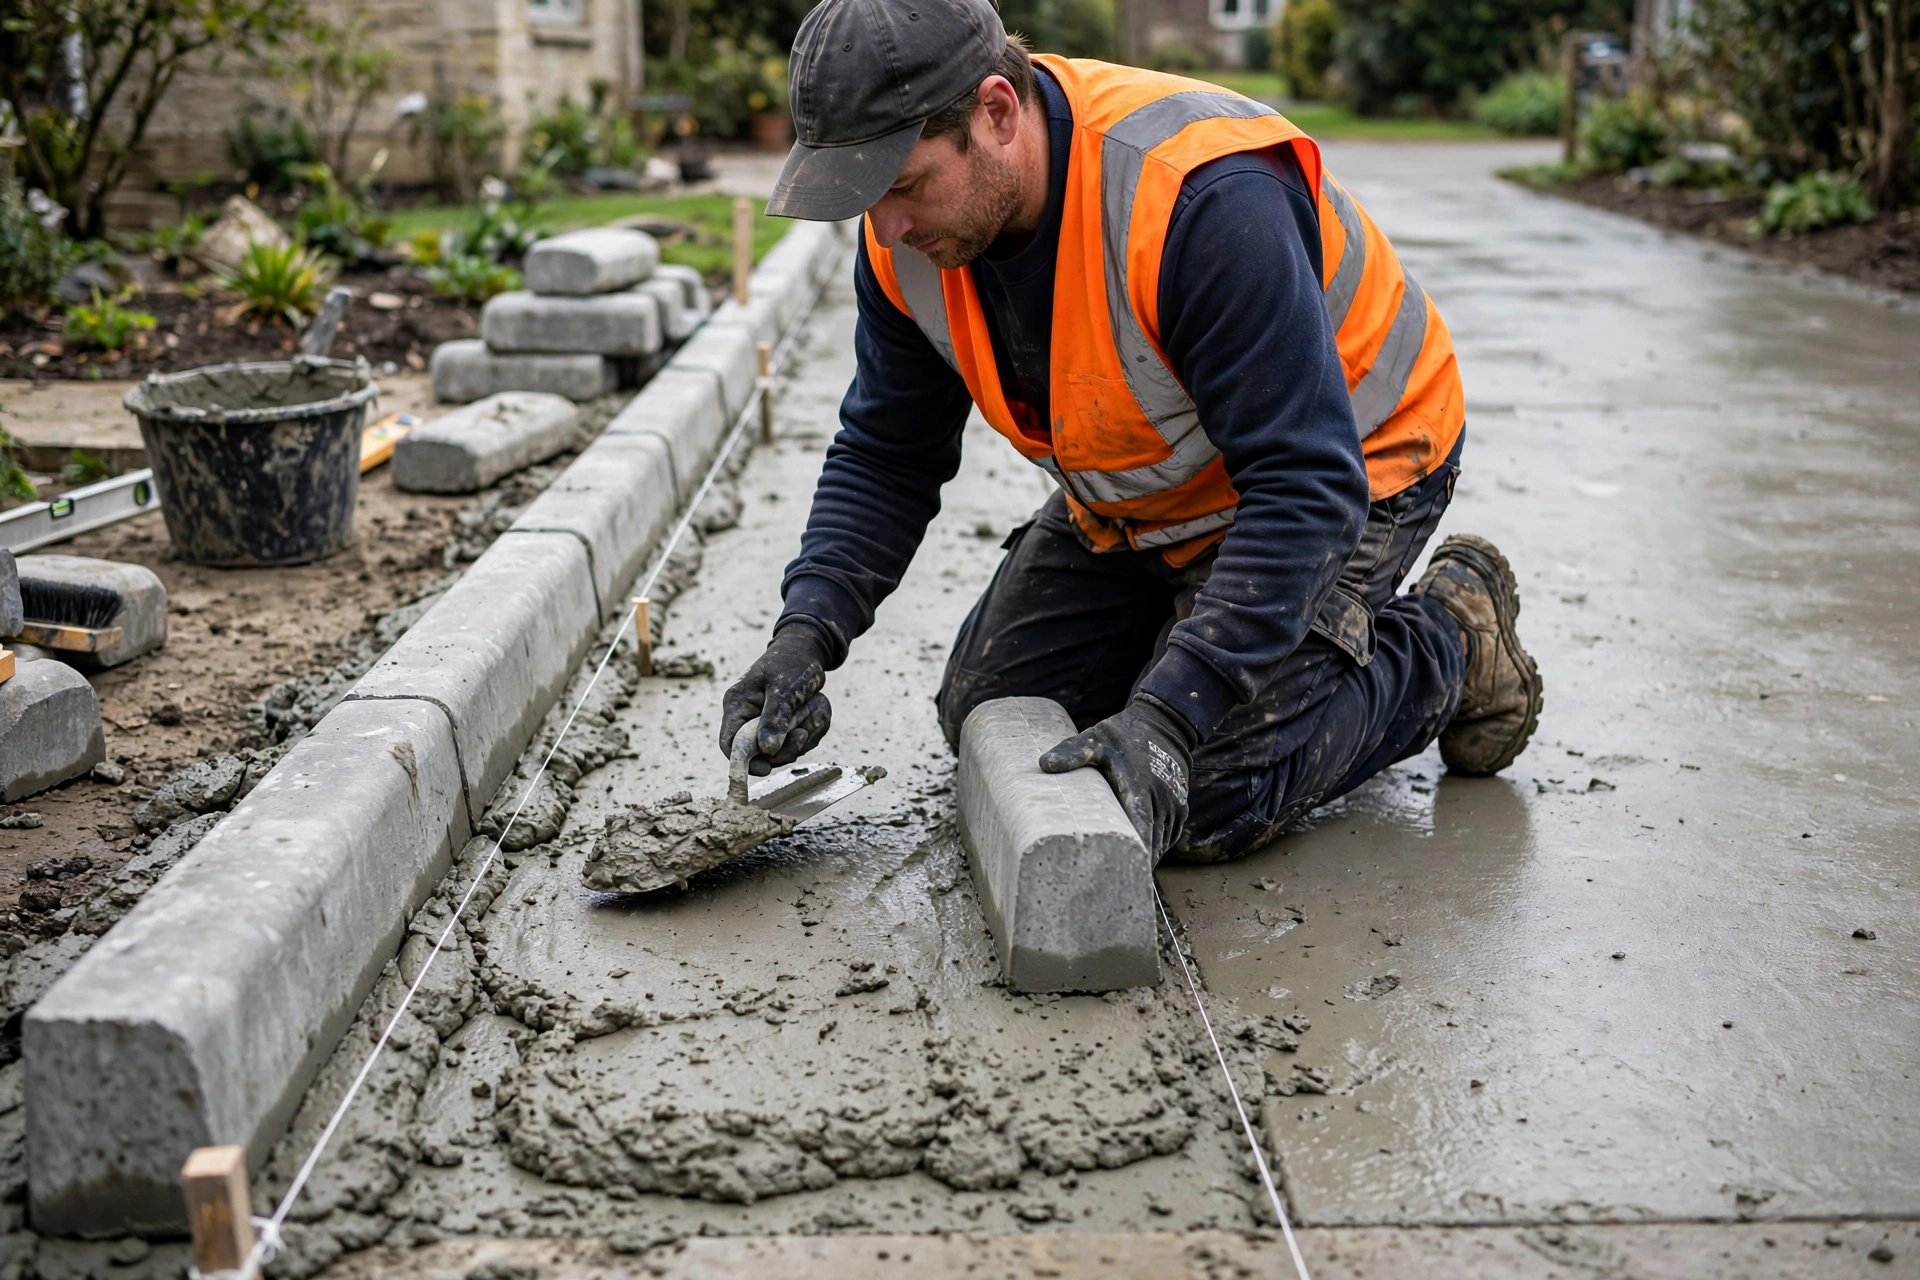
Interlock paving stays interlocked only while its edges cannot move. Without a firm restraint, the outer rows slowly creep outward under traffic, joints open, and the whole pattern loosens from the border inward. Concrete kerbs, precast edge stones or a hidden concrete edge beam are therefore installed before any pavers are laid, set on a concrete bed and backed with a solid concrete haunch.
Edge lines are set out with string lines and checked for straightness and curve smoothness, because the border is the visual frame of the whole job and every wobble in it will be visible forever. Goodwell Technical Services allows the haunching concrete its full setting time before laying begins, since bedding and compaction loads will push directly against these edges.
- Restrain every open edge: Kerbs or concrete edge beams on all sides not butted against a wall.
- Haunch in concrete: Edge stones bedded and backed with concrete, never just pushed into soil.
- Set lines true: Straight edges to string lines, curves swept smooth and even.
- Let it set: No laying against fresh haunching; edges must be hard before compaction loads arrive.
Phase 6: Bedding Sand Layer and Screeding (During Installation)
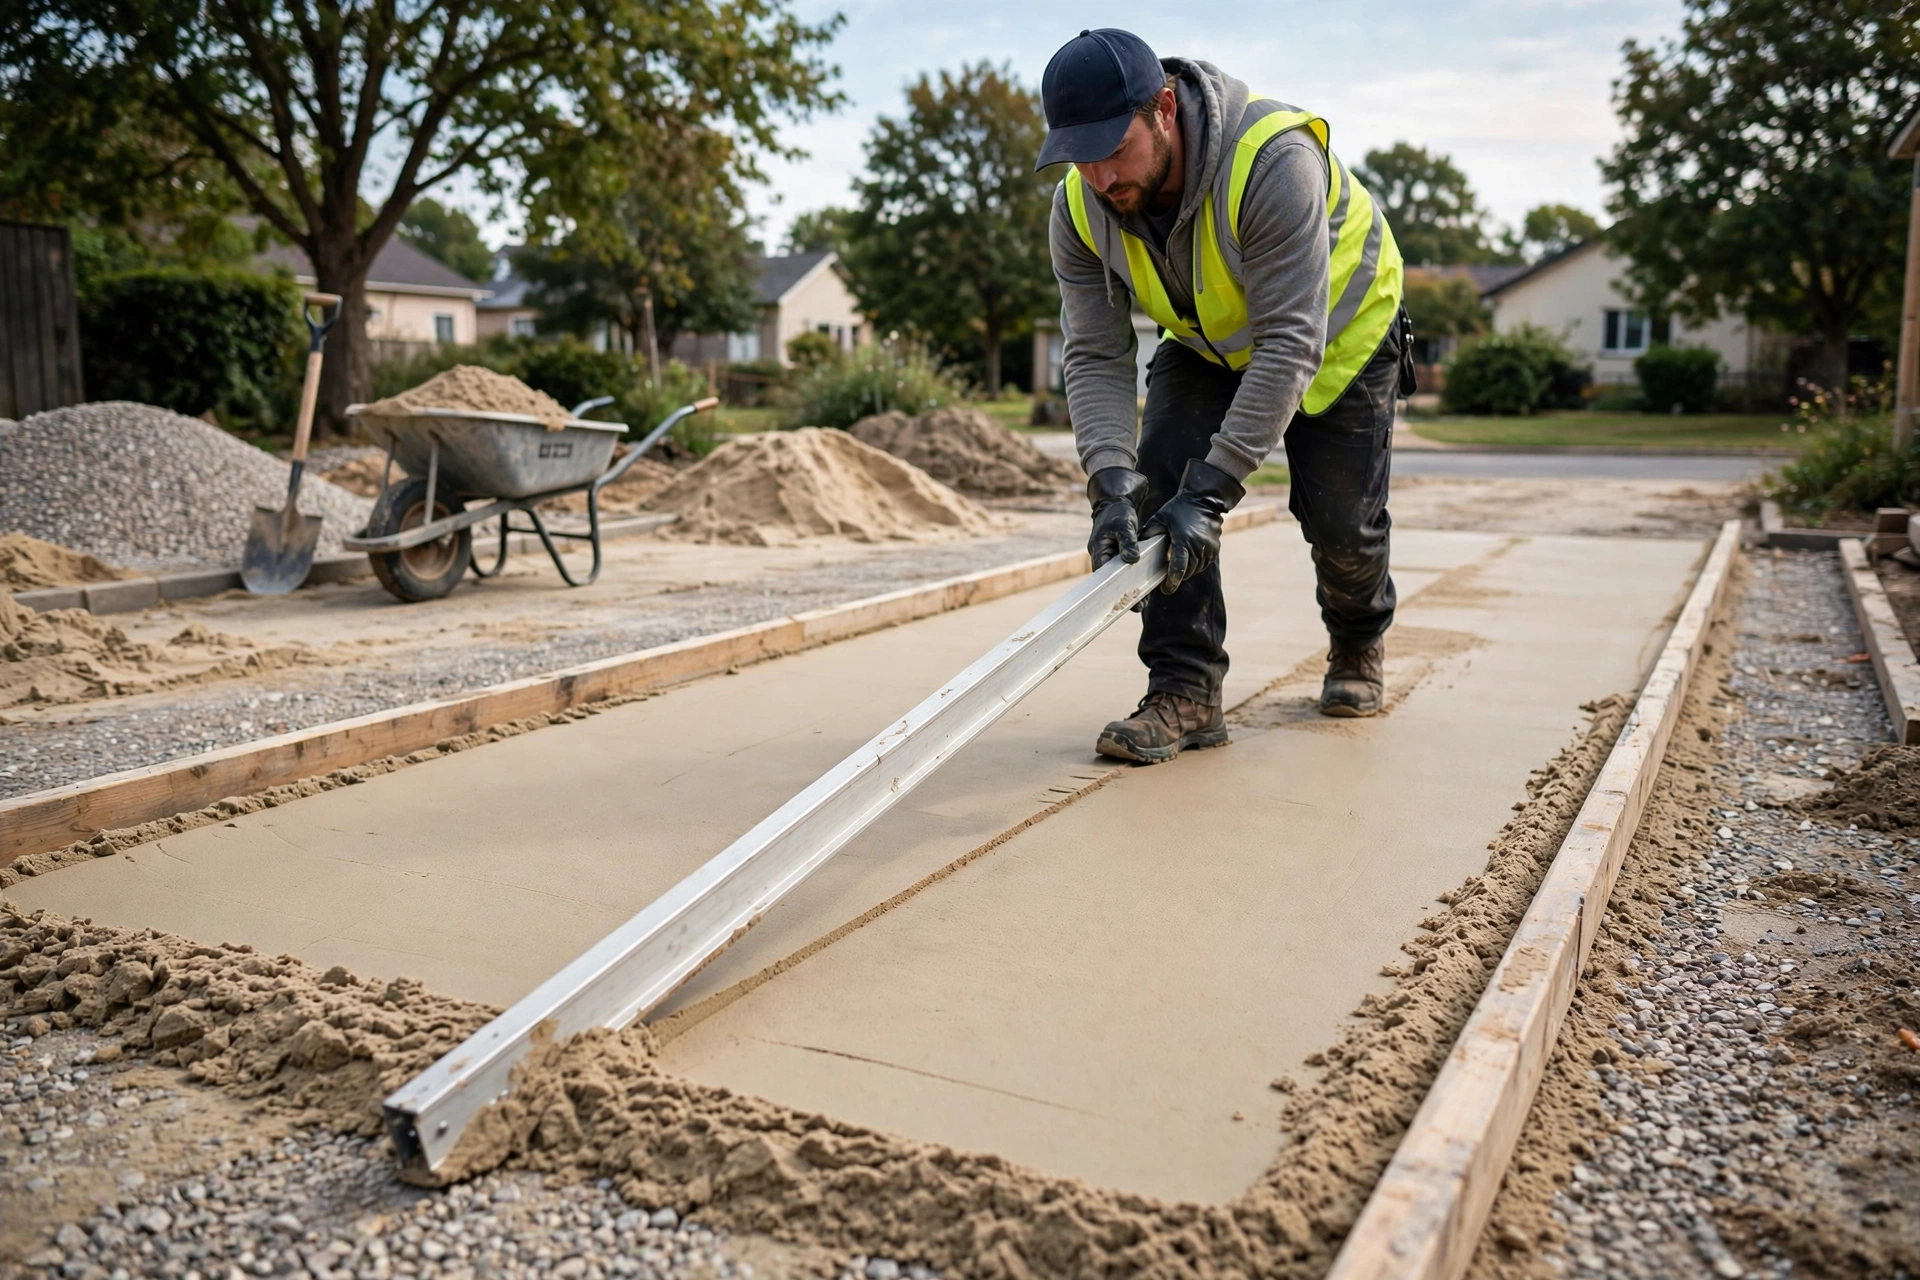
On top of the compacted sub-base goes the bedding layer: washed, coarse sharp sand spread and screeded to a uniform thickness of about thirty to forty millimetres. The interlock paving experts at Goodwell Technical Services screed this sand with rails and a straight edge, working backwards so nobody walks on the finished bed, because footprints in the bedding become dips in the finished surface.
The bedding sand must be damp but never wet, and it is laid only in the area that can be paved the same day. Rain on an open sand bed, or a bed left overnight and walked on, has to be lifted and screeded again. This discipline is invisible in the finished driveway, but it is exactly why a good surface feels dead flat underfoot.
- Use sharp washed sand: Coarse angular sand compacts and locks; soft building sand does not.
- Screed to one thickness: 30 to 40 mm everywhere, pulled with rails and a straight edge.
- Never walk on the bed: Work backwards; footprints become low spots in the finished paving.
- Lay only what you can pave: Bedding is screeded for the same day’s laying area only.
Phase 7: Laying Pavers and Pattern Alignment (During Installation)
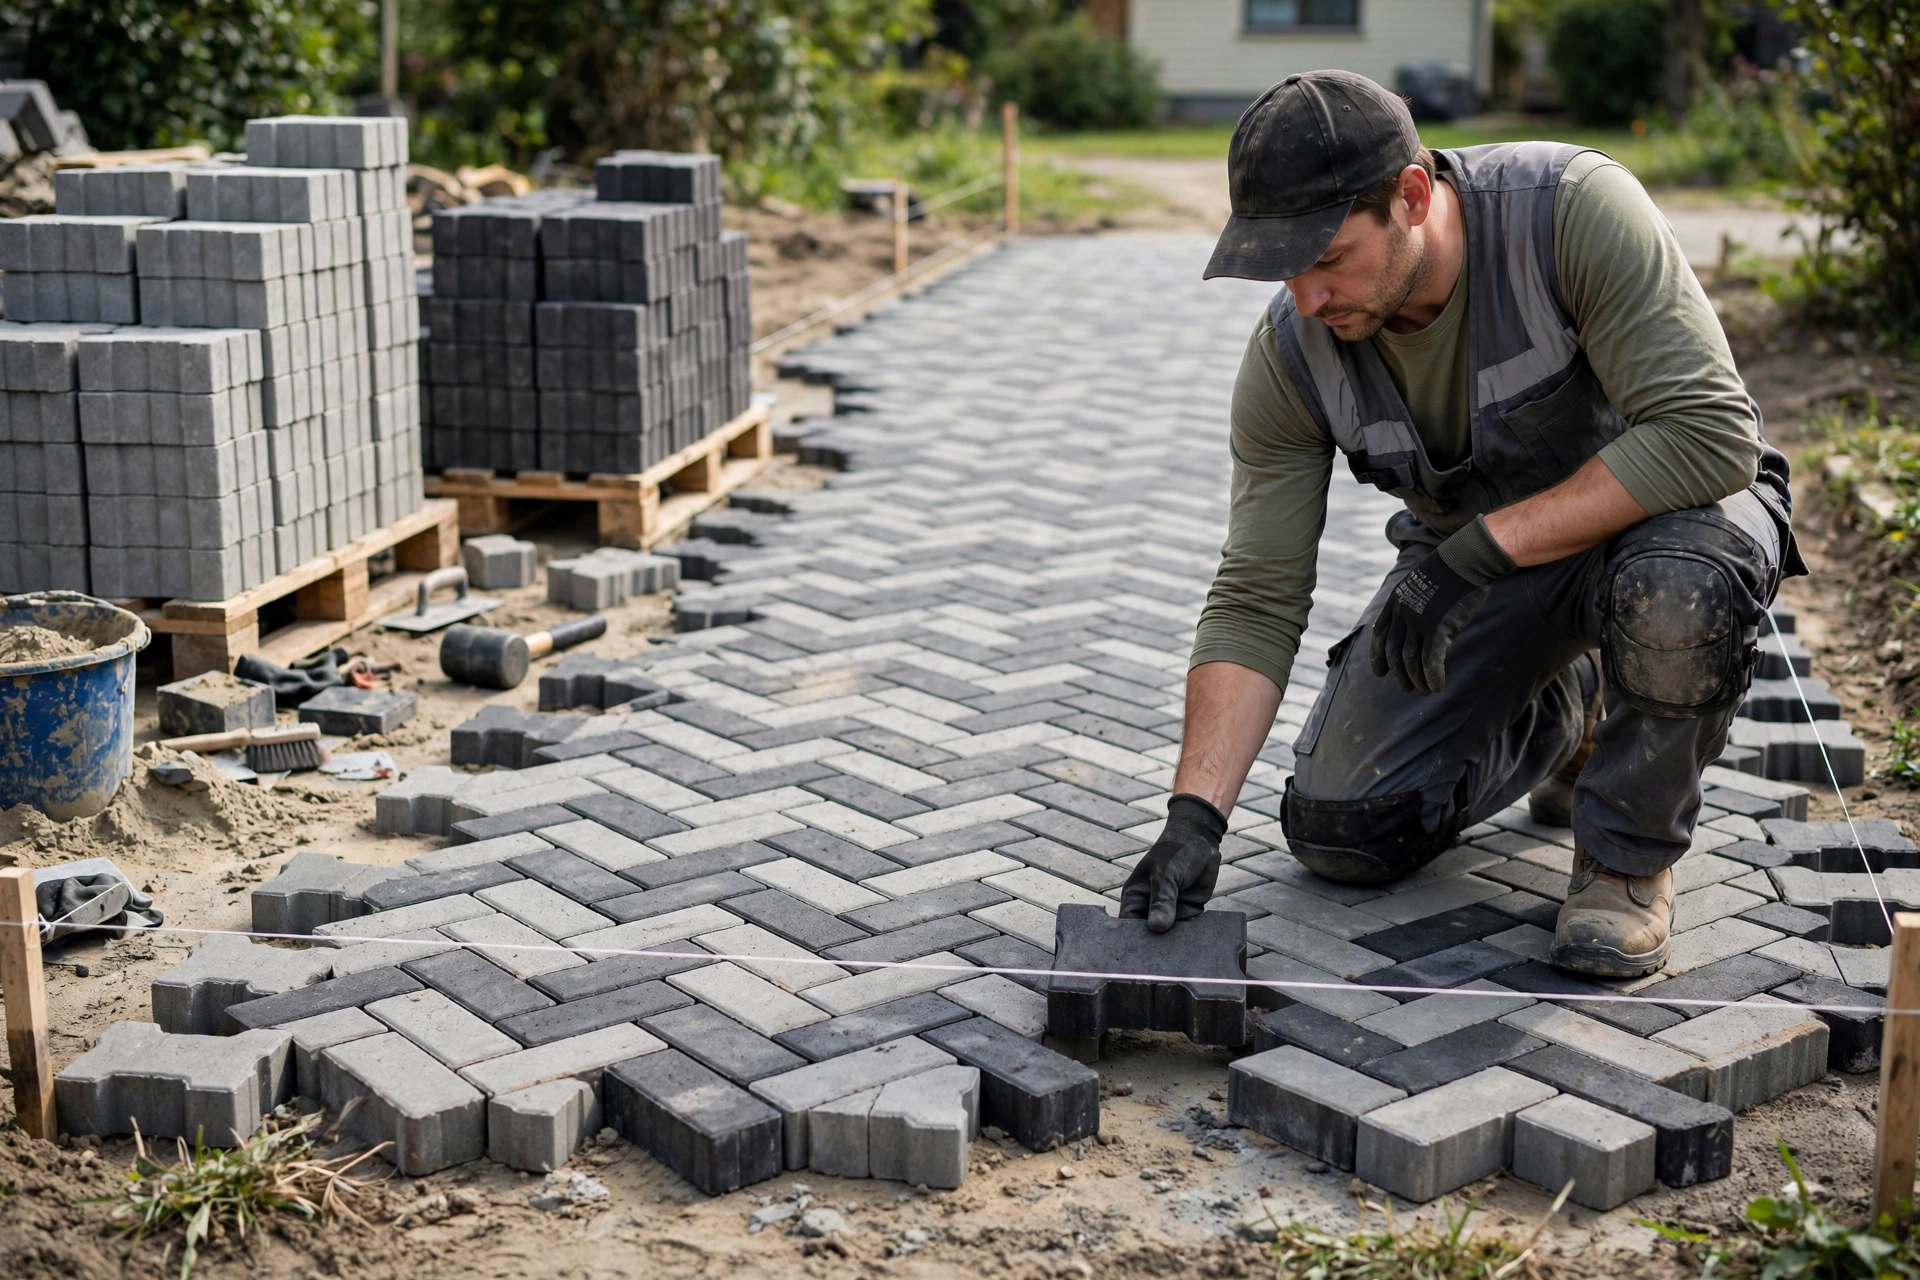
Laying is the visible craft of the job. Pavers are placed by hand onto the screeded bed, working from a corner or a fixed straight edge, each block set firmly against its neighbours with a two to three millimetre joint gap, never hammered down into the sand. The pattern is followed block by block, and string lines or a laser line run across the work every few rows so joints stay arrow straight and the pattern never drifts.
For pattern ideas and colour combinations, homeowners often browse the Goodwell Technical Services homepage to see how completed driveways and courtyards balance borders, bands and centre patterns. Laying proceeds from the paved area itself, standing on laid blocks rather than on the sand bed, and border courses are left for the cutting phase that follows.
- Start from a true edge: Begin at a fixed corner or kerb line and build the pattern outward.
- Keep joints even: A consistent 2 to 3 mm gap is what allows jointing sand to lock the field.
- Check lines constantly: String lines every few rows keep courses straight and patterns aligned.
- Blend packs as you lay: Draw blocks from several packs at once for an even colour mix.
- Do not hammer blocks down: Blocks are placed, not beaten; level correction happens at final compaction.
Phase 8: Cutting and Edge Fitting (During Installation)
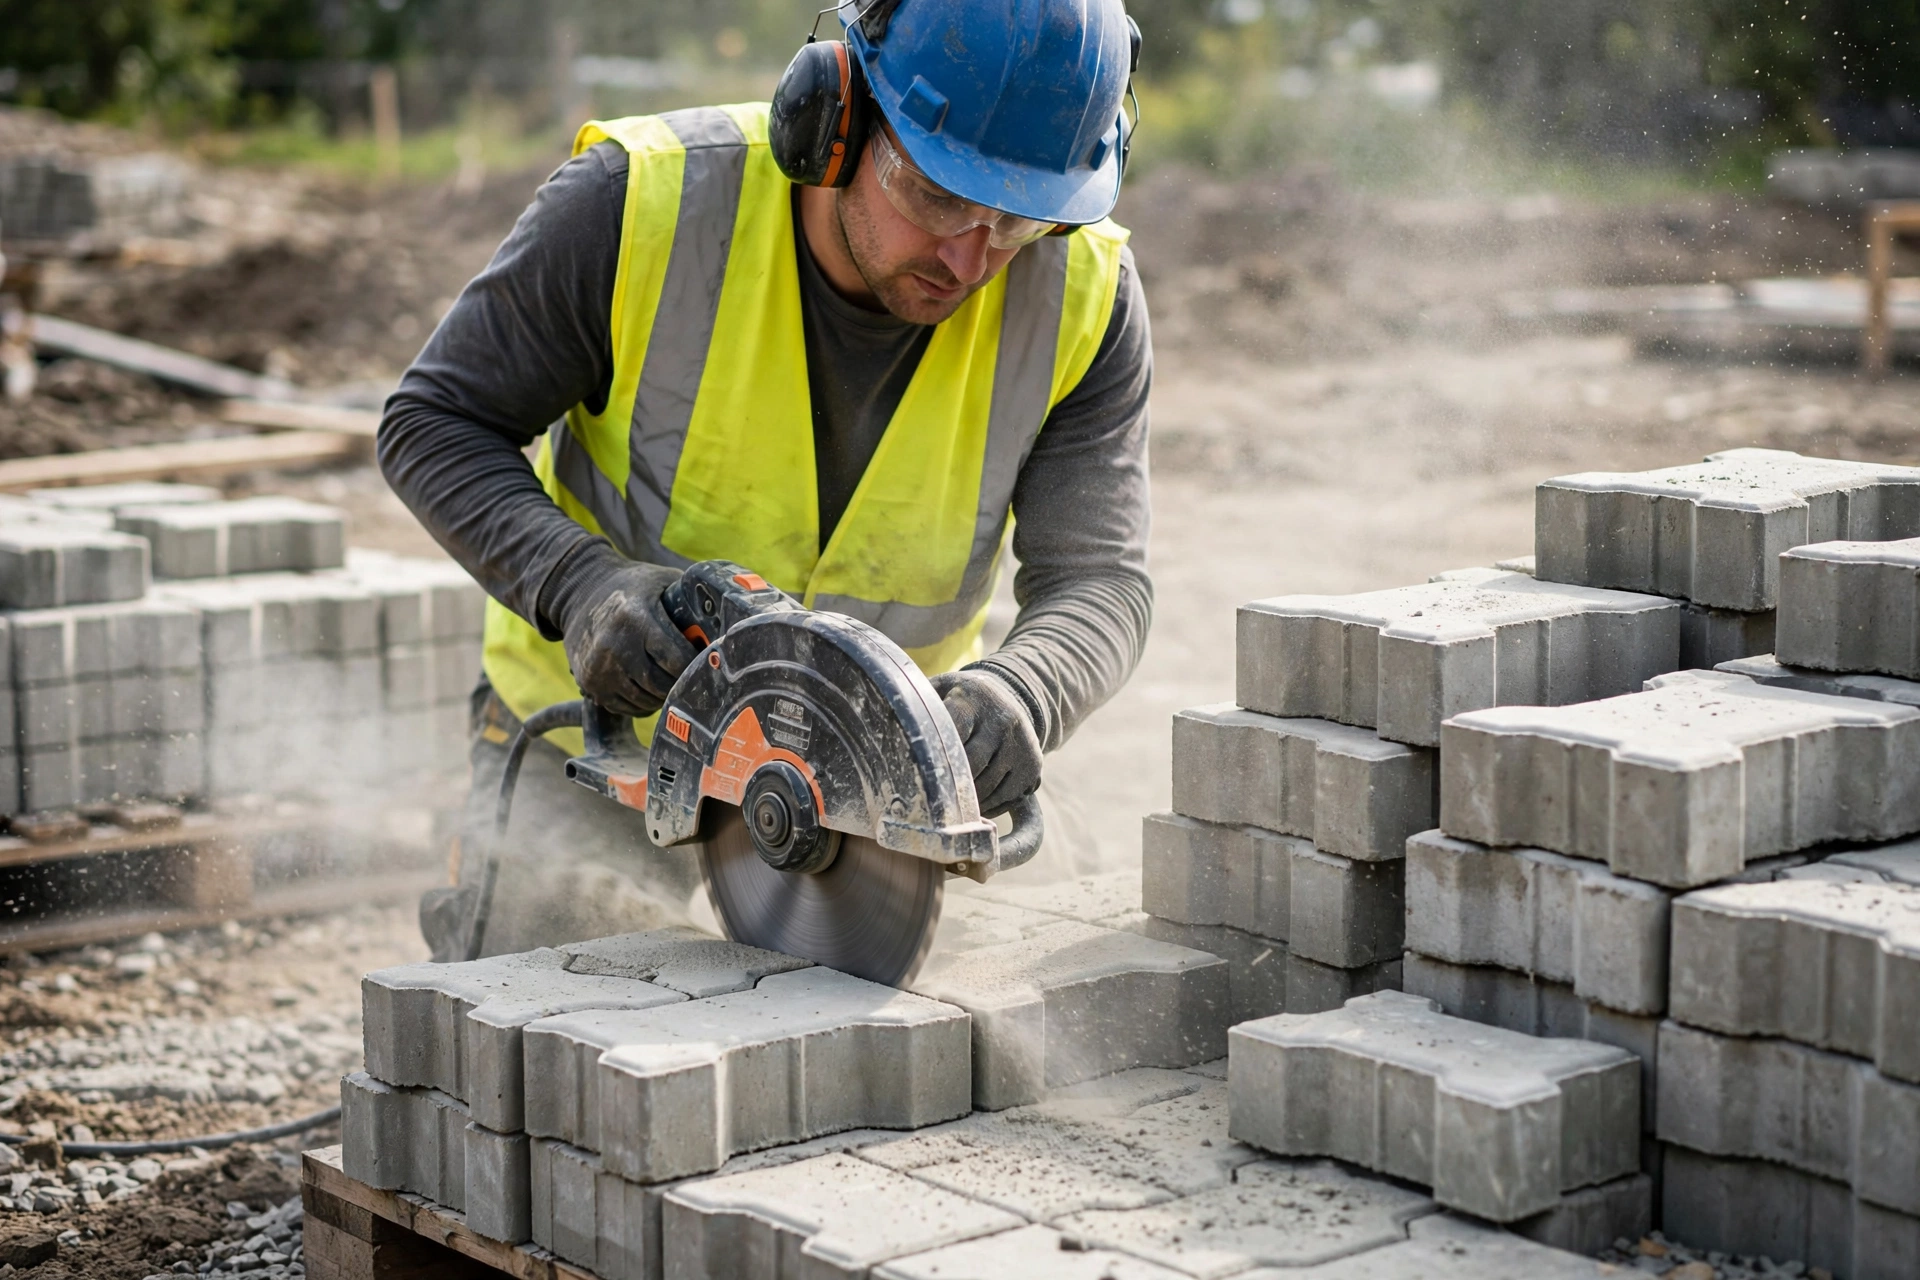
Almost no driveway or courtyard is an exact multiple of a paver, so the border gaps are closed by cutting blocks to fit. Goodwell Technical Services cuts edge pieces with a diamond blade saw or a block splitter, each piece measured from the actual gap, cut slightly tight, and fitted so the border reads as part of the pattern rather than an afterthought.
Cut pieces smaller than a third of a block are avoided wherever the layout allows, because tiny slivers crack and rock under wheels. Around drain covers, tree pits and curved borders, cuts are marked with templates and finished with smooth edges, and every cut piece is checked by hand for rocking before the surface moves to jointing.
- Measure every gap: Each border piece is marked from the real space, accounting for joint width.
- Cut with the right tool: Diamond blade for clean edges, block splitter for straight breaks.
- Avoid slivers: Adjust the layout so cut pieces stay above one third of a full block.
- Fit tight and check: Every cut piece is pressed home and tested for rocking by hand.
Phase 9: Joint Sand Filling and Plate Compaction (After Installation)
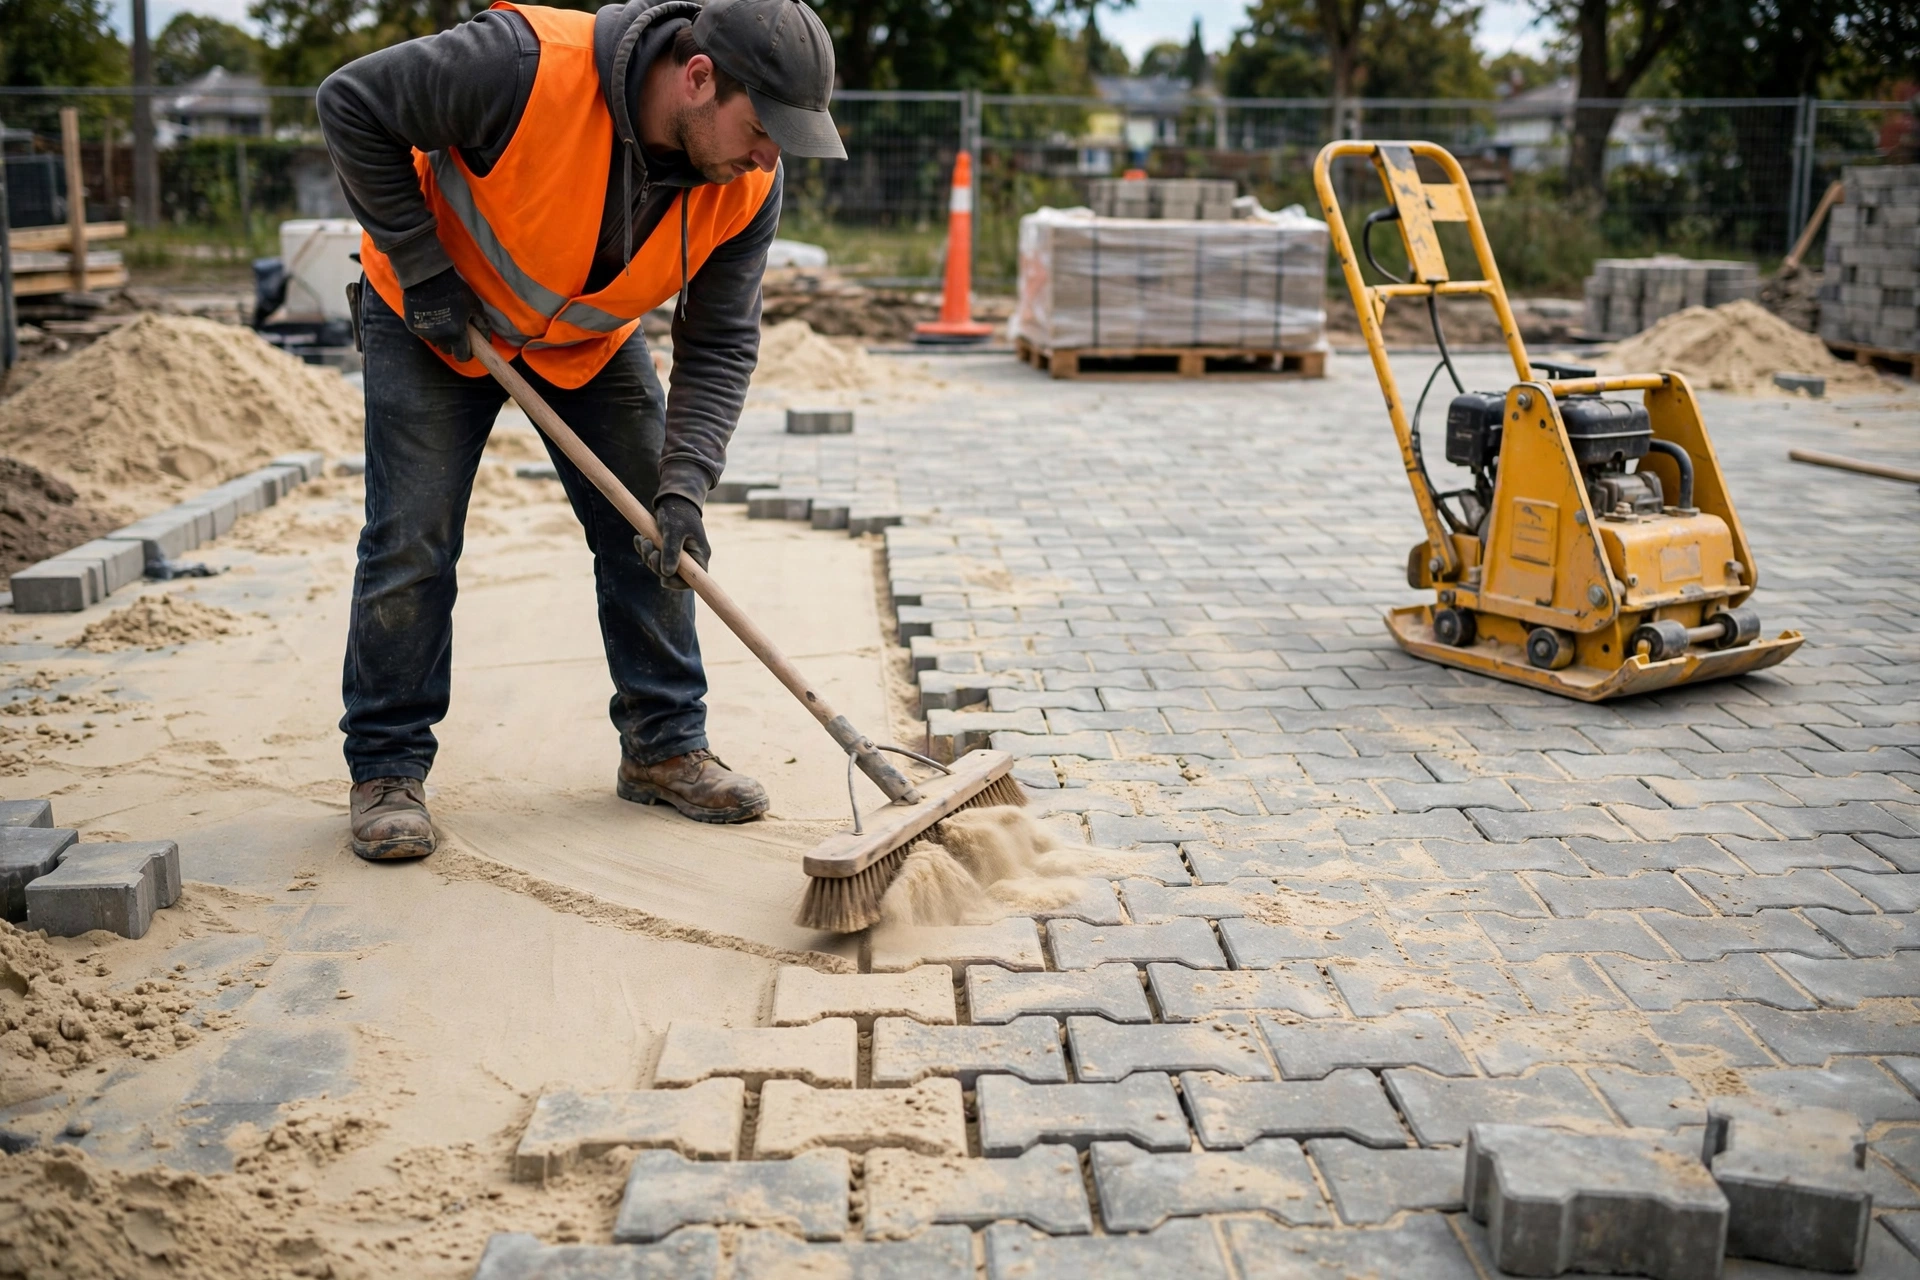
Interlock becomes real in this phase. Kiln dried fine sand is swept across the surface and worked into every joint, then a plate compactor with a protective mat passes over the whole area, vibrating the blocks down into the bedding and driving the sand deep into the joints. Goodwell Technical Services repeats the cycle, sweep, compact, sweep again, until every joint is completely full, because it is the sand locked in the joints that transfers load from block to block.
Compaction also performs the final levelling: high blocks settle into the bed and the surface takes its finished plane. Any block that cracks under the plate, or sits visibly low after compaction, is lifted and replaced now while the surface is still open, not left as a defect for the owner to discover.
- Use kiln dried jointing sand: Fine, dry sand flows fully into joints; damp sand bridges and leaves voids.
- Compact in passes: Plate compactor with a rubber mat protects block faces while locking the field.
- Repeat until joints are full: Sweep, compact and top up until no joint takes more sand.
- Replace defects immediately: Cracked or low blocks are changed before sealing, not after.
Phase 10: Washing, Sealing and Final Inspection (After Installation)
The finished surface is washed down to remove sand dust and cutting slurry, and left to dry fully. A quality block paving sealer is then applied where specified: it deepens the colour, stabilises the jointing sand against washing out, and makes oil and tyre marks far easier to clean. Goodwell Technical Services closes every snag before handover and leaves spare pavers and a simple care guide with the homeowner, because a paved surface is only finished when it performs perfectly. To book a site visit for your own paving project, reach out any time.
Maintenance is light but real: top up any joint that loses sand, wash the surface with plain water and a stiff brush, never use a pressure washer at close range on the joints, and treat oil stains early. Goodwell Technical Services offers periodic paving inspections for completed projects, checking edges, joints and levels before small issues become repairs.
- Wash before sealing: Sealers go on a clean, fully dry surface or they trap dirt and moisture.
- Seal the joints: A stabilising sealer protects jointing sand and deepens paver colour.
- Final level check: Straight edge and water test across the whole area at handover.
- Keep spares: Leftover pavers from the same batch are stored for any future repair.

Common Mistakes to Avoid During Interlock Paving Installation
Across hundreds of driveways and courtyards, Goodwell Technical Services has seen the same paving mistakes repeat. Avoid these and your paved surface will stay flat, tight and weed free:
- Shallow excavation: A thin base under blocks guarantees sinking ruts in the wheel tracks.
- Skipping edge restraints: Unrestrained borders spread, joints open and the whole pattern loosens.
- Thick, loose sub-base: Stone dumped in one layer never compacts through; it settles unevenly.
- Soft or dirty bedding sand: Round or muddy sand cannot lock blocks and stains the surface.
- Walking on the screeded bed: Footprints print straight through into the finished levels.
- Cement filled joints: Rigid joints crack and stain blocks; interlock needs flexible sand filled joints.
- Pressure washing the joints: Close range jets blast out jointing sand and unlock the surface.
Conclusion
Interlock paving rewards preparation and punishes shortcuts. Design the pattern and select the right paver before installation, excavate to full depth and build a properly compacted sub-base with firm edge restraints during installation, and finish with full sand joints, correct compaction and sealing after installation. Follow these ten phases and your driveway or courtyard will stay level, strong and beautiful for decades.
For paving laid right the first time, contact Goodwell Technical Services for complete interlock paving, from design and base construction to laying, jointing and final handover, executed phase by phase exactly as described above.