

Introduction
A roof takes the full force of sun, rain, wind and dust every single day, yet it is the surface most homeowners ignore until water starts dripping through the ceiling. By the time stains appear on walls and paint begins to bubble, the damage inside the slab is already advanced and far more expensive to repair. Proper roof waterproofing, done in the correct sequence with the correct materials, keeps a building dry for fifteen to twenty years. In this detailed guide, Goodwell Technical Services explains all ten phases of roof waterproofing step by step, from inspection and crack repair to membranes, coatings and final water testing.
Whether your roof is newly built or has been leaking for seasons, the sequence below is the professional order followed on real sites. Waterproofing fails most often not because the material was poor, but because a phase was skipped, rushed or done out of order. Understand each phase before work begins, and you will know exactly what a quality job should look like.
Phase 1: Roof Inspection and Leak Diagnosis (Before Treatment)
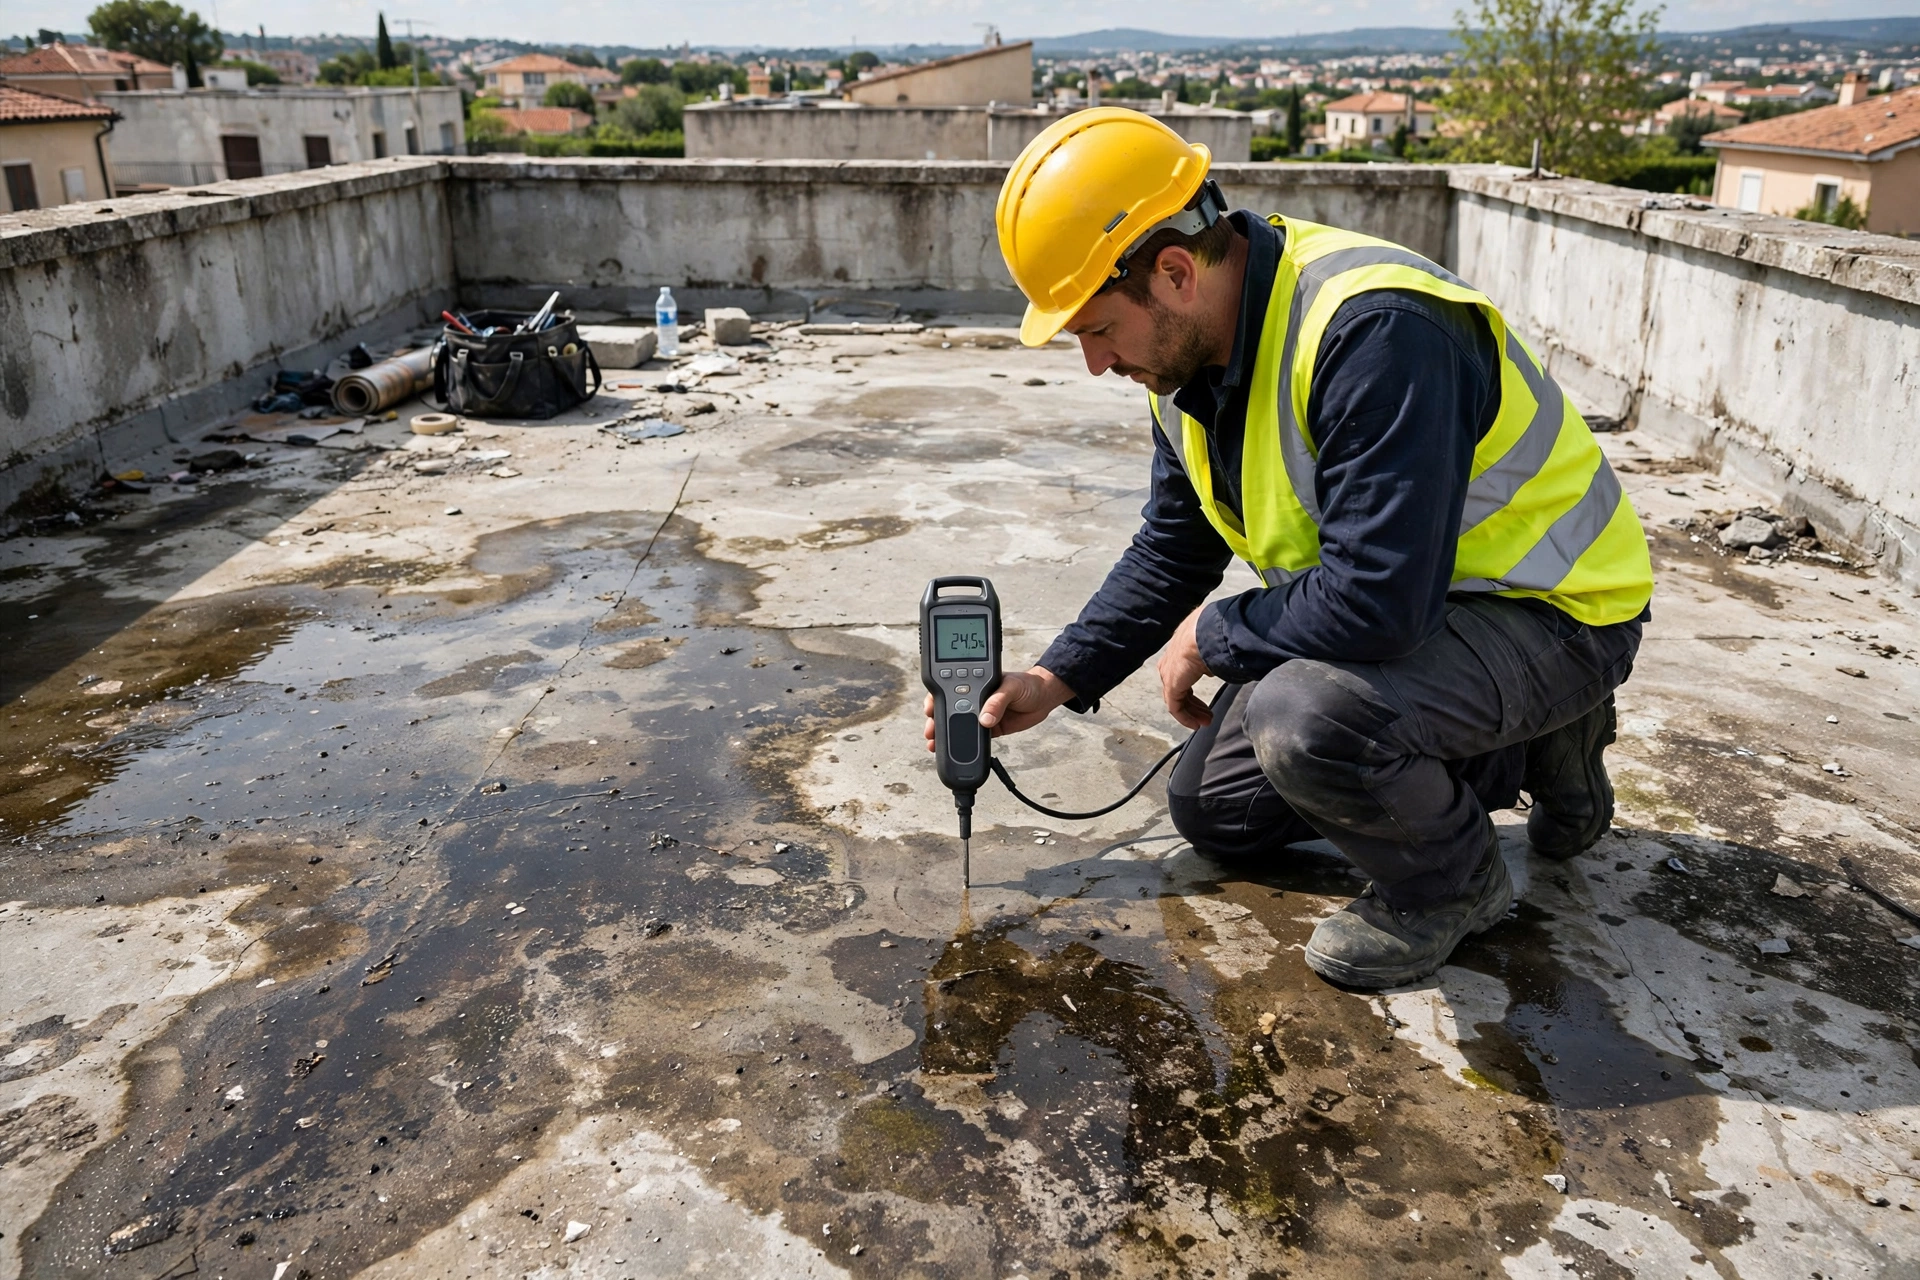
Every successful waterproofing project starts with a thorough inspection, because treating a roof without diagnosing it is guesswork. A technician walks the entire roof surface checking for cracks, blisters, ponding marks, damaged joints and failed patches from earlier repairs. Moisture meters and simple flood checks help trace where water actually enters, which is often several feet away from where the drip appears inside the room below. At Goodwell Technical Services, no quotation is prepared until this inspection is complete and photographed.
The parapet walls, drain outlets and every pipe penetration are examined just as carefully as the flat surface, since most leaks begin at these junctions rather than in the middle of the slab. Inside the building, ceiling stains are mapped and matched to the roof plan above, so the treatment covers the true source of the leak and not just the visible symptom in the room.
- Walk the whole roof: Check every square metre for cracks, blisters, loose patches and standing water marks.
- Trace leaks to the source: Use moisture readings and stain patterns; water travels before it drips.
- Inspect parapets and drains: Junctions, outlets and pipe bases are where most roof leaks begin.
- Photograph everything: A recorded condition report protects both owner and contractor later.
- Check the slab from below: Ceiling damp, rust stains and peeling paint reveal hidden saturation.
Phase 2: Cleaning and Surface Preparation (Before Treatment)
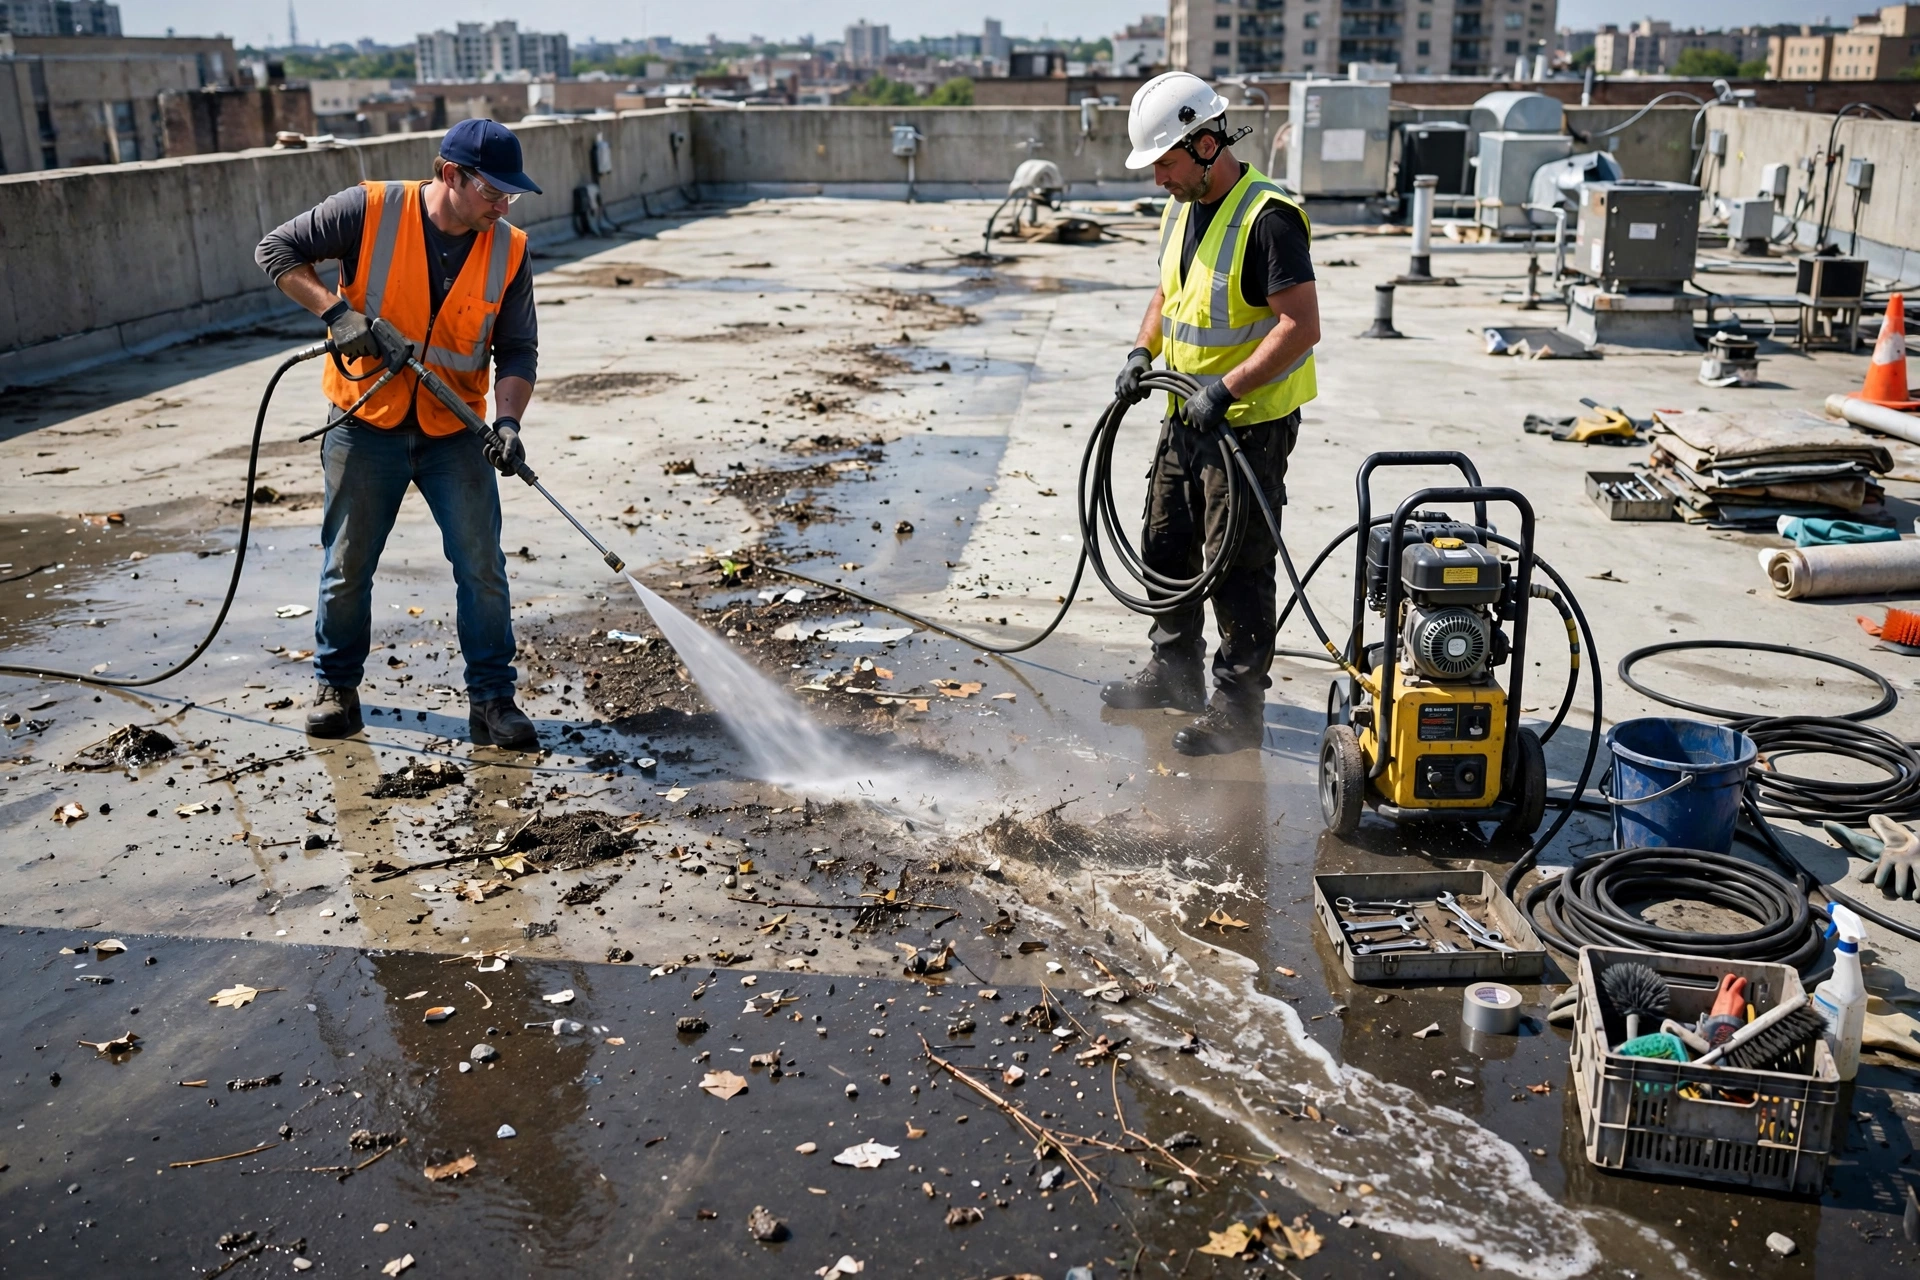
No waterproofing material can bond to a dirty, dusty or loose surface, so cleaning is treated as a technical phase and not a formality. Workers remove all debris, loose gravel, old flaking coatings and standing silt, then pressure wash the entire roof to expose the real condition of the concrete. Years of dust, algae and bird waste come off in this stage, and hidden cracks that were invisible under dirt finally show themselves clearly.
Site discipline matters here as much as the washing itself. Our team protects drain outlets during cleaning so washed debris does not choke the rainwater pipes, clears the roof edge by edge, and allows the surface to dry fully before any repair material is opened. A membrane applied over a damp or dusty base will blister within one season, no matter how expensive the product is.
- Remove all loose material: Old flaking coats, gravel, silt and debris come off completely.
- Pressure wash thoroughly: High pressure water exposes cracks and gives the coating a clean base.
- Protect the drains: Cover outlets during washing so debris never enters the rainwater lines.
- Let the roof dry: Surface preparation ends only when the slab is fully dry to the touch.
Phase 3: Crack Repair and Parapet Work (Before Treatment)
With the roof clean, every crack is opened, cleaned and filled before any coating is considered. Hairline cracks receive flexible sealant, wider cracks are cut into a neat groove and filled with polymer modified repair mortar, and damaged plaster on the parapet walls is hacked off and redone. Goodwell Technical Services pays special attention to the junction where the roof slab meets the parapet, because this corner moves with heat and cold and is the single most common leak point on flat roofs.
Old failed joints around pipe bases and drain flanges are cut out and rebuilt in this phase as well. Each repair is allowed to cure properly, since sealing a moving or uncured crack under a new membrane simply hides the problem for a few months. When this phase is done correctly, the roof is sound, stable and ready to receive the waterproofing system itself.
- Open cracks before filling: Sealant pressed into a closed hairline crack will not last; groove it first.
- Use flexible repair materials: Polymer modified mortars and PU sealants move with the building.
- Rebuild the parapet junction: The slab to wall corner gets extra repair and reinforcement.
- Redo damaged plaster: Hollow or cracked parapet plaster is removed and replastered with waterproof admix.
- Cure every repair: Fresh mortar must set fully before primers or membranes touch it.

Phase 4: Slope Correction and Drainage (During Treatment)
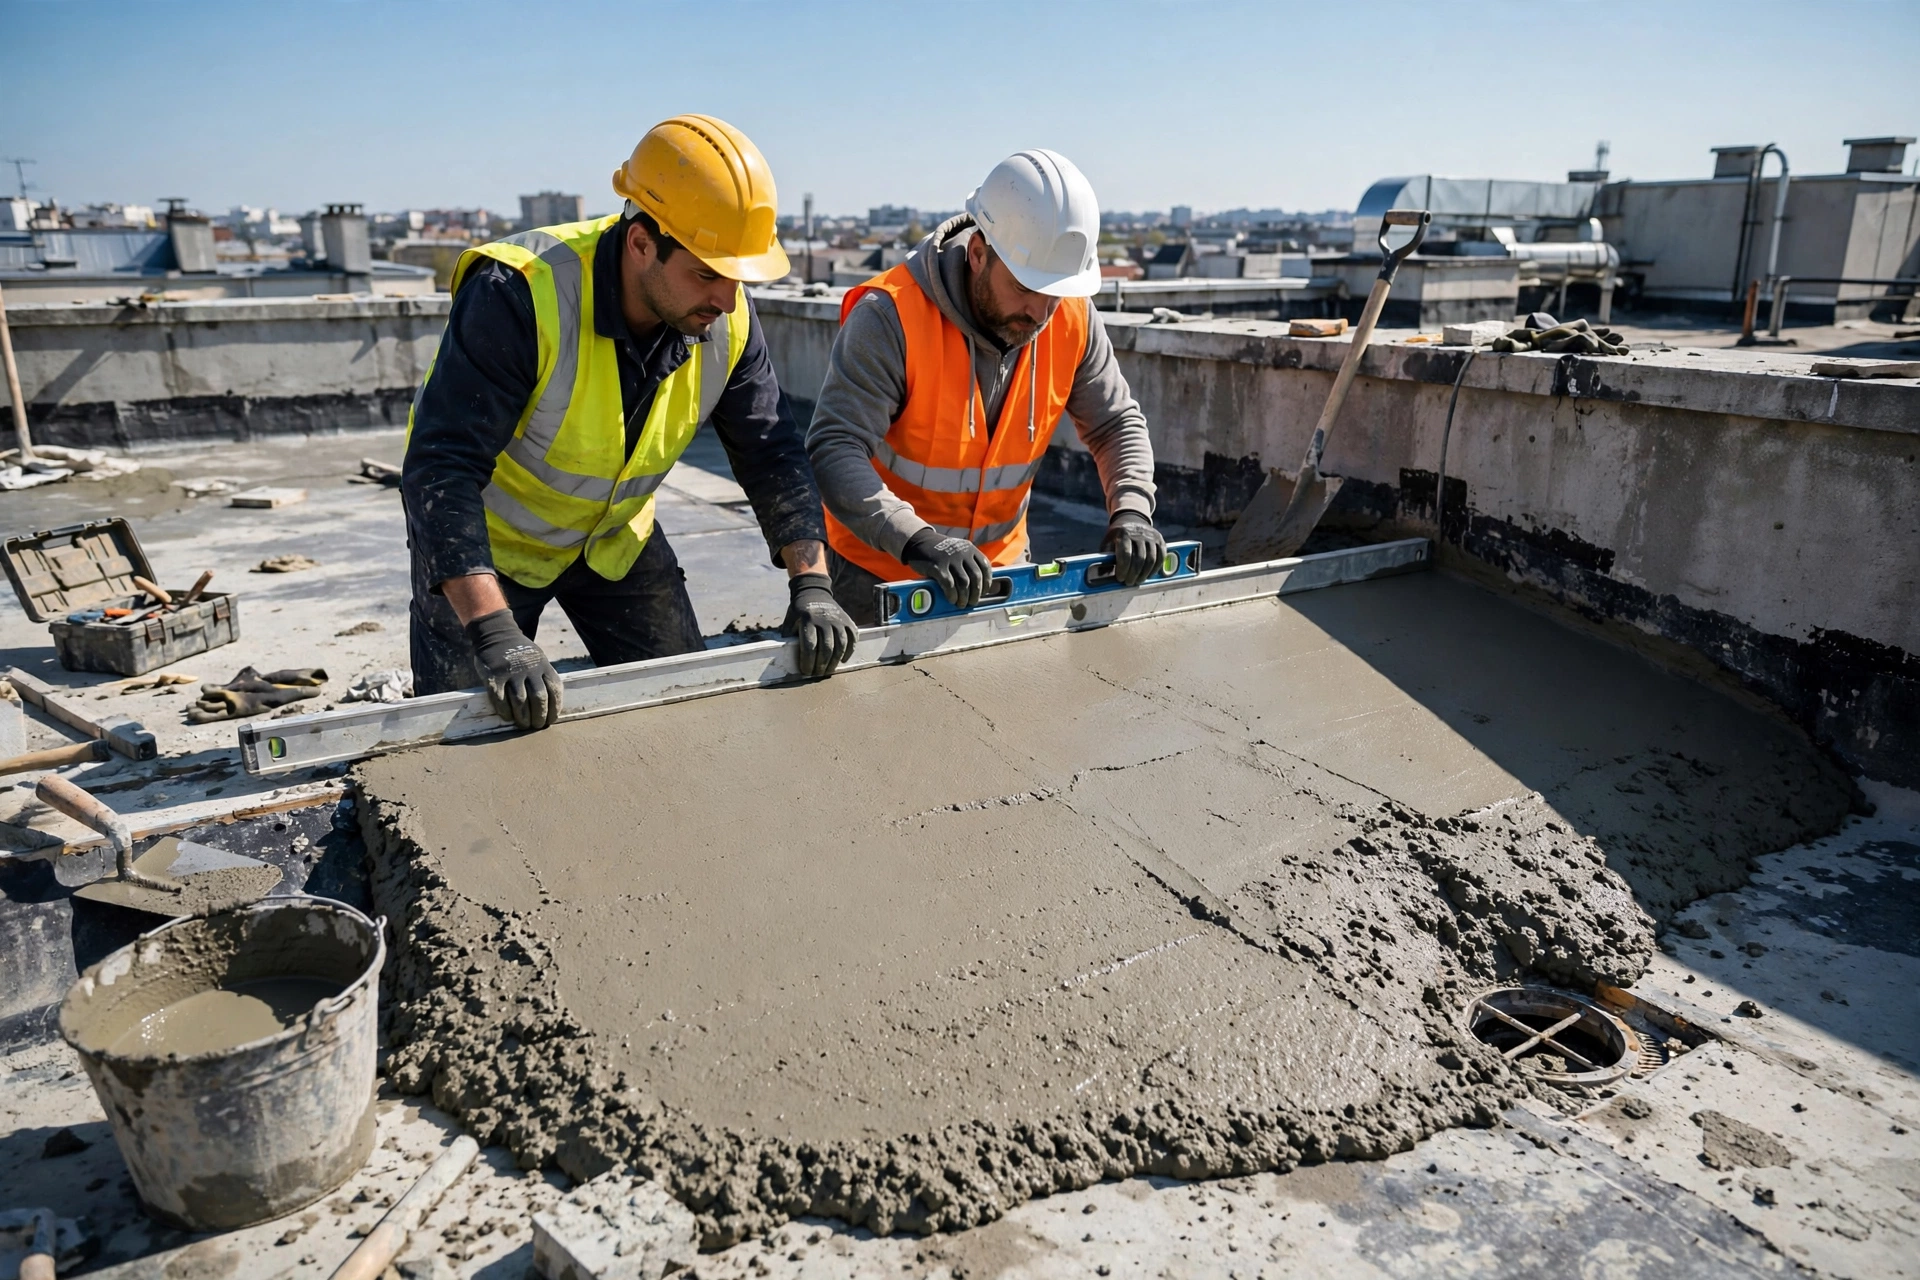
Waterproofing protects a roof from water, but correct slope removes the water in the first place. Flat roofs are never perfectly flat: they must fall gently toward the drain outlets so rainwater clears within hours instead of standing in ponds for days. Standing water adds weight, grows algae, finds every pinhole and shortens the life of any coating, so low spots identified during inspection are built up with lightweight screed in this phase.
The corrected slope is checked with a spirit level and a practical water test before treatment continues. Goodwell Technical Services treats drainage as part of the waterproofing system itself, because even the best membrane is not designed to sit under permanent ponds. Drains are also lowered or re-levelled where needed so their rims sit at the lowest point of the finished surface.
- Build up low spots: Lightweight screed creates a steady fall toward every drain outlet.
- Target a clear fall: A slope of about 1 in 100 lets rainwater clear the roof quickly.
- Test with water: Flood low areas and watch the flow; adjust before any coating begins.
- Set drains at the lowest point: Drain rims must sit flush with, never above, the finished level.
Phase 5: Primer Application (During Treatment)
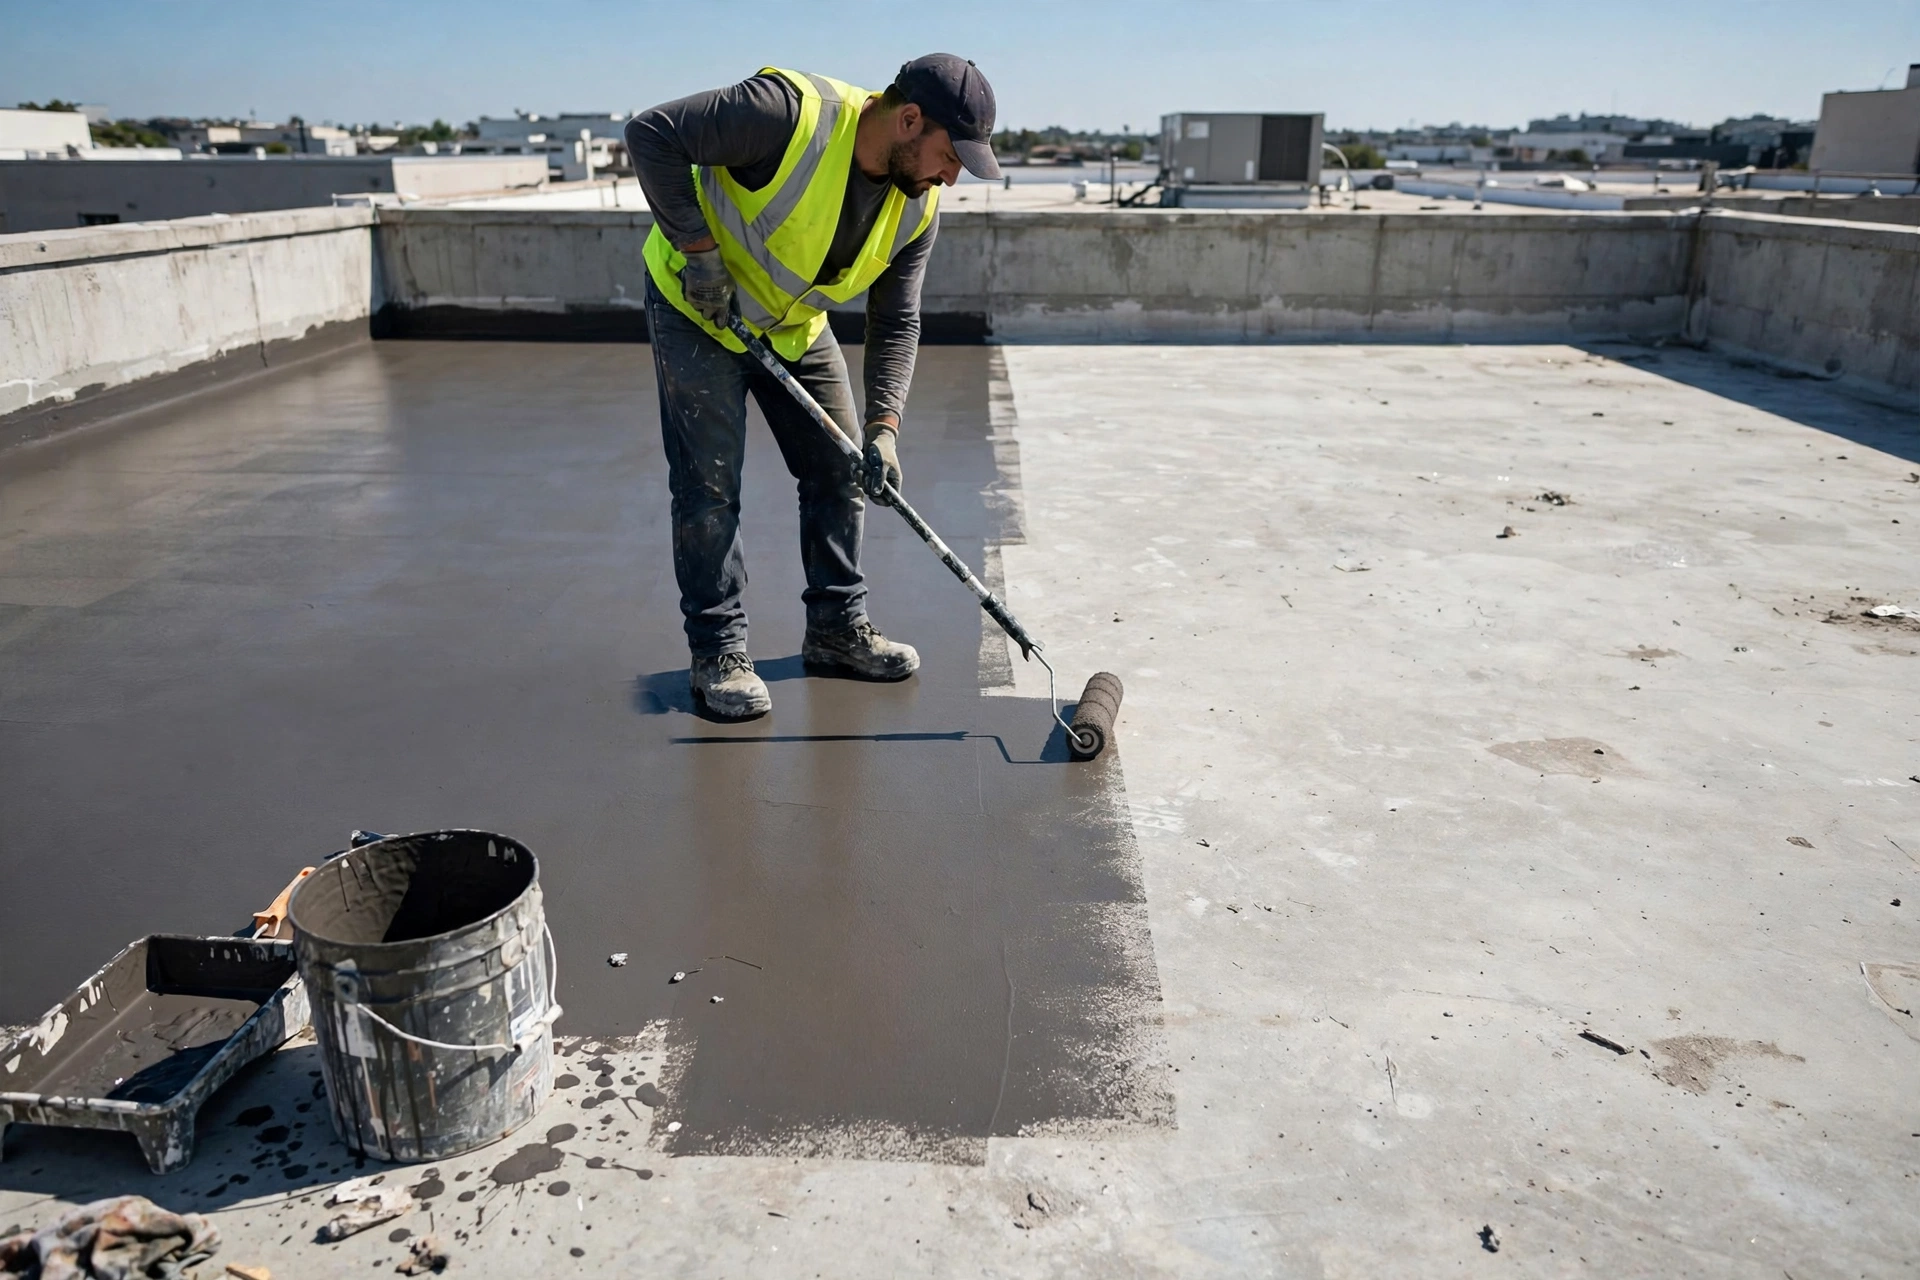
Primer is the bridge between bare concrete and the waterproofing system. A suitable bituminous or acrylic primer is rolled evenly over the entire prepared surface, sealing the pores of the concrete, binding any remaining micro dust and giving the membrane or coating a surface it can grip with full strength. Skipping primer is one of the most common causes of peeling and blistering, and it saves almost nothing compared with the cost of redoing a failed roof.
The coat must be thin, uniform and fully dry before the next phase begins. Goodwell Technical Services checks coverage carefully at edges, corners and around penetrations, where rollers often miss and where adhesion matters most. On very porous old concrete, a second primer coat is applied rather than forcing one heavy coat, because heavy coats skin over on top while staying soft underneath.
- Match primer to system: Bituminous primer for membranes, acrylic primer for liquid coatings.
- Roll thin and even: Full coverage with no puddles, misses or heavy patches.
- Detail the edges first: Corners, parapet bases and pipe surrounds get careful hand application.
- Respect drying time: The next phase starts only when the primer is completely dry.
Phase 6: Waterproofing Membrane Installation (During Treatment)
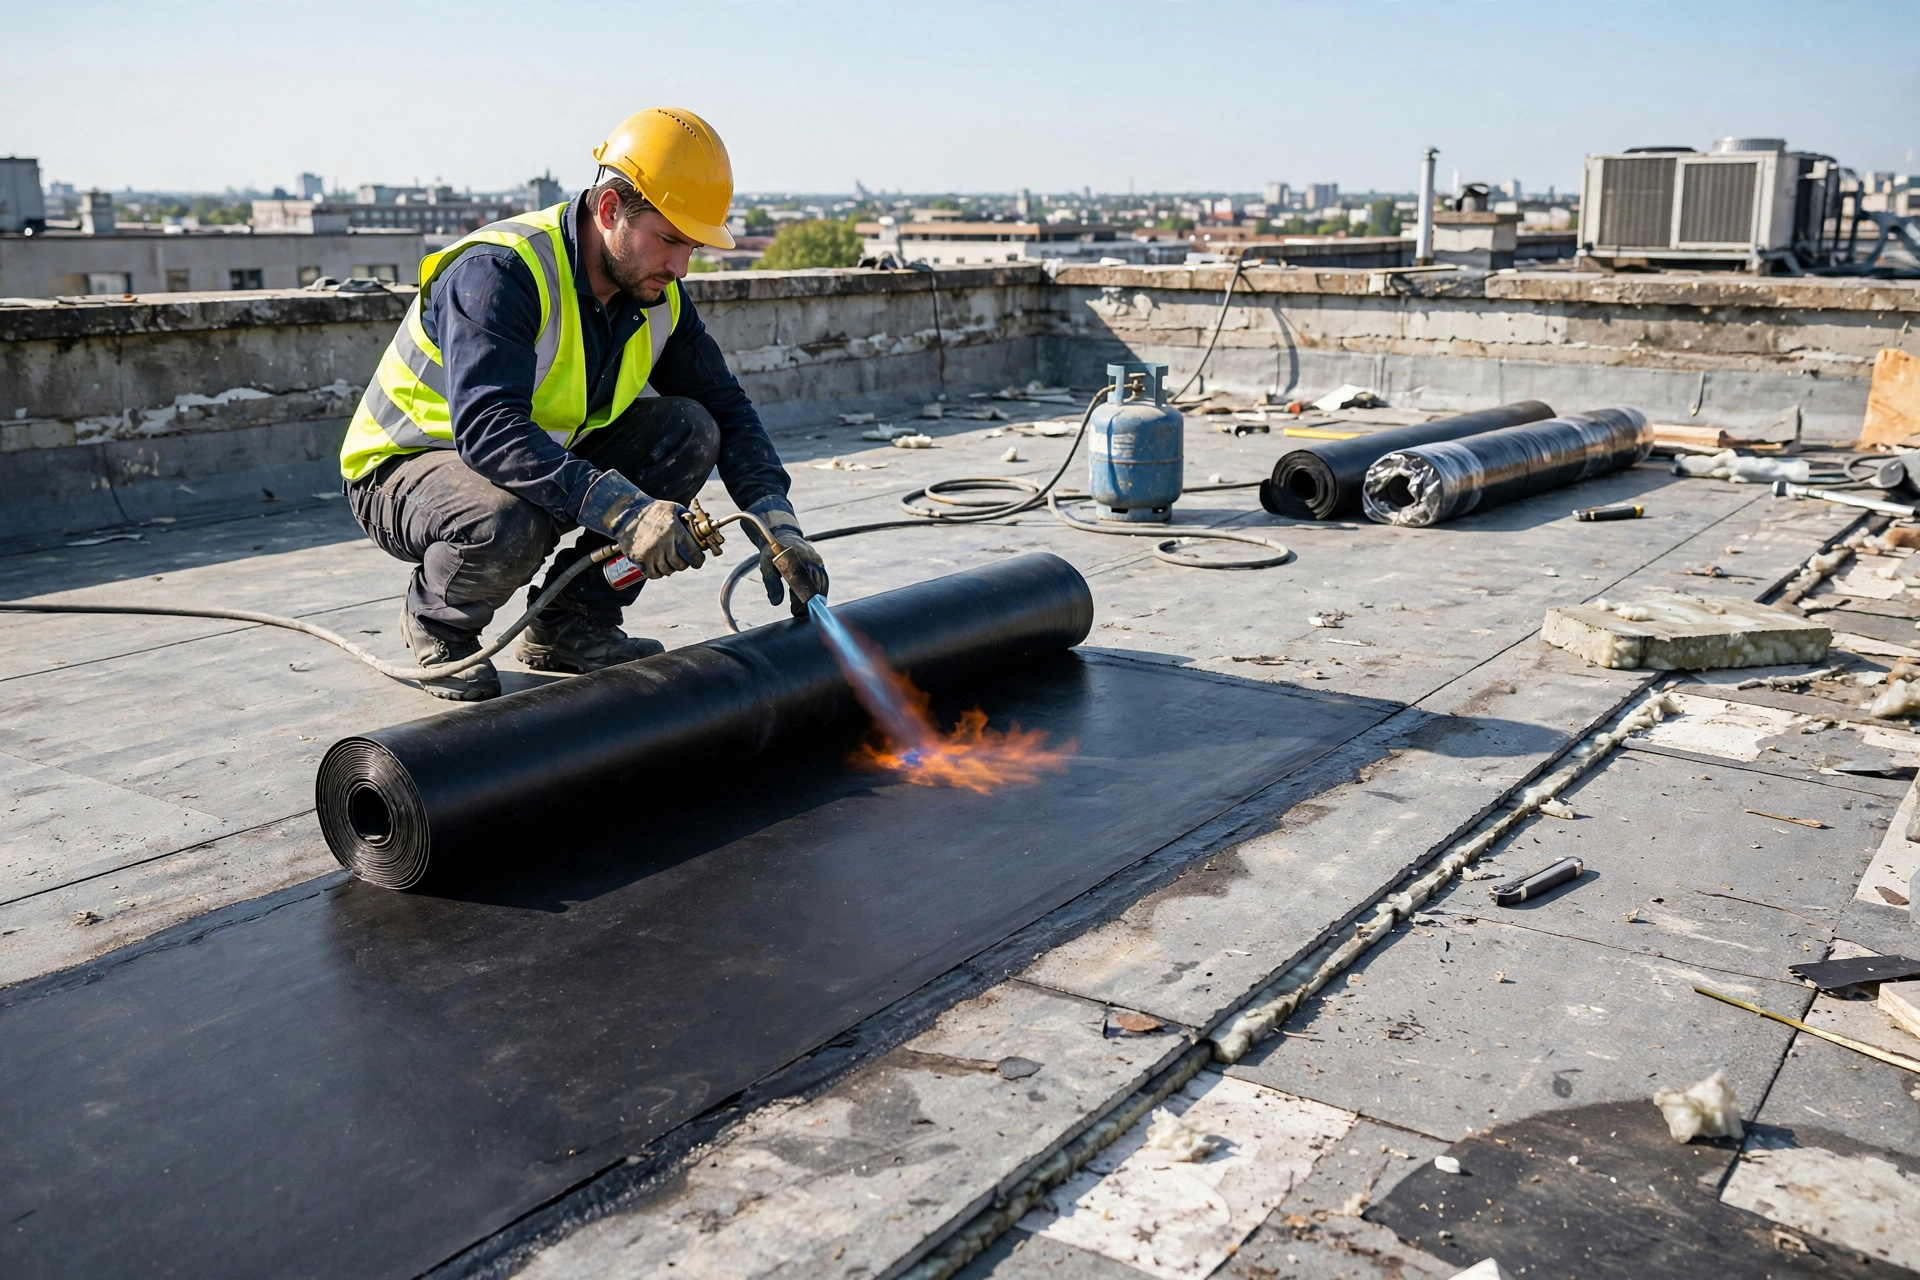
The membrane is the main waterproof barrier of the roof. On most flat concrete roofs this is a torch applied bituminous membrane, unrolled in neat parallel sheets, heated until the bitumen melts and bonds fully to the primed surface, with generous overlaps sealed at every joint. The roof waterproofing experts at Goodwell Technical Services run the membrane up the parapet walls as well, so the roof and its edges work as one continuous waterproof tray with no weak horizontal joint at the corner.
Workmanship decides everything in this phase. Sheets must lie flat with no trapped air, wrinkles or fish mouth openings at the overlaps, and every seam is probed with a trowel after cooling. A single open seam can feed water under the entire sheet, which is why membranes are inspected sheet by sheet on the same day they are laid, while correction is still simple.
- Full torch bonding: Heat until bitumen flows evenly; partial bonding leaves blisters behind.
- Generous sealed overlaps: Side and end laps are pressed and probed while still warm.
- Turn up the parapets: Membrane rises up walls to form one continuous waterproof tray.
- No trapped air: Sheets are rolled flat as they are laid to push out every pocket.
- Inspect every seam: Same day seam checks catch defects before they are covered.
Phase 7: Liquid Coating Layers (During Treatment)
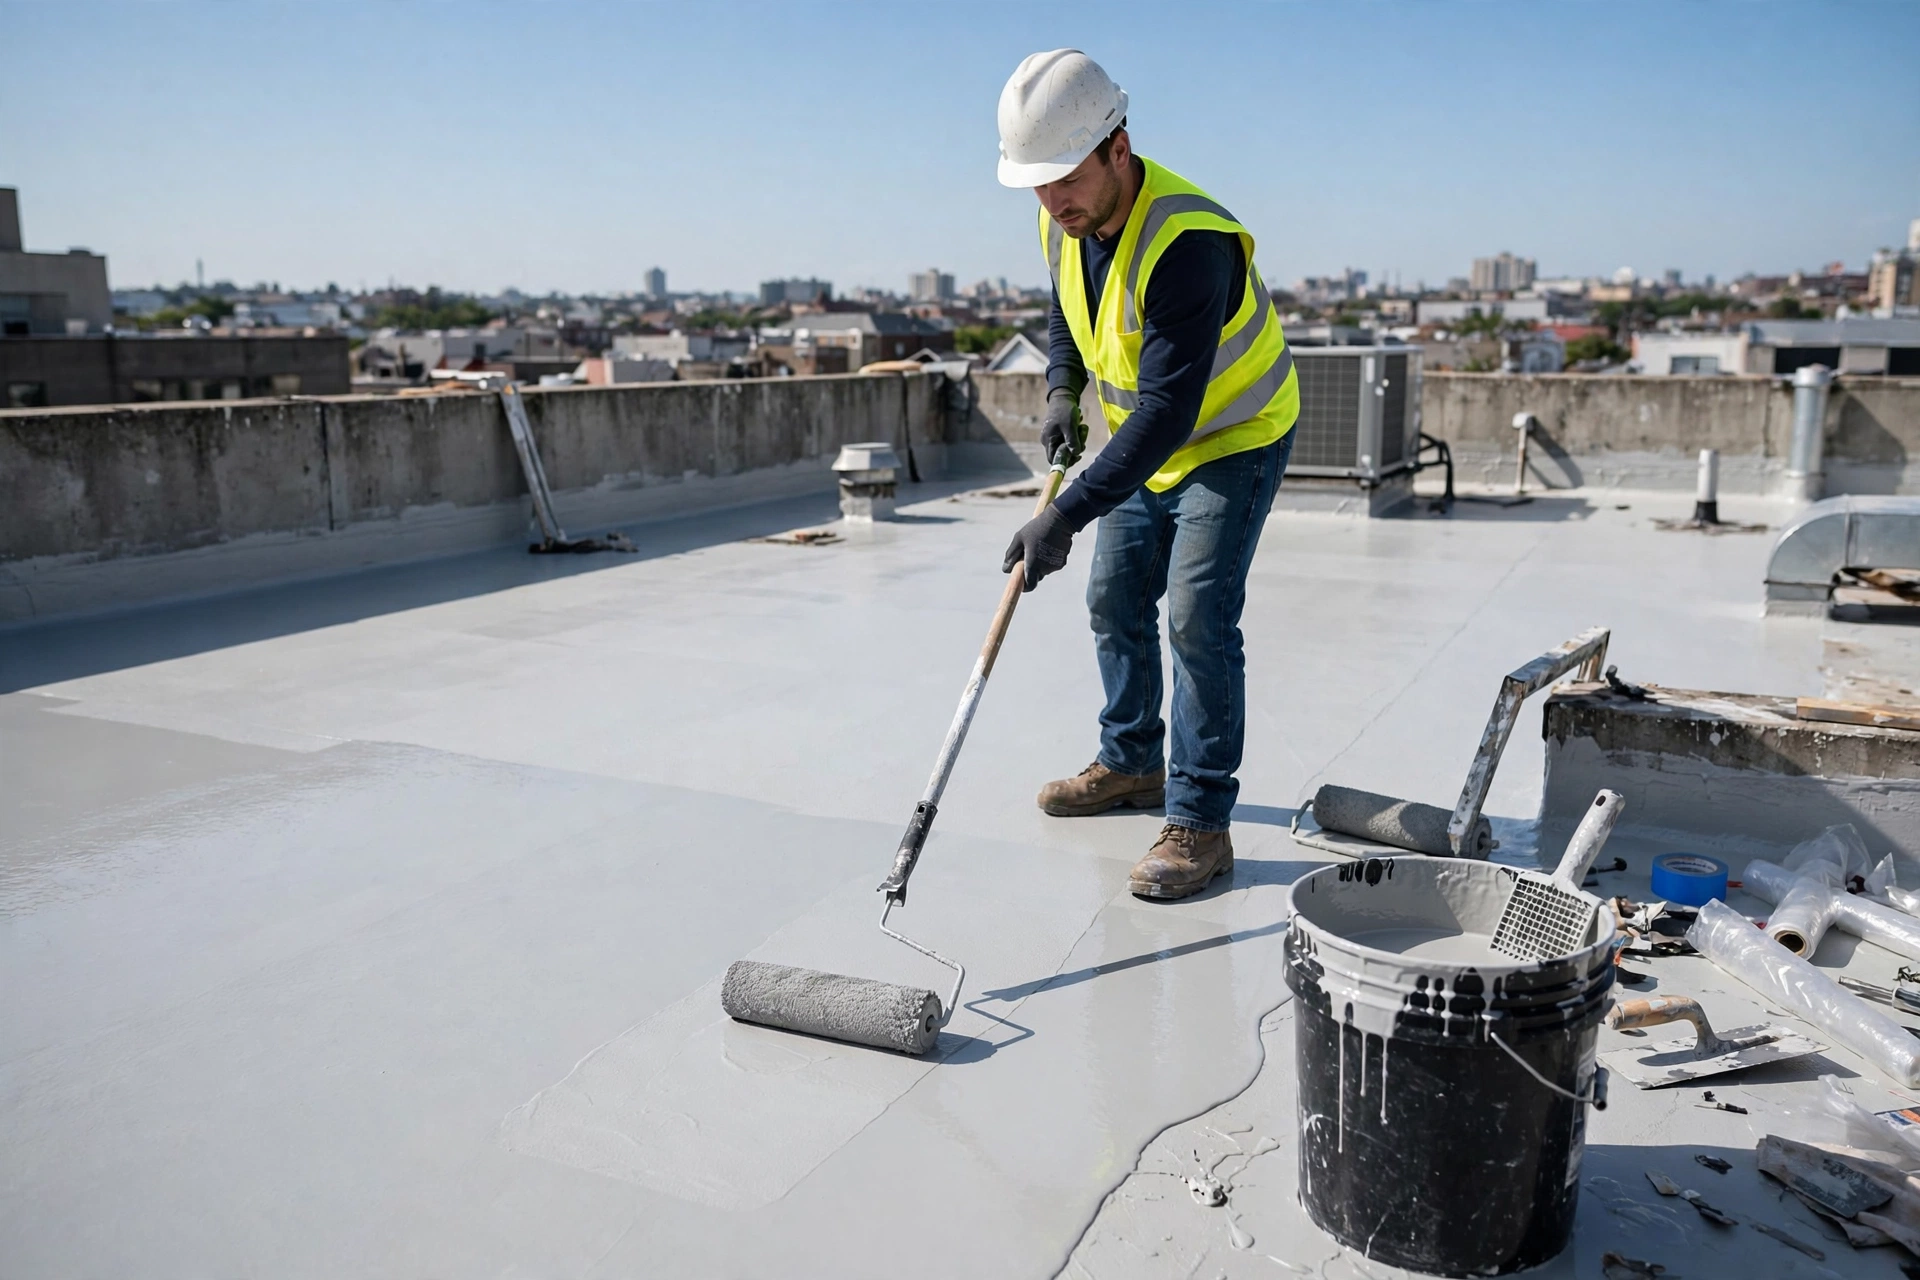
Over the membrane, or as the primary system on suitable roofs, liquid waterproof coatings add a seamless protective skin. High quality acrylic or polyurethane coating is applied in two or three coats, each at right angles to the one before, with a reinforcing fabric mesh embedded over joints and repaired cracks. Because the coating is liquid, it wraps around corners and details that sheet membranes struggle to follow, leaving no seams at all.
For colour and product selection ideas, homeowners often browse the Goodwell Technical Services homepage to see how light coloured, heat reflective coatings keep top floor rooms noticeably cooler in summer. Each coat is given its full curing interval, and total dry film thickness is checked, since a coating applied too thin looks fine on day one but wears out years earlier than promised.
- Two to three coats: Cross applied layers build a seamless, pinhole free waterproof skin.
- Reinforce weak zones: Fabric mesh over joints, cracks and corners while the coat is wet.
- Measure film thickness: Correct total thickness decides how long the system truly lasts.
- Choose reflective colours: Light shades cut roof heat and reduce thermal movement.
Phase 8: Parapets, Pipes and Penetrations (During Treatment)
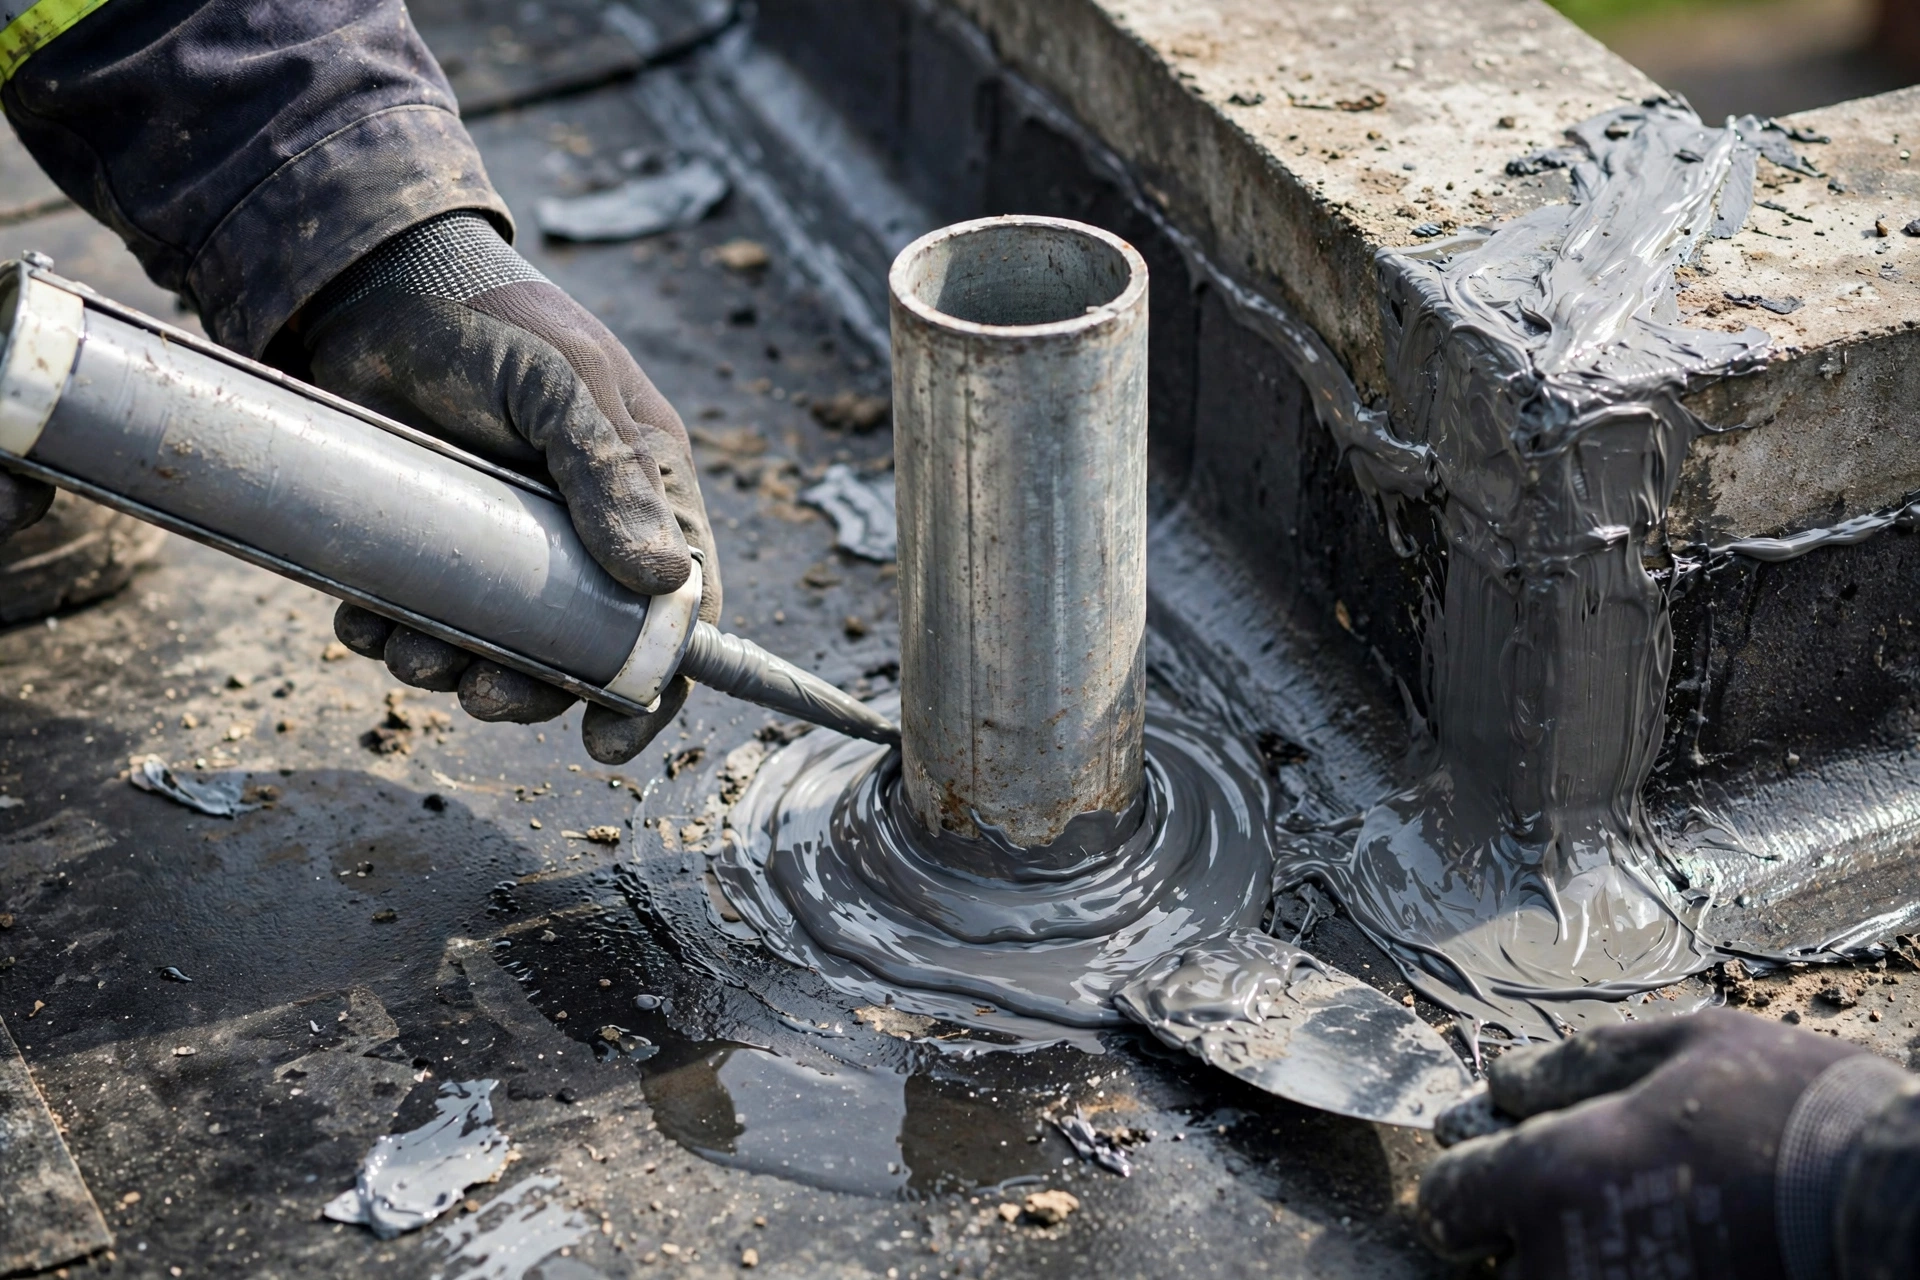
More roofs leak at details than across open surfaces, so parapets, pipes and penetrations receive their own dedicated phase. Every rainwater pipe base, vent pipe, AC line entry and railing post is sealed with compatible sealant, reinforced with mesh and coated or flashed so water cannot creep behind the main system. Goodwell Technical Services treats each penetration individually, because a detail that works for a drain flange is wrong for a moving AC pipe.
Parapet tops are finished with a proper coping slope or metal flashing so rain runs off the wall instead of soaking into it. Wall surfaces above the membrane line are checked for cracks that could let water enter behind the upturn, and those cracks are sealed in this phase rather than left for the next monsoon to find.
- Seal every penetration: Pipes, vents and posts get sealant, mesh and coating as one detail.
- Flash the drain flanges: Outlets are clamped and sealed so water enters the pipe, not the slab.
- Protect parapet tops: Coping or flashing sheds water away from the wall head.
- Seal wall cracks above the line: Water entering behind the upturn defeats the whole system.
Phase 9: Protective Screed and Finishing (After Treatment)
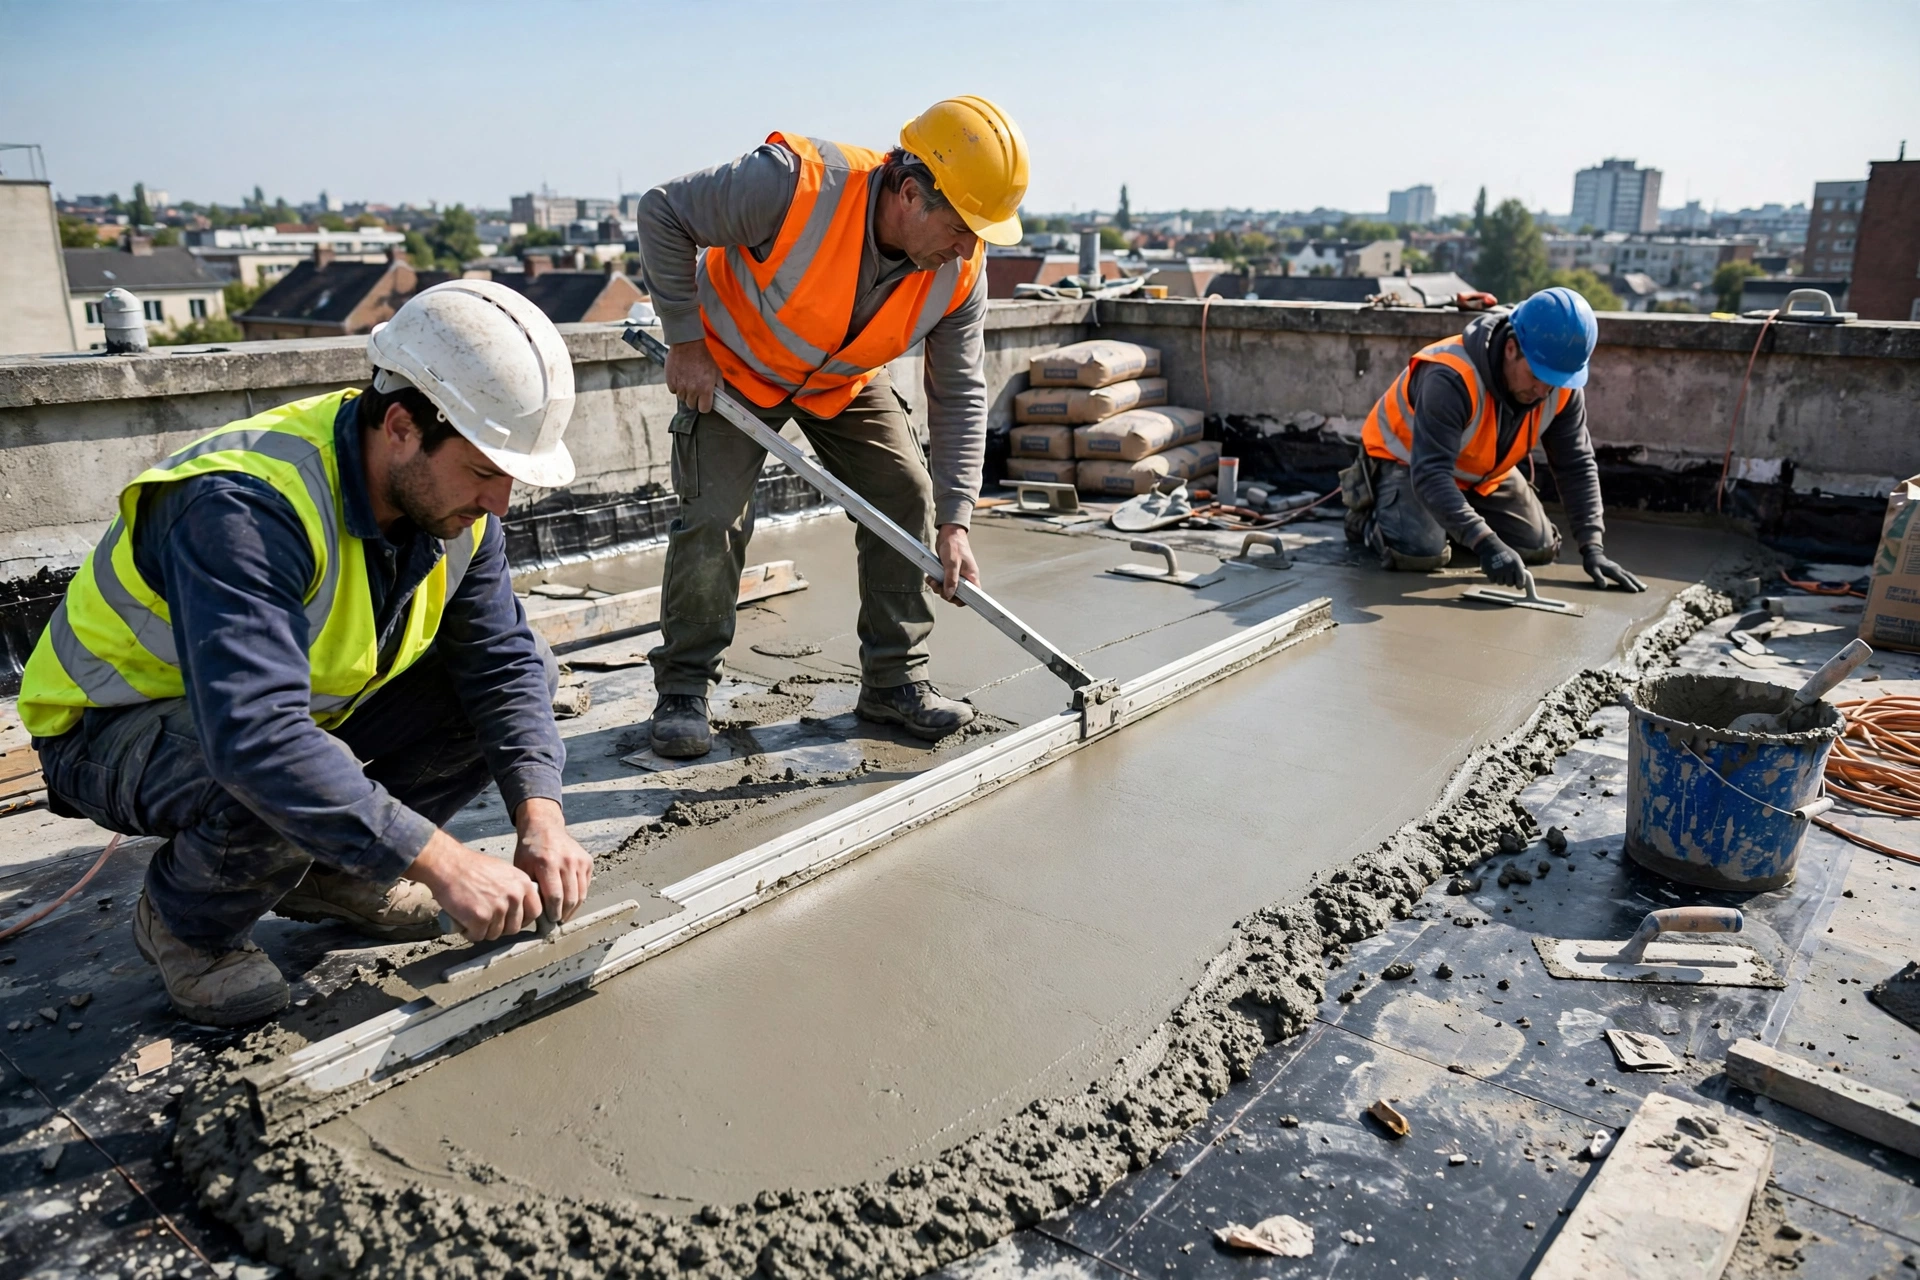
A waterproof membrane should never be left exposed to foot traffic, dropped tools and harsh sun where a protective layer is planned. A cement screed, laid over a separation sheet, shields the system below and gives the roof a hard, walkable finish. Goodwell Technical Services lays this protection with great care, because careless screed work with sharp tools can puncture in one afternoon the membrane that took days to install perfectly.
Expansion joints are formed in the screed at regular intervals and sealed with flexible material, so thermal movement cracks the joints in a controlled way instead of tearing random lines across the roof. Where the roof is used as a terrace, tiles or pavers can be laid over this protected, sloped and waterproofed base for a finished outdoor space that stays dry below.
- Protect before you walk: Separation sheet plus screed shields the membrane from damage.
- Form expansion joints: Regular sealed joints absorb movement without random cracking.
- Keep the falls: The protective layer must follow the corrected slope to the drains.
- Terrace ready finish: Tiles or pavers can complete the roof as a usable outdoor area.
Phase 10: Water Testing, Handover and Maintenance (After Treatment)
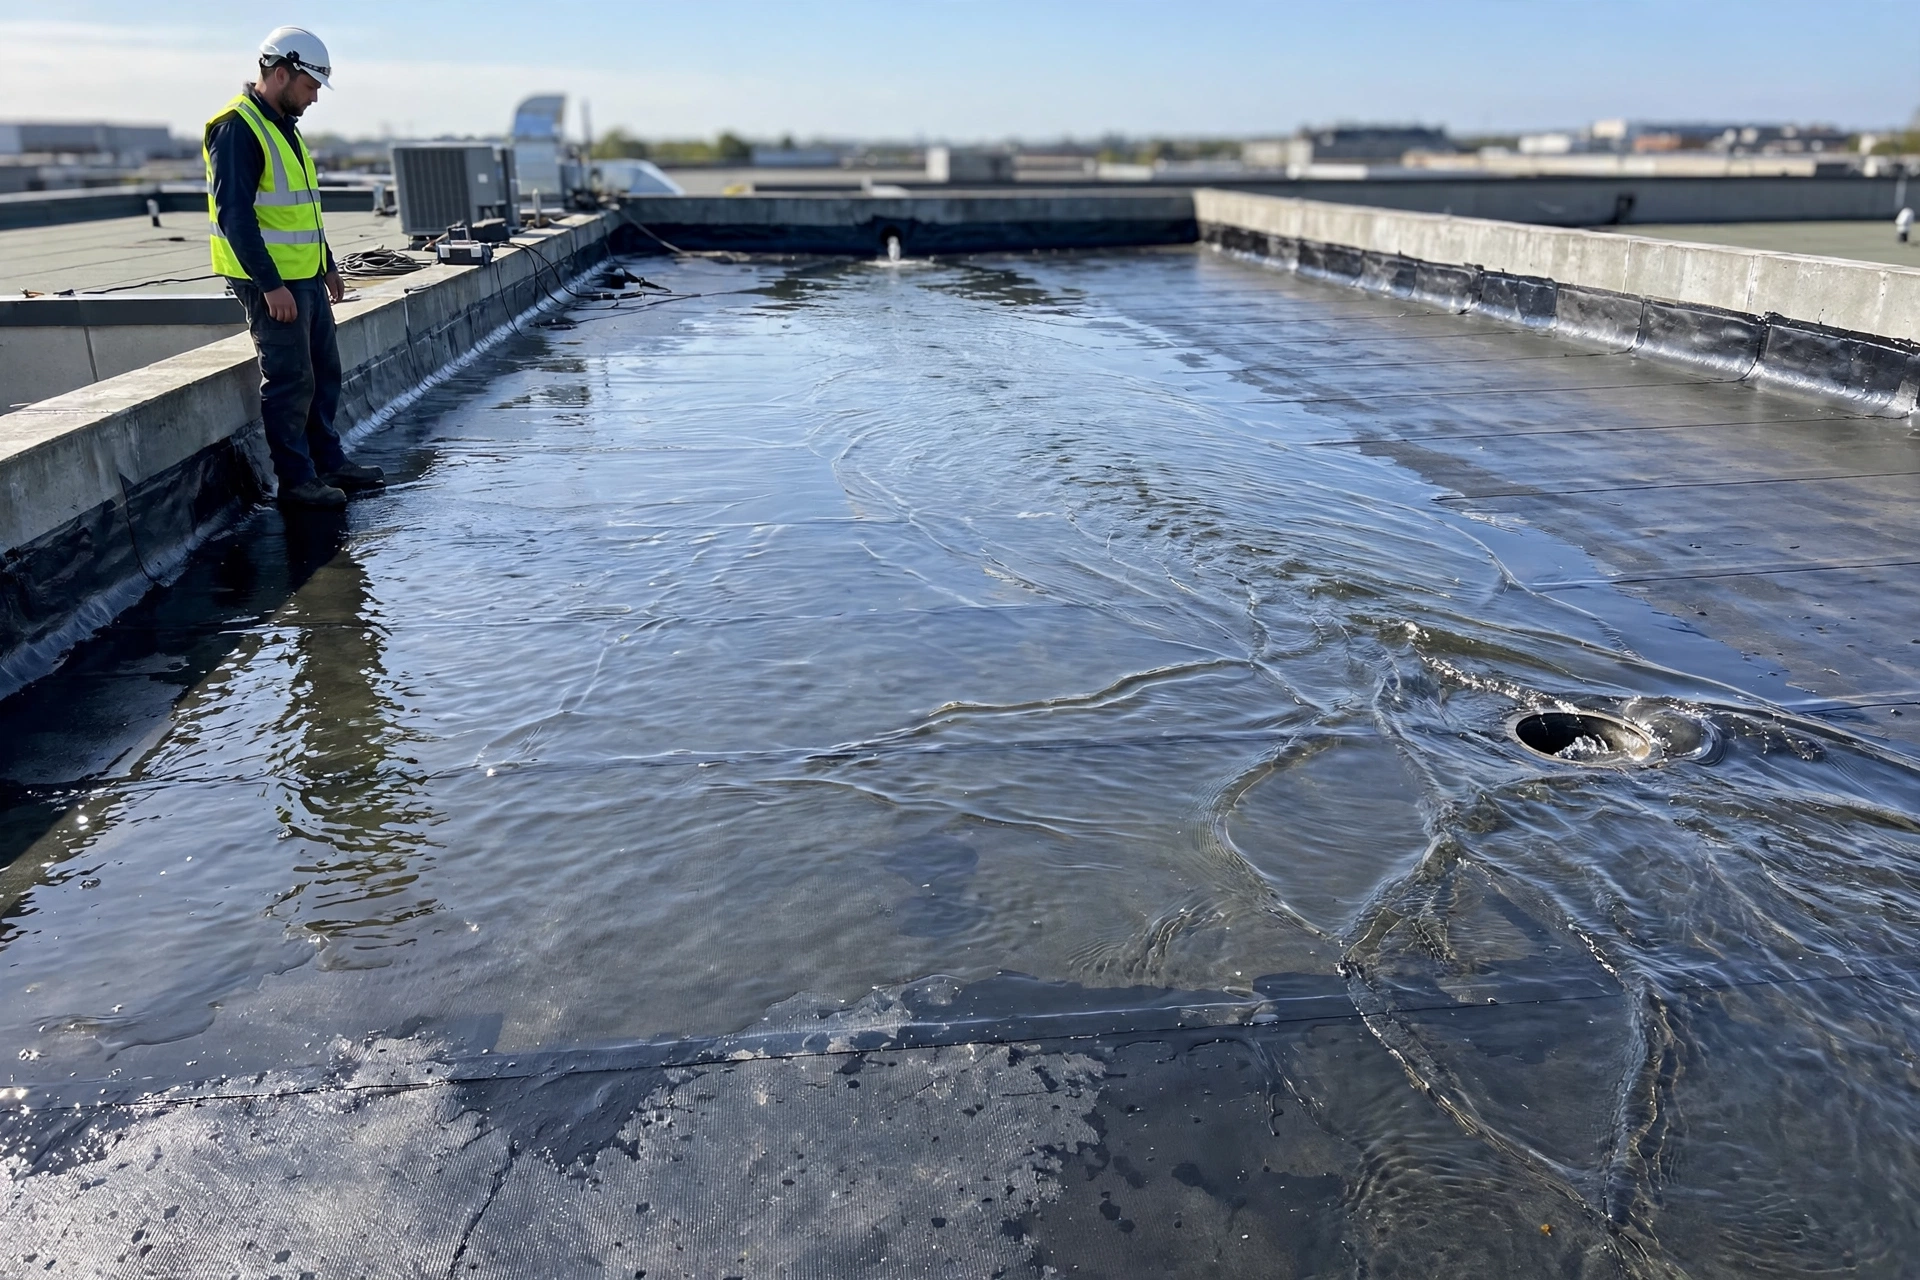
The final proof of roof waterproofing is water itself. The treated roof is ponded with water for forty eight to seventy two hours, drains are watched for smooth flow, and the ceilings below are inspected for any sign of damp. Goodwell Technical Services closes every observation from this test before handover and hands over photographs, product details and a written maintenance schedule, because a roof is only finished when it has passed under real water. To book a site visit for your own roof, reach out any time.
Maintenance keeps the system at full strength: clear leaves and silt from drains every few months, never allow standing debris in corners, inspect sealants around pipes once a year, and recoat high wear areas before the base layers are exposed. Goodwell Technical Services offers periodic roof health checks for completed projects, which catch small detail failures while they are still cheap to fix.
- 48 to 72 hour ponding test: Flood the roof, watch the drains and inspect ceilings below.
- Keep drains clear: Blocked outlets turn a good roof into a pond within one storm.
- Annual detail inspection: Check pipe seals, joints and parapet corners once a year.
- Keep the documents: Membrane and coating details, test photos and warranty in one folder.
Common Mistakes to Avoid During Roof Waterproofing
Across hundreds of roofs, Goodwell Technical Services has seen the same waterproofing mistakes repeat. Avoid these and your roof will stay dry for years:
- Coating without diagnosis: Painting over an untraced leak hides the symptom and keeps the damage growing.
- Skipping surface preparation: No membrane bonds to dust, algae or loose old coating. Preparation is half the job.
- Ignoring slope and drainage: Standing water defeats even premium systems. Fix the falls first.
- No primer: Membranes applied to raw dusty concrete peel and blister within a season.
- Thin single coats: One decorative coat is not waterproofing. Systems need full specified thickness.
- Neglecting details: Pipes, drains and parapet corners cause most leaks and get the least attention on cheap jobs.
- No water test: Handing over an untested roof transfers all the risk to the owner.
Conclusion
Roof waterproofing rewards method and punishes shortcuts. Diagnose leaks honestly before treatment, prepare and repair the surface properly, correct the slope, prime, install the membrane and coatings with discipline during treatment, protect the system, and prove it with a full water test after treatment. Follow these ten phases and your roof will stay leak free through many monsoons.
For a roof treated right the first time, contact Goodwell Technical Services for complete roof waterproofing, from inspection and crack repair to membranes, coatings and tested handover, executed phase by phase exactly as described above.