

Introduction
A tiled floor is the foundation of how a home looks and feels every single day. It carries furniture, foot traffic, dropped objects and daily cleaning, and it is also the largest visible surface in most rooms. A well installed floor lies perfectly flat, sounds solid underfoot, drains correctly in wet areas and keeps its shine for decades, while a poorly installed one shows lippage, hollow sounds, cracked grout and loose tiles within a year or two. In this detailed guide, Goodwell Technical Services explains all ten steps of floor tile installation step by step, from planning and tile selection to levelling, laying, grouting and final handover.
Whether you are tiling a new villa, a living room, a kitchen or a full apartment, the sequence below is the professional order followed on real sites. Floor tiling looks simple from the outside, but ninety percent of the quality is decided before the first tile is laid, in measurement, subfloor preparation and levelling. Understand each step before work begins and you will know exactly what a correct job looks like.
Phase 1: Planning, Tile Selection and Quantity (Before Installation)
Good floor tiling starts with honest measurement and the right tile for the right room. Measure every room length and width, note door positions, skirting lines and any level changes, and draw a simple plan before ordering anything. At Goodwell Technical Services, every floor tile installation project begins with matching the tile to the space: polished porcelain for living areas, matte anti-skid tiles for bathrooms and outdoor areas, and large format tiles only where the floor is flat enough to receive them.
Tile quality matters as much as tile design. Check the PEI rating for wear resistance, the water absorption rate for wet areas, and the shade and calibre codes on every box, because tiles from different production batches can differ slightly in size and colour. Order all tiles from one batch, and keep spare tiles from the same batch for future repairs.
- Measure everything: Room dimensions, door swings, skirting heights and existing floor levels in every room.
- Match tile to room: Anti-skid matte tiles for wet areas, polished or satin finishes for dry living spaces.
- Check ratings: PEI wear rating, water absorption and slip resistance printed on the box before purchase.
- Order ten percent extra: Cuts, breakage and future repairs demand spare tiles from the same batch.
- One batch only: Shade and calibre must match across all boxes; mixed batches show visible differences.

Phase 2: Subfloor Inspection and Repair (Before Installation)
Tiles are only as strong as the surface beneath them. The subfloor, whether concrete slab, old screed or an existing finish, is inspected for cracks, hollow patches, damp, oil stains and level differences before any new work begins. A long straightedge and a spirit level reveal high and low spots, and a simple tap test with a metal rod exposes hollow or debonded areas by their dull sound.
Site preparation matters as much as inspection. Our team removes loose material, old adhesive residue and weak plaster, repairs cracks with proper filler, and treats any damp source first, because tiling over moisture guarantees failure. Dust and debris are cleared completely so the levelling layer bonds to a clean, sound base.
- Test for hollow spots: Tap the whole floor; hollow sounding areas are cut out and repaired, never tiled over.
- Find the damp source: Rising damp or a hidden leak must be fixed before tiling, not covered by it.
- Repair cracks properly: Structural cracks are chased, filled and reinforced; hairline cracks get flexible filler.
- Remove contaminants: Oil, paint, wax and loose adhesive destroy bond strength and must be stripped.
- Record levels: Mark high and low points on the floor plan so levelling work targets the right areas.
Phase 3: Floor Levelling and Screeding (Before Installation)
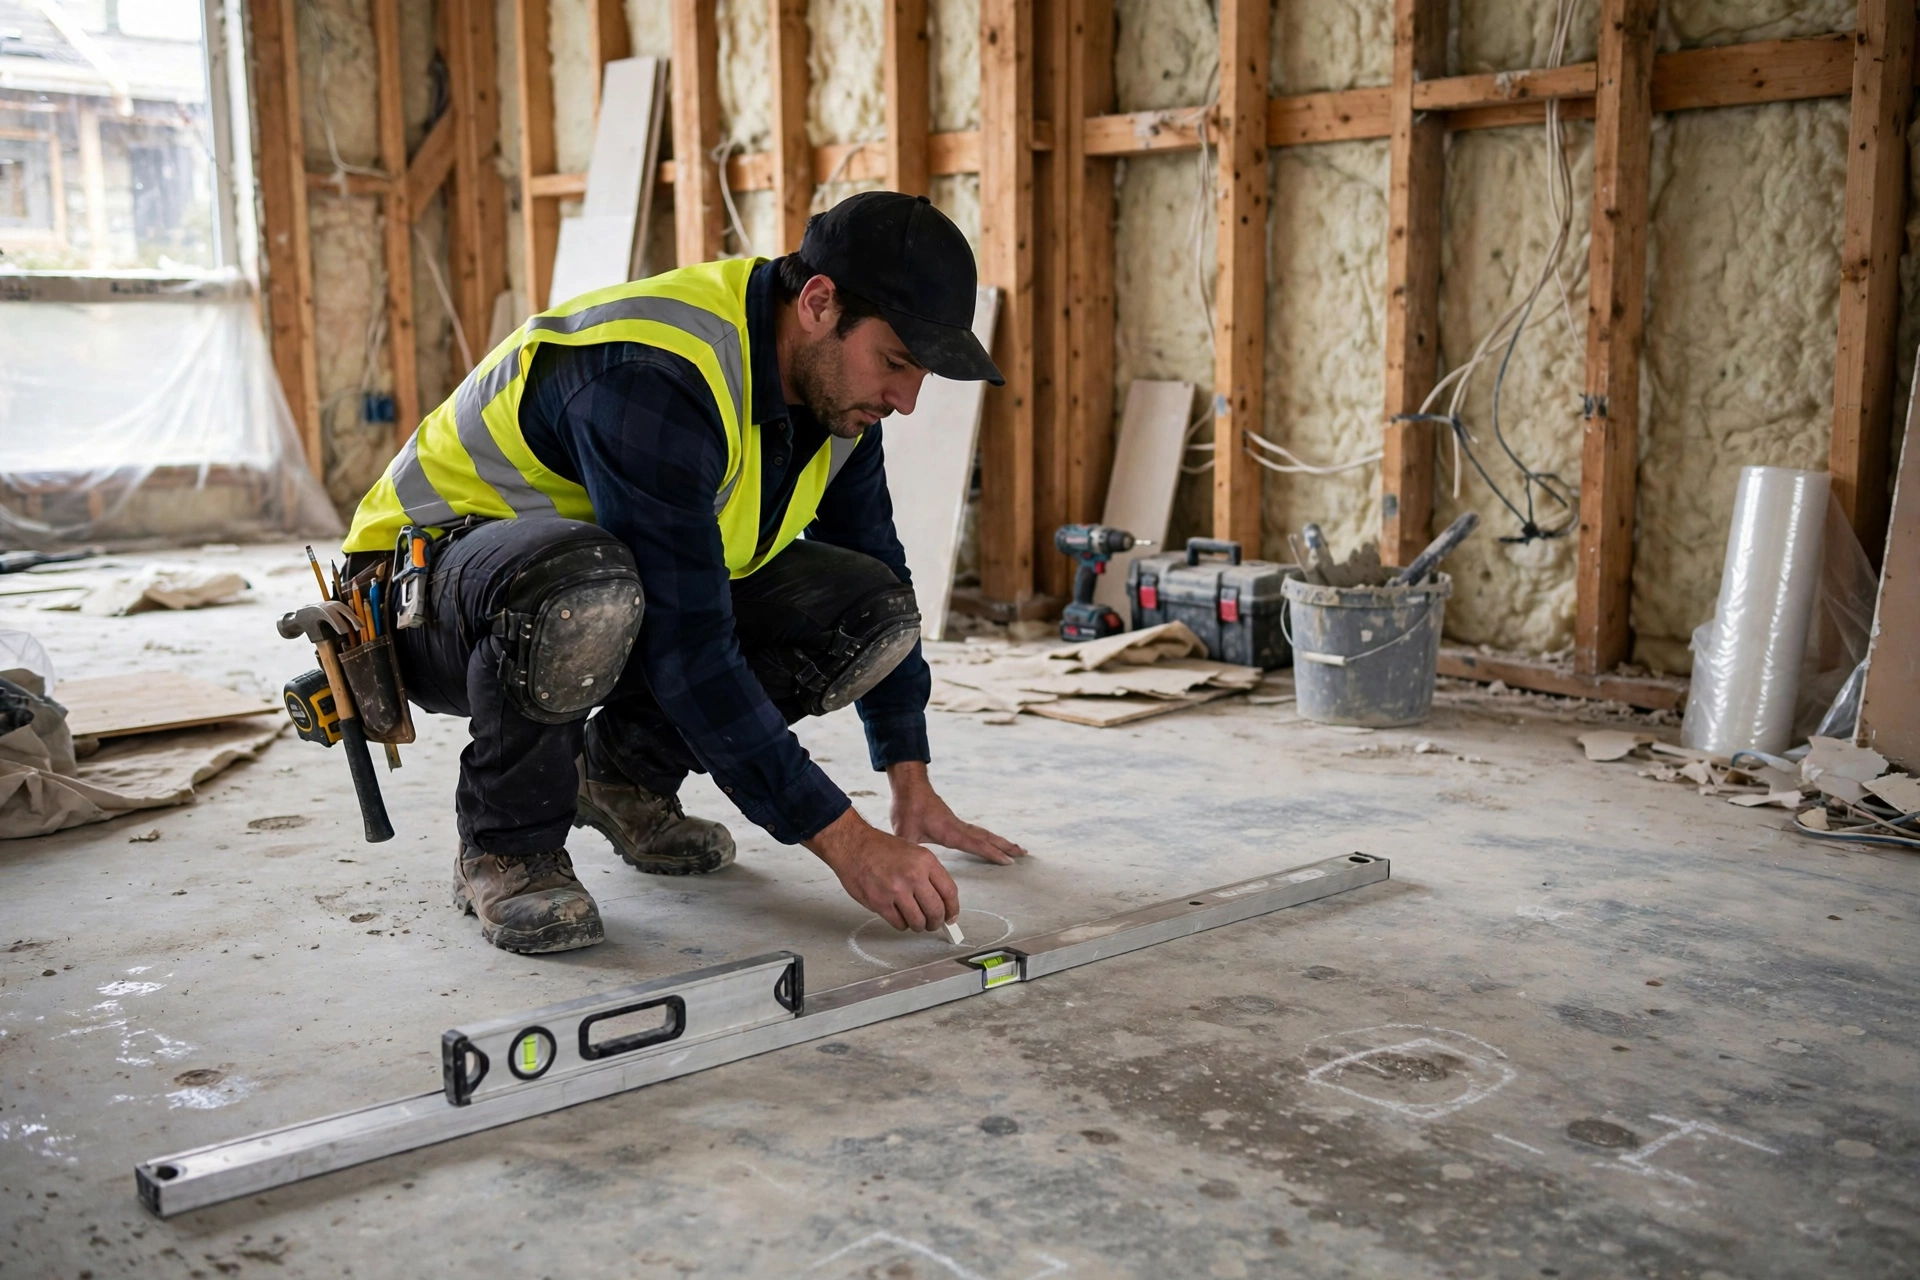
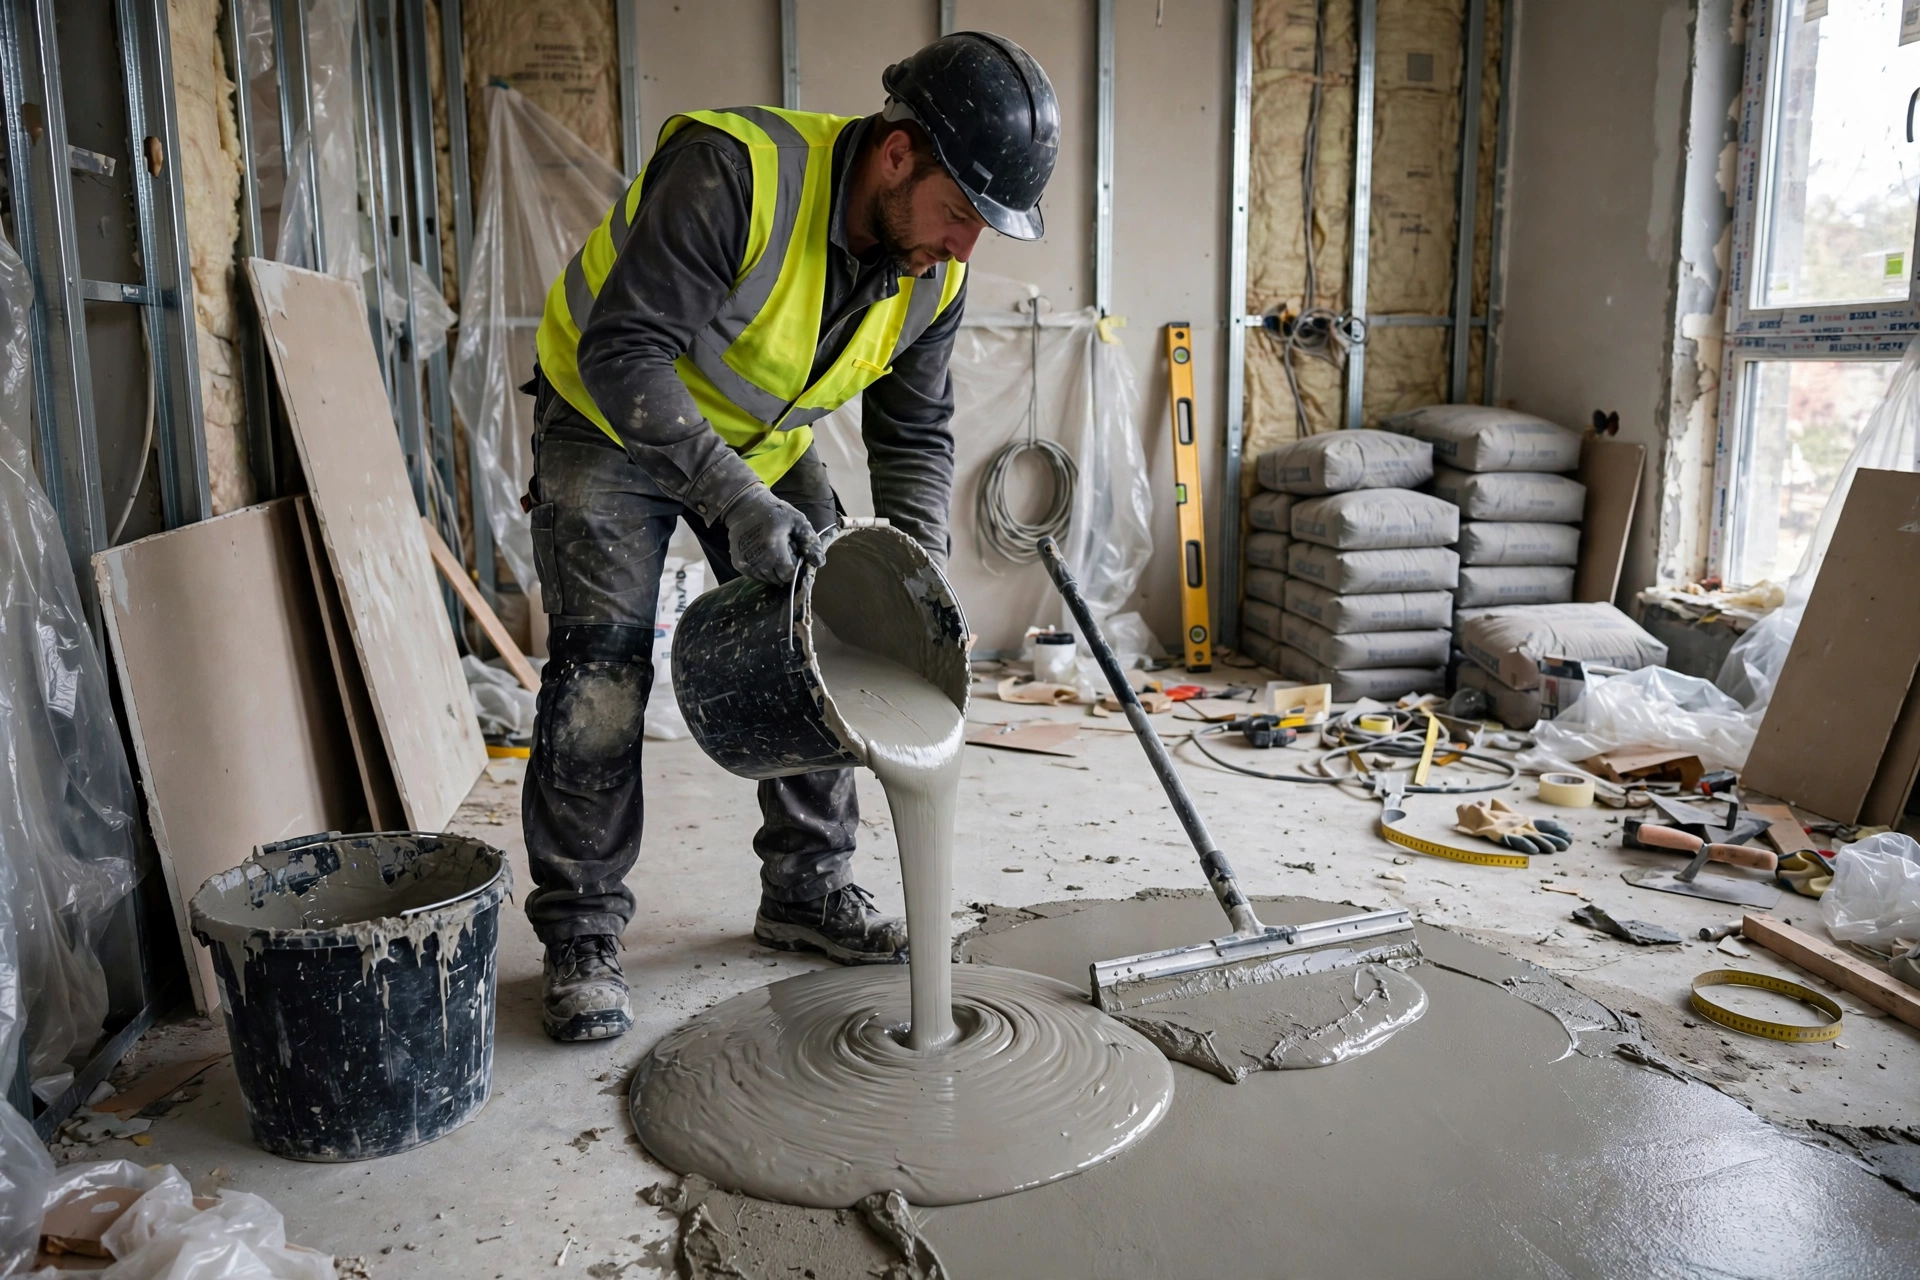
No tile, and especially no large format tile, can hide an uneven floor. Levelling creates the flat plane that tiling needs, using either a traditional cement sand screed for larger corrections or a self-levelling compound for thin corrections of a few millimetres. The correct method depends on how far the floor is out, and choosing wrong here shows up later as lippage, rocking tiles and cracked corners.
Goodwell Technical Services checks flatness with a two metre straightedge and allows no gap greater than three millimetres under it before tiling starts. Screeds are cured properly and self-levelling layers are primed first so they bond fully, because a levelling layer that debonds takes every tile above it loose with it.
- Prime before levelling: Self-levelling compound always goes over a compatible primer for full bond.
- Respect the tolerance: Maximum three millimetres deviation under a two metre straightedge.
- Cure fully: Cement screed needs proper curing time; tiling too early traps moisture under tiles.
- Set the finished level: Levelling must meet door thresholds and adjoining rooms without steps or ramps.
- Falls in wet areas: Bathroom and balcony floors are levelled to a gentle slope toward the drain.
Phase 4: Layout Marking and Dry Fitting (During Installation)
Layout decides whether a floor looks professionally planned or accidentally assembled. The tiler finds the centre of the room, snaps chalk lines at right angles, and dry lays a row of tiles along each line to see exactly where cuts will fall. The goal is balanced borders: full tiles in the most visible areas and cut tiles of a reasonable, even size at the edges, never thin slivers along a wall.
Doorways and adjoining rooms need special planning so joints continue cleanly from room to room, and patterns such as diagonal, herringbone or brick bond are fully marked before adhesive is mixed. Goodwell Technical Services photographs the approved dry layout, because once adhesive work begins there is no time to redesign the floor.
- Start from the centre: Chalk lines from the room centre keep the layout balanced on all sides.
- Avoid sliver cuts: Shift the starting line so edge cuts stay wider than one third of a tile.
- Align across doorways: Joints should flow through door openings without ugly offsets.
- Plan expansion joints: Large floors need movement joints at intervals and around the perimeter.
- Dry fit feature areas: Borders, patterns and thresholds are laid dry and approved first.

Phase 5: Adhesive Mixing and Application (During Installation)
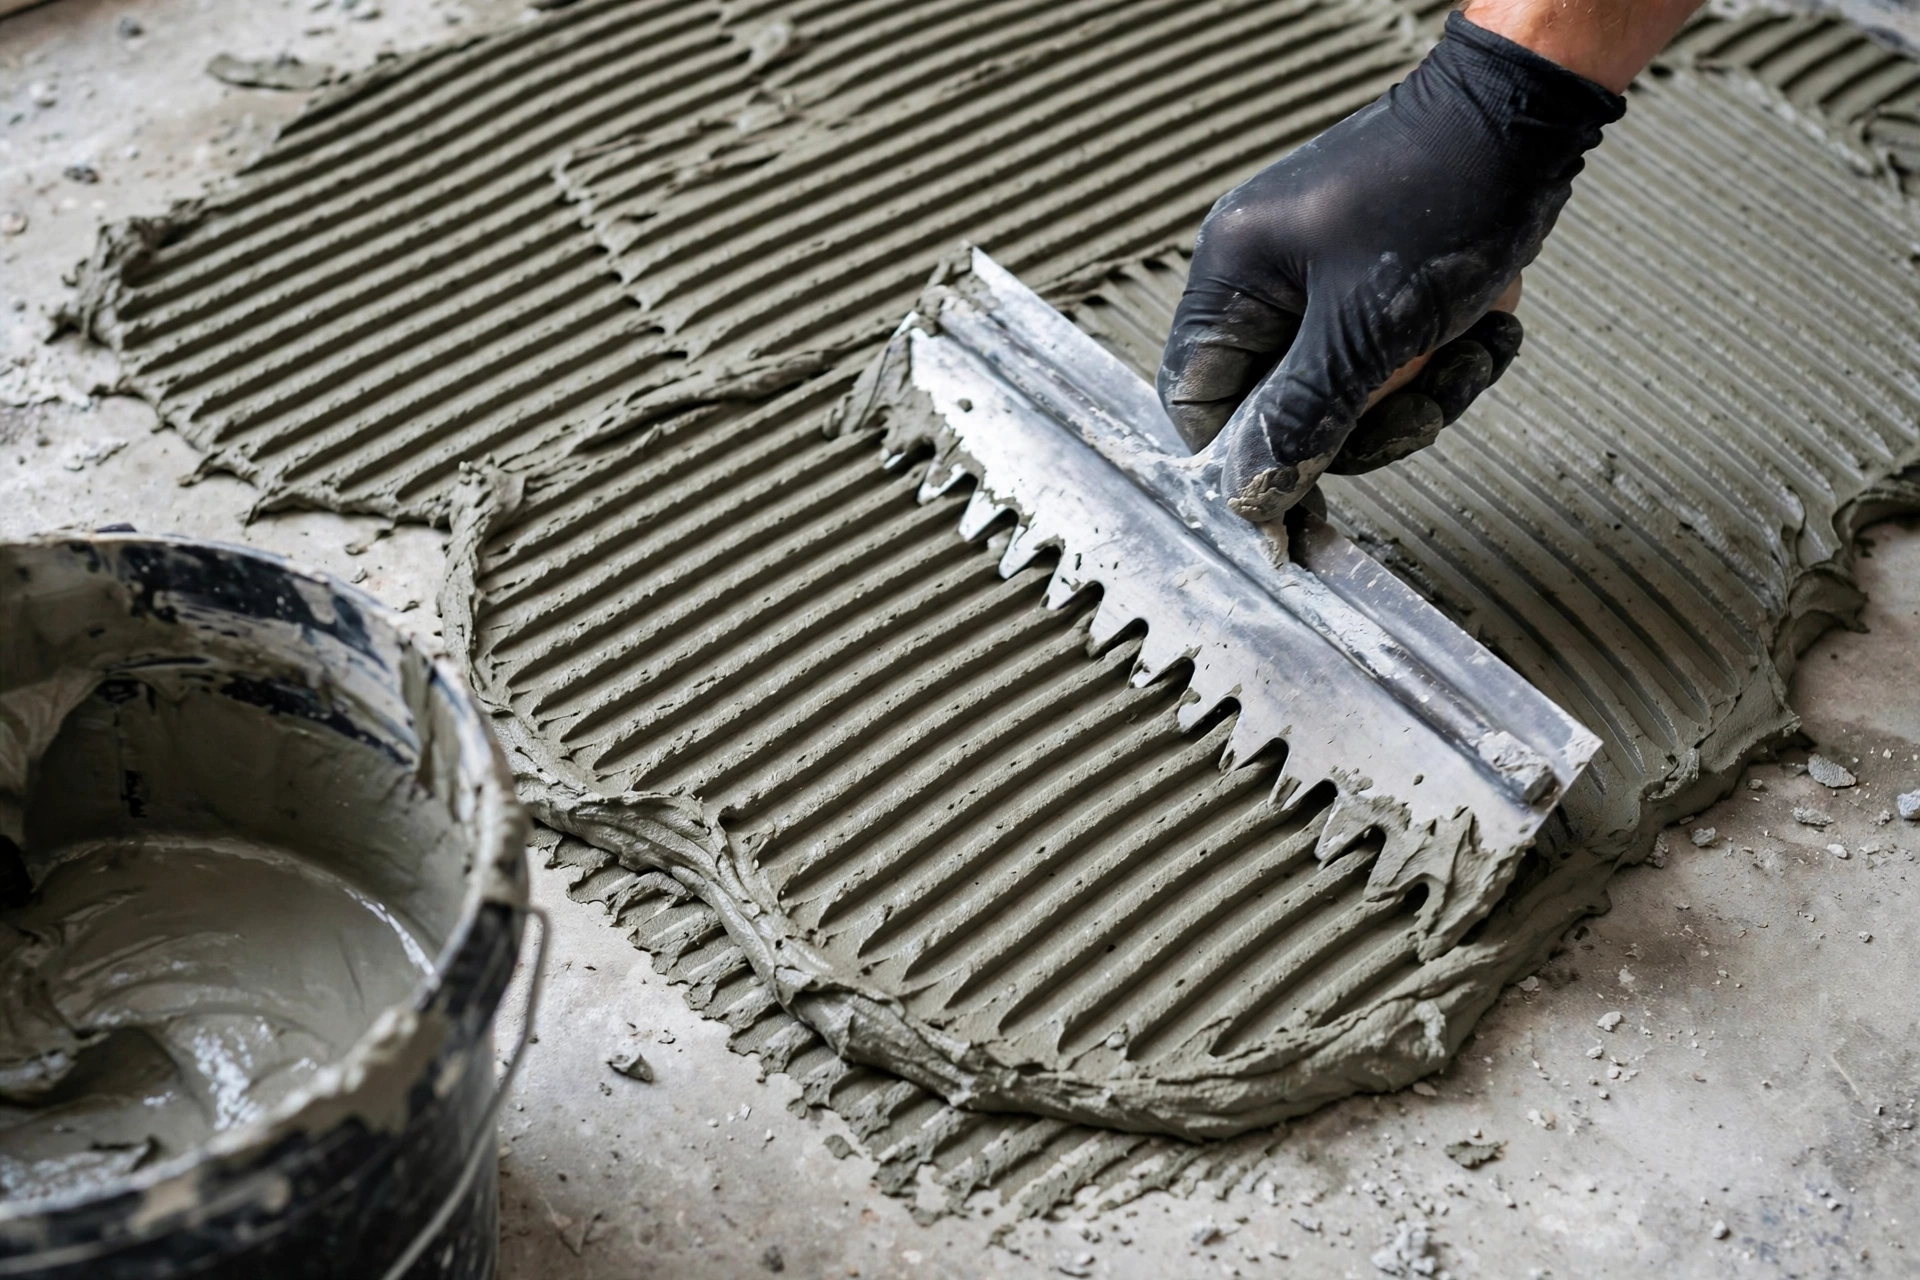
Adhesive is the handshake between tile and floor, and it fails when it is mixed or applied carelessly. Cement based tile adhesive is mixed with clean water to a smooth, lump free consistency, rested for a few minutes, and remixed before use. Each adhesive has a pot life and an open time, and a professional tiler mixes only what can be used within that window, never retempering stiffened adhesive with extra water.
The adhesive is spread with a notched trowel held at a consistent angle, which leaves even ridges that collapse under the tile and give full contact. For large format tiles, back buttering a thin layer on the tile back is added to spreading the floor, and this double method is what prevents the hollow corners that crack under load. On every floor tile installation by Goodwell Technical Services, coverage is checked by lifting a freshly laid tile and inspecting the adhesive print.
- Mix to instructions: Exact water ratio, rest time and remix; no guesswork and no extra water later.
- Right notch size: Trowel notch matched to tile size; larger tiles need deeper notches.
- Back butter large tiles: A skim coat on the tile back plus floor adhesive gives near full coverage.
- Work in small sections: Spread only what can be tiled before the adhesive skins over.
- Check coverage: Lift one tile per room; dry spots mean the technique must change immediately.
Phase 6: Laying Tiles – Levels and Alignment (During Installation)
This is the visible heart of the job. Each tile is pressed into the adhesive with a slight sliding movement, tapped level with a rubber mallet, and checked against its neighbours with a spirit level and straightedge. Modern levelling clip systems hold large tiles at identical heights while the adhesive cures, eliminating the lippage that catches light, toes and furniture legs.
The floor tile installation experts at Goodwell Technical Services work outward from the centre lines, clean adhesive from joints as they go, and check alignment every few tiles in both directions. Spacers keep joints perfectly even, and any tile that sits high, low or hollow is lifted and relaid immediately, while correction is still easy.
- Use levelling clips: Clip and wedge systems keep large format tiles flush during curing.
- Check every direction: Level, straightedge and diagonal checks after every few tiles.
- Keep joints clean: Adhesive squeezed into joints is raked out before it hardens and blocks grout.
- Consistent spacing: Spacers or clip bases set every joint to the same width across the room.
- No walking on fresh work: Laid areas are protected and left undisturbed until adhesive sets.

Phase 7: Cutting and Edge Work (During Installation)
Almost no room is an exact multiple of a tile, so cutting quality decides how finished a floor looks. Straight cuts are made on a manual score and snap cutter or a wet saw for porcelain, curves and notches around pipes and door frames are cut with a wet saw or angle grinder with a diamond blade, and every cut edge is smoothed so it sits cleanly against skirting or trims.
For layout ideas and finish selection, homeowners often browse the Goodwell Technical Services homepage to see how completed floors handle borders, thresholds and transitions between tile and other flooring. Edges at doorways get proper metal or PVC trim profiles, expansion gaps at walls stay hidden under skirting, and tiles around floor drains are cut to follow the slope exactly.
- Wet saw for porcelain: Hard tiles chip on dry cutting; water cooled diamond blades give clean edges.
- Measure twice: Every border tile is marked from the actual gap, accounting for the joint width.
- Smooth cut edges: A rubbing stone removes sharpness and micro chips from visible cut edges.
- Trim the transitions: Doorway thresholds get proper profiles, never a raw tile edge.
- Keep perimeter gaps: A small movement gap at walls, covered by skirting, prevents pressure cracking.

Phase 8: Grouting and Joint Finishing (During Installation)
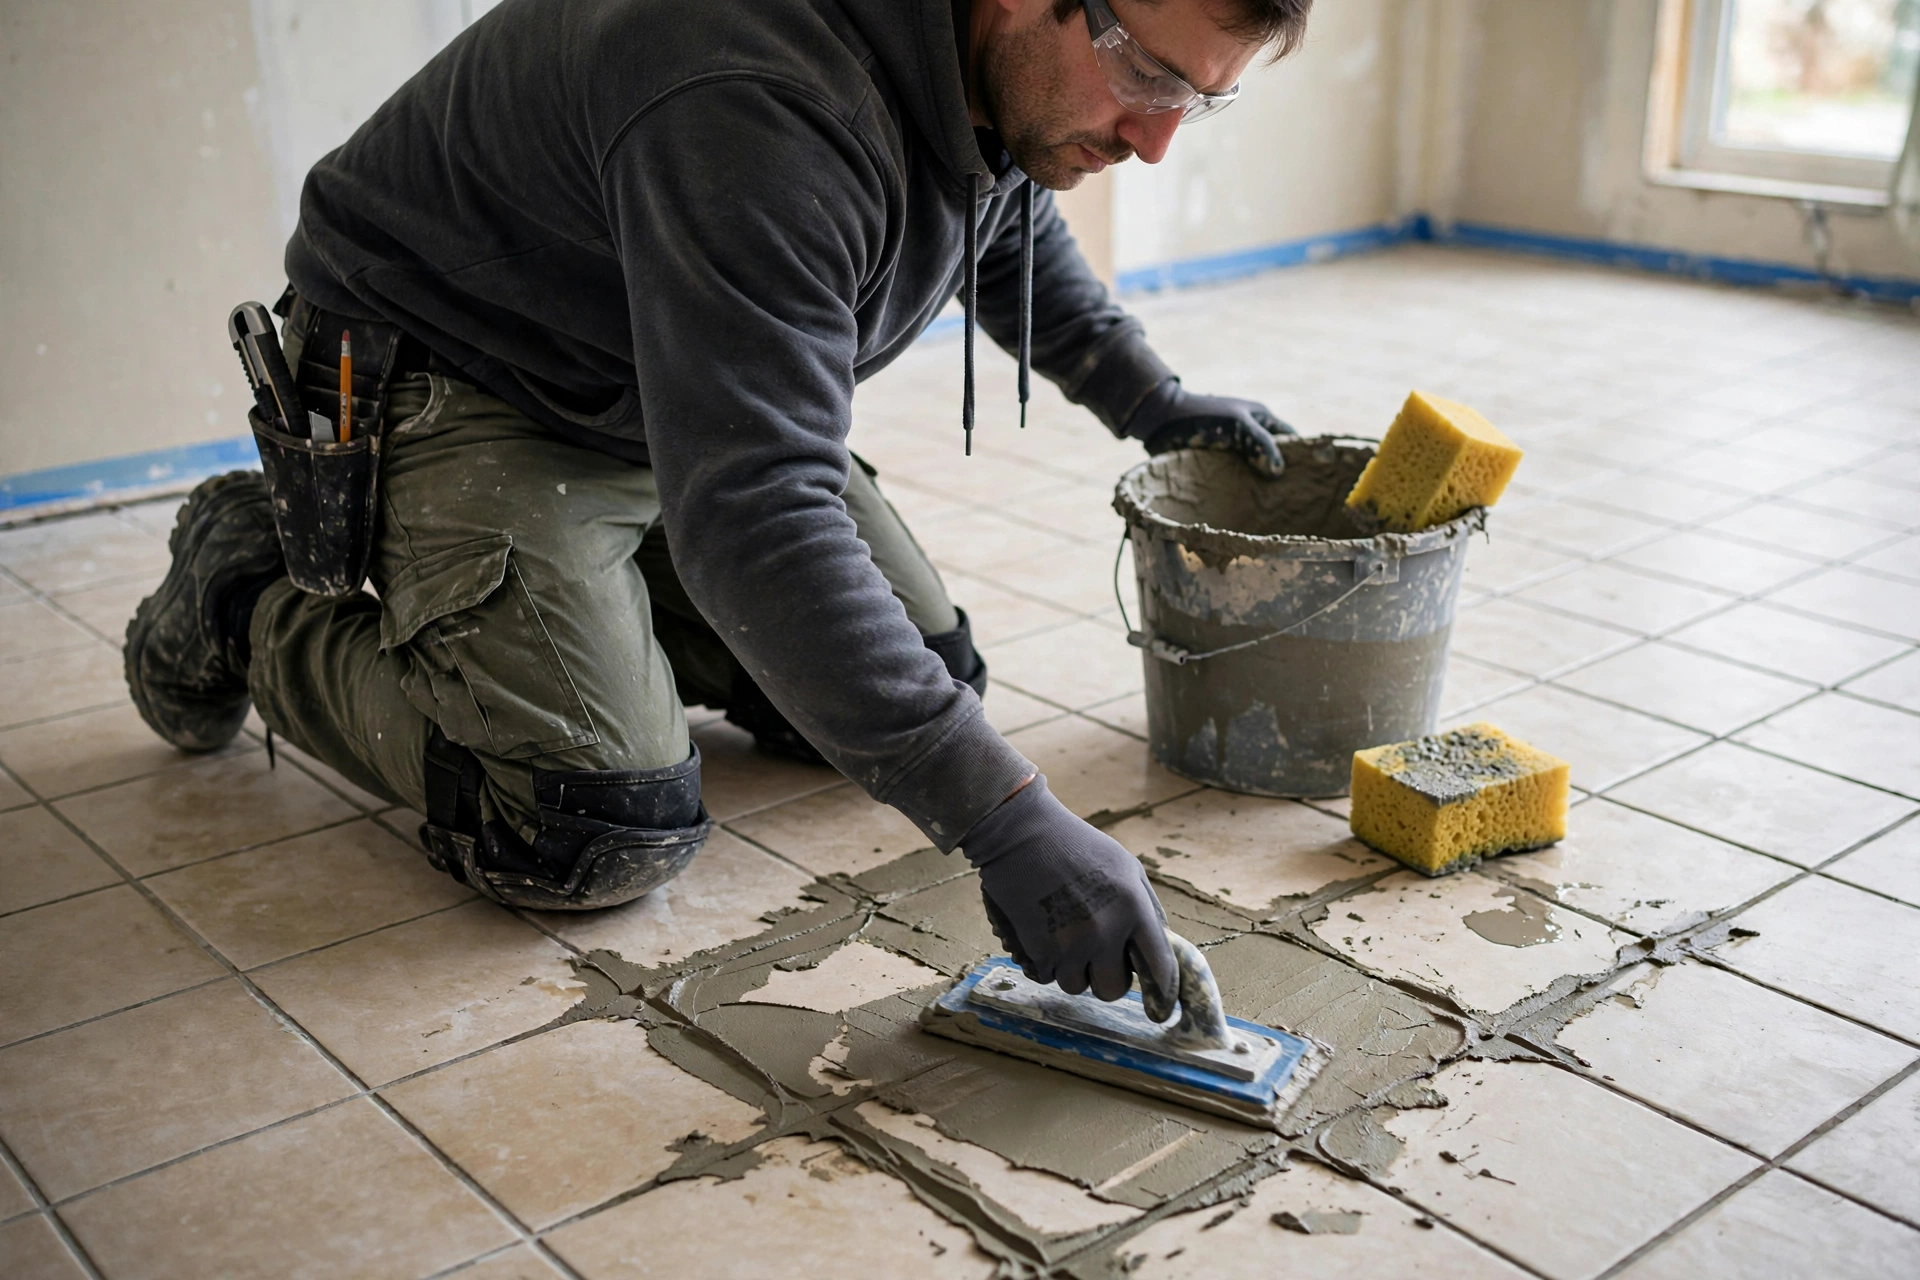
Grout is not decoration added at the end; it locks tiles together, keeps water and dirt out of the joints and gives the floor its finished grid. Grouting begins only after the adhesive has cured fully, usually twenty four to forty eight hours after laying. Joints are cleaned of dust and loose adhesive, and the grout, cement based for most floors or epoxy for kitchens and wet areas, is mixed to a smooth paste and pressed diagonally across the joints with a rubber float so every joint fills completely.
Timing the wash is the skill in this phase. Goodwell Technical Services allows the grout to firm, then wipes the surface with a damp sponge in controlled passes, shaping the joints slightly concave and removing haze before it hardens. Washing too early pulls grout out of the joints; washing too late leaves a film that is miserable to remove.
- Wait for full cure: Never grout over fresh adhesive; movement and moisture ruin joint strength.
- Fill diagonally: The float moves across joints, not along them, to pack grout fully.
- Choose the right grout: Epoxy grout for wet and heavy use areas, quality cement grout elsewhere.
- Wash at the right moment: Sponge when grout has firmed but before haze hardens on the tile face.
- Tool movement joints: Perimeter and expansion joints get flexible sealant, never hard grout.
Phase 9: Cleaning, Sealing and Curing (After Installation)
The floor is finished, but it is not yet ready for life. A final wash removes the last grout haze, stubborn spots are treated with a tile safe cleaner, and porous materials such as natural stone and unglazed tiles receive a penetrating sealer that protects them from stains without changing their look. Cement grout also benefits from a grout sealer in wet and heavy traffic areas.
Goodwell Technical Services protects every new floor with boards or sheets before other trades or furniture return, because one dragged ladder can undo a perfect installation in seconds. Curing times are respected strictly: light foot traffic only after the grout has set, and heavy furniture only after full cure.
- Remove haze fully: Final cleaning with the right product; never strong acid on fresh grout or stone.
- Seal porous surfaces: Stone, unglazed tiles and grout lines sealed where the room demands it.
- Protect the floor: Cover boards guard the finished floor until all other work is complete.
- Respect curing times: No heavy furniture, dragging or washing with excess water during cure.
- Ventilate the room: Air movement helps grout and sealers cure evenly and completely.

Phase 10: Final Inspection and Maintenance Tips (After Installation)
The snag list is the soul of a professional handover. Walk the floor in good light and look along its surface for lippage, check every tile with a tap test for hollow sounds, inspect grout lines for pinholes or cracks, and confirm that wet area floors still drain toward the drain with a bucket of water. Goodwell Technical Services closes every snag before handover and leaves spare tiles, grout and a simple care guide with the homeowner, because a tiled floor is only finished when it performs perfectly. To book a site visit for your own flooring project, reach out any time.
Maintenance keeps it perfect: sweep or vacuum grit before it scratches the glaze, mop with a neutral cleaner rather than harsh chemicals, wipe spills on grout quickly, and reseal grout or stone as recommended. Goodwell Technical Services offers periodic floor inspections for completed projects, checking joints, sealants and any early signs of movement before they become repairs.
- Tap test every tile: A hollow sound at handover means poor bedding; it is fixed before acceptance.
- Check lippage in daylight: Low sunlight across the floor reveals height differences honestly.
- Test drainage: Pour water in wet rooms and watch it travel fully to the drain.
- Keep spares and records: Leftover tiles, grout colour code and product details stored in one place.
- Gentle daily care: Neutral cleaners only; grit removal prevents most surface wear.

Common Mistakes to Avoid During Floor Tile Installation
Across hundreds of sites, Goodwell Technical Services has seen the same tiling mistakes repeat. Avoid these and your floor will stay level, solid and beautiful:
- Tiling over a bad subfloor: Cracks, hollow patches and damp always travel through to the new floor.
- Skipping levelling: Large tiles on an uneven base guarantee lippage and cracked corners.
- Wrong adhesive or notch size: Poor coverage leaves hollow tiles that crack under point loads.
- Starting from a wall: Walls are rarely straight; layout must start from the room centre lines.
- Grouting too early: Joints filled before adhesive cures lose strength and discolour.
- Hard grout in movement joints: Perimeter and expansion joints need flexible sealant, not rigid grout.
- Harsh chemical cleaning: Strong acids burn grout and dull tile glaze within months.
Conclusion
Floor tile installation rewards preparation and punishes shortcuts. Plan the tile and quantities before installation, repair and level the subfloor until it is truly flat, mark the layout before mixing adhesive, lay with full coverage and constant level checks during installation, and finish with careful grouting, sealing and a ruthless inspection after installation. Follow these ten steps and your floor will stay level, solid and beautiful for decades.
For a floor tiled right the first time, contact Goodwell Technical Services for complete floor tiling, from subfloor preparation and levelling to grouting and final handover, executed step by step exactly as described above.