
Introduction
Paint looks simple from the outside: a roller, a bucket and a fresh color on the wall. In reality, house painting is one of the most technical finishing trades in construction, and almost everything that decides whether a paint job lasts two years or ten happens before the final color touches the wall. Peeling, bubbling and damp stains are rarely paint problems; they are preparation problems painted over and hidden. In this detailed guide, Goodwell Technical Services explains all ten steps of professional house painting, from inspection and color planning to primers, putty, interior and exterior coats, and final handover.
Whether you are painting a new house or repainting an old one, the sequence below is the professional order followed on real sites. Skipping a step or rushing a drying time does not save money; it moves the cost into next year’s repaint. Understand each step before work begins.
Phase 1: Inspection and Colour Planning (Before Painting)
Every good paint job starts with a walk through the house, not with a paint tin. Walls and ceilings are inspected room by room for damp, cracks, flaking old paint, seepage stains and loose plaster. A moisture meter on suspect walls tells the truth eyes cannot: paint over a damp wall bubbles and peels within months, however premium the brand. At Goodwell Technical Services, every house painting project begins with this inspection report, because treating the cause of damage always comes before choosing the color of the finish.
Color planning happens in the same visit. Colors are shortlisted with a fan deck against the actual light of each room, because a shade that looks soft in the shop looks different under your ceiling lights and window daylight. North facing rooms need warmer tones, small rooms open up with lighter shades, and one accent wall usually works better than four dark walls.
- Inspect before quoting: Check every wall for damp, cracks, flaking and loose plaster.
- Measure the area: Square footage decides paint, primer and putty quantities; guesswork leads to shortages.
- Test colors in real light: Apply sample patches on the wall and view them in morning and evening light before finalizing.
- Fix the finish per room: Matte for ceilings and bedrooms, satin for living areas, washable paints for kitchens.
- Budget with a buffer: Keep ten percent aside; old walls often reveal extra repairs once scraping begins.

Phase 2: Surface Repair and Crack Filling (Before Painting)
Paint is a thin film, a fraction of a millimeter thick, and it hides nothing. Every crack and hollow patch underneath shows through the finished wall, often looking worse in raking light. So the second step is pure repair: hairline cracks are opened into a V shape, dusted out and filled with crack seal compound; wider cracks are filled in layers; loose plaster is cut out and replastered; rust stains are treated and sealed.
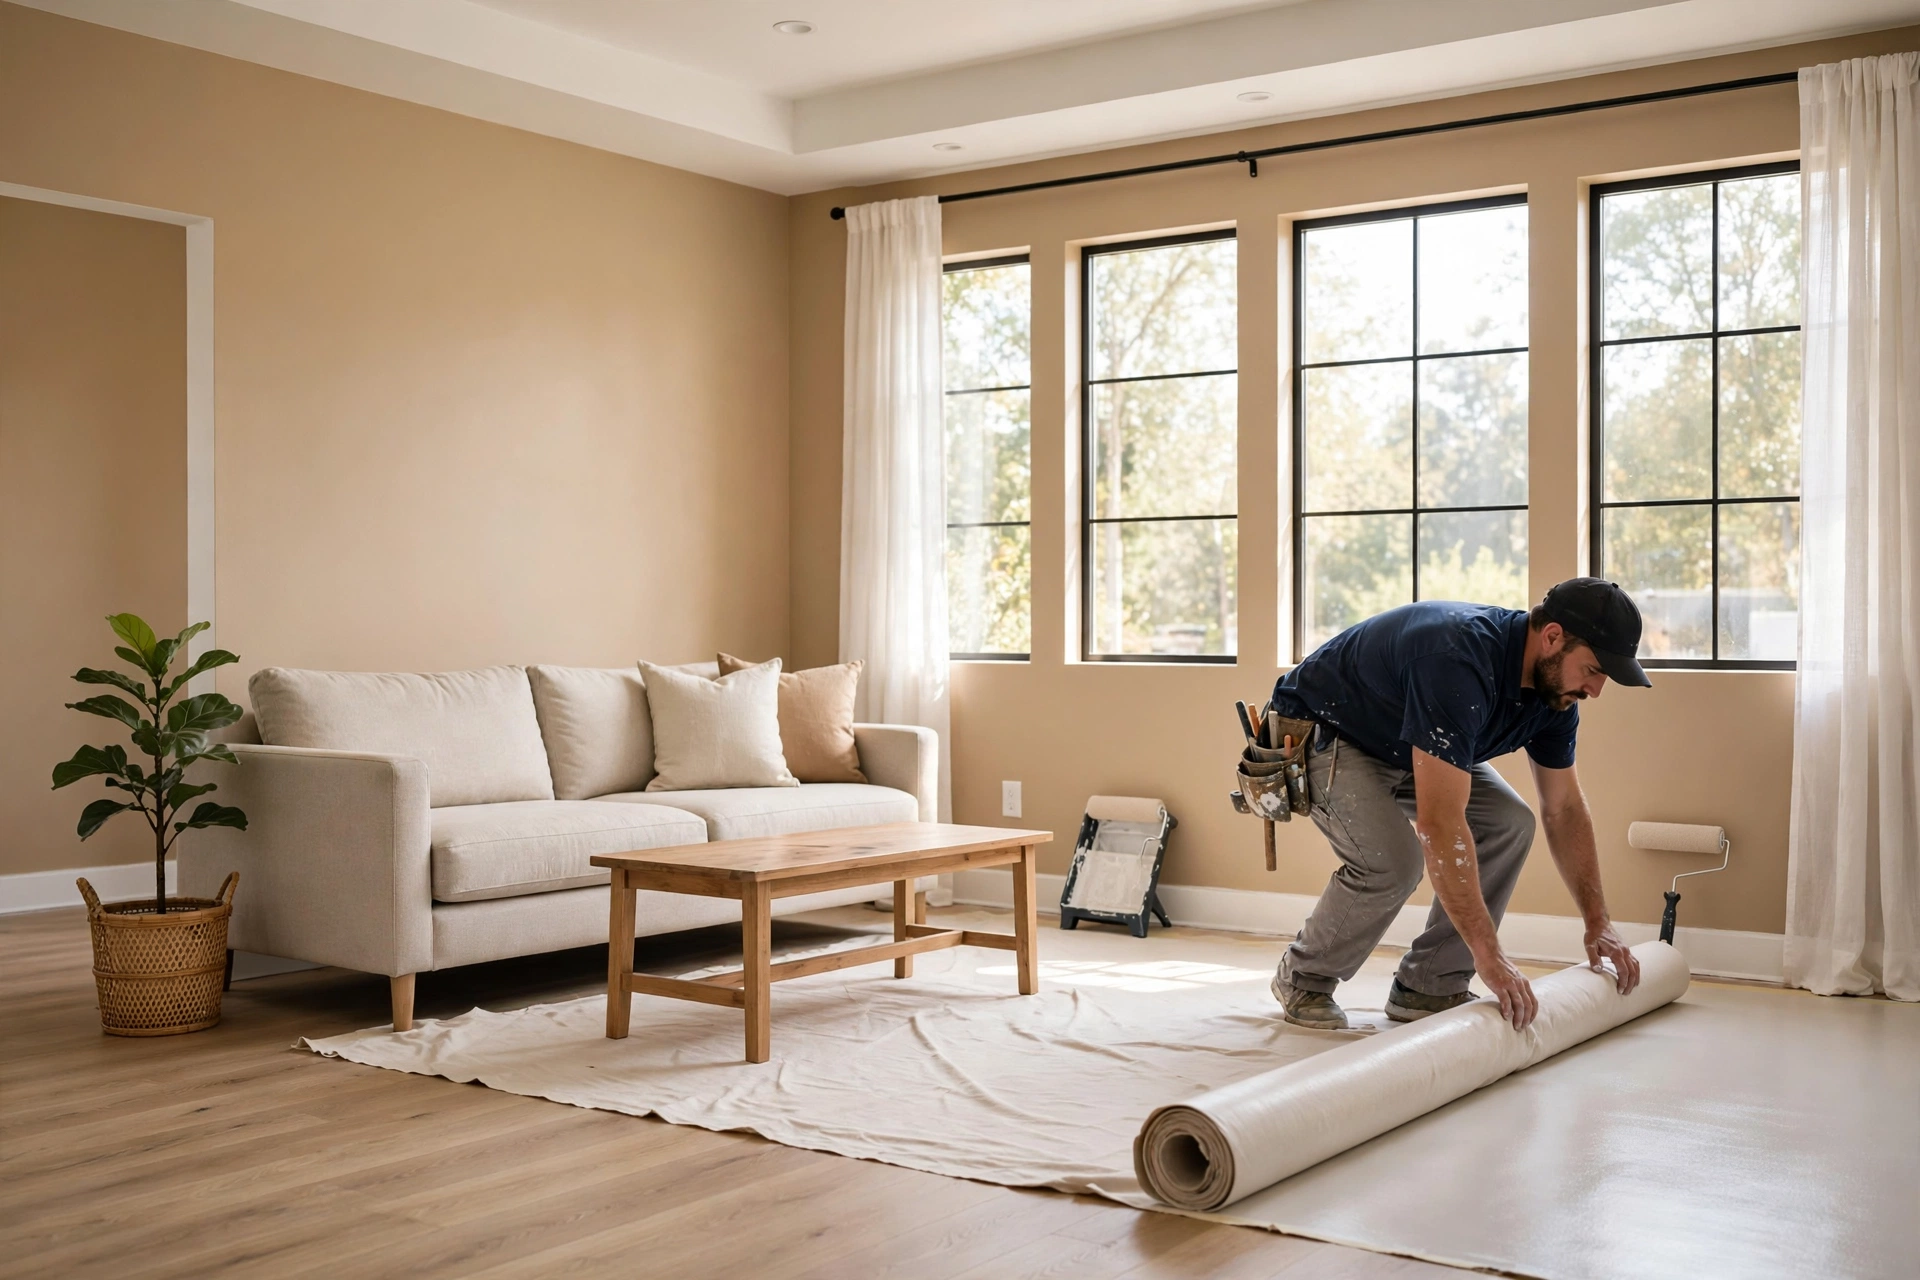
Site protection matters as much as repair. Our team covers floors, wraps furniture and seals doorways with plastic so repair dust does not travel through the house. Damp is dealt with at its source too: any leaking joint or pipe must be fixed and the wall dried fully before coating begins.
- Open cracks before filling: A V-shaped groove gives filler grip; surface smears fall out within a season.
- Remove all loose plaster: Tap walls for hollow sounds, cut out weak areas and replaster.
- Treat damp at the source: Fix the leak first, then let the wall dry completely; never lock moisture behind paint.
- Seal rust and stains: Stain blocking treatment stops marks bleeding through new paint.
- Protect the house: Floors, furniture and fixtures are covered before dusty repair work starts.

Phase 3: Sanding, Cleaning and Masking (Before Painting)
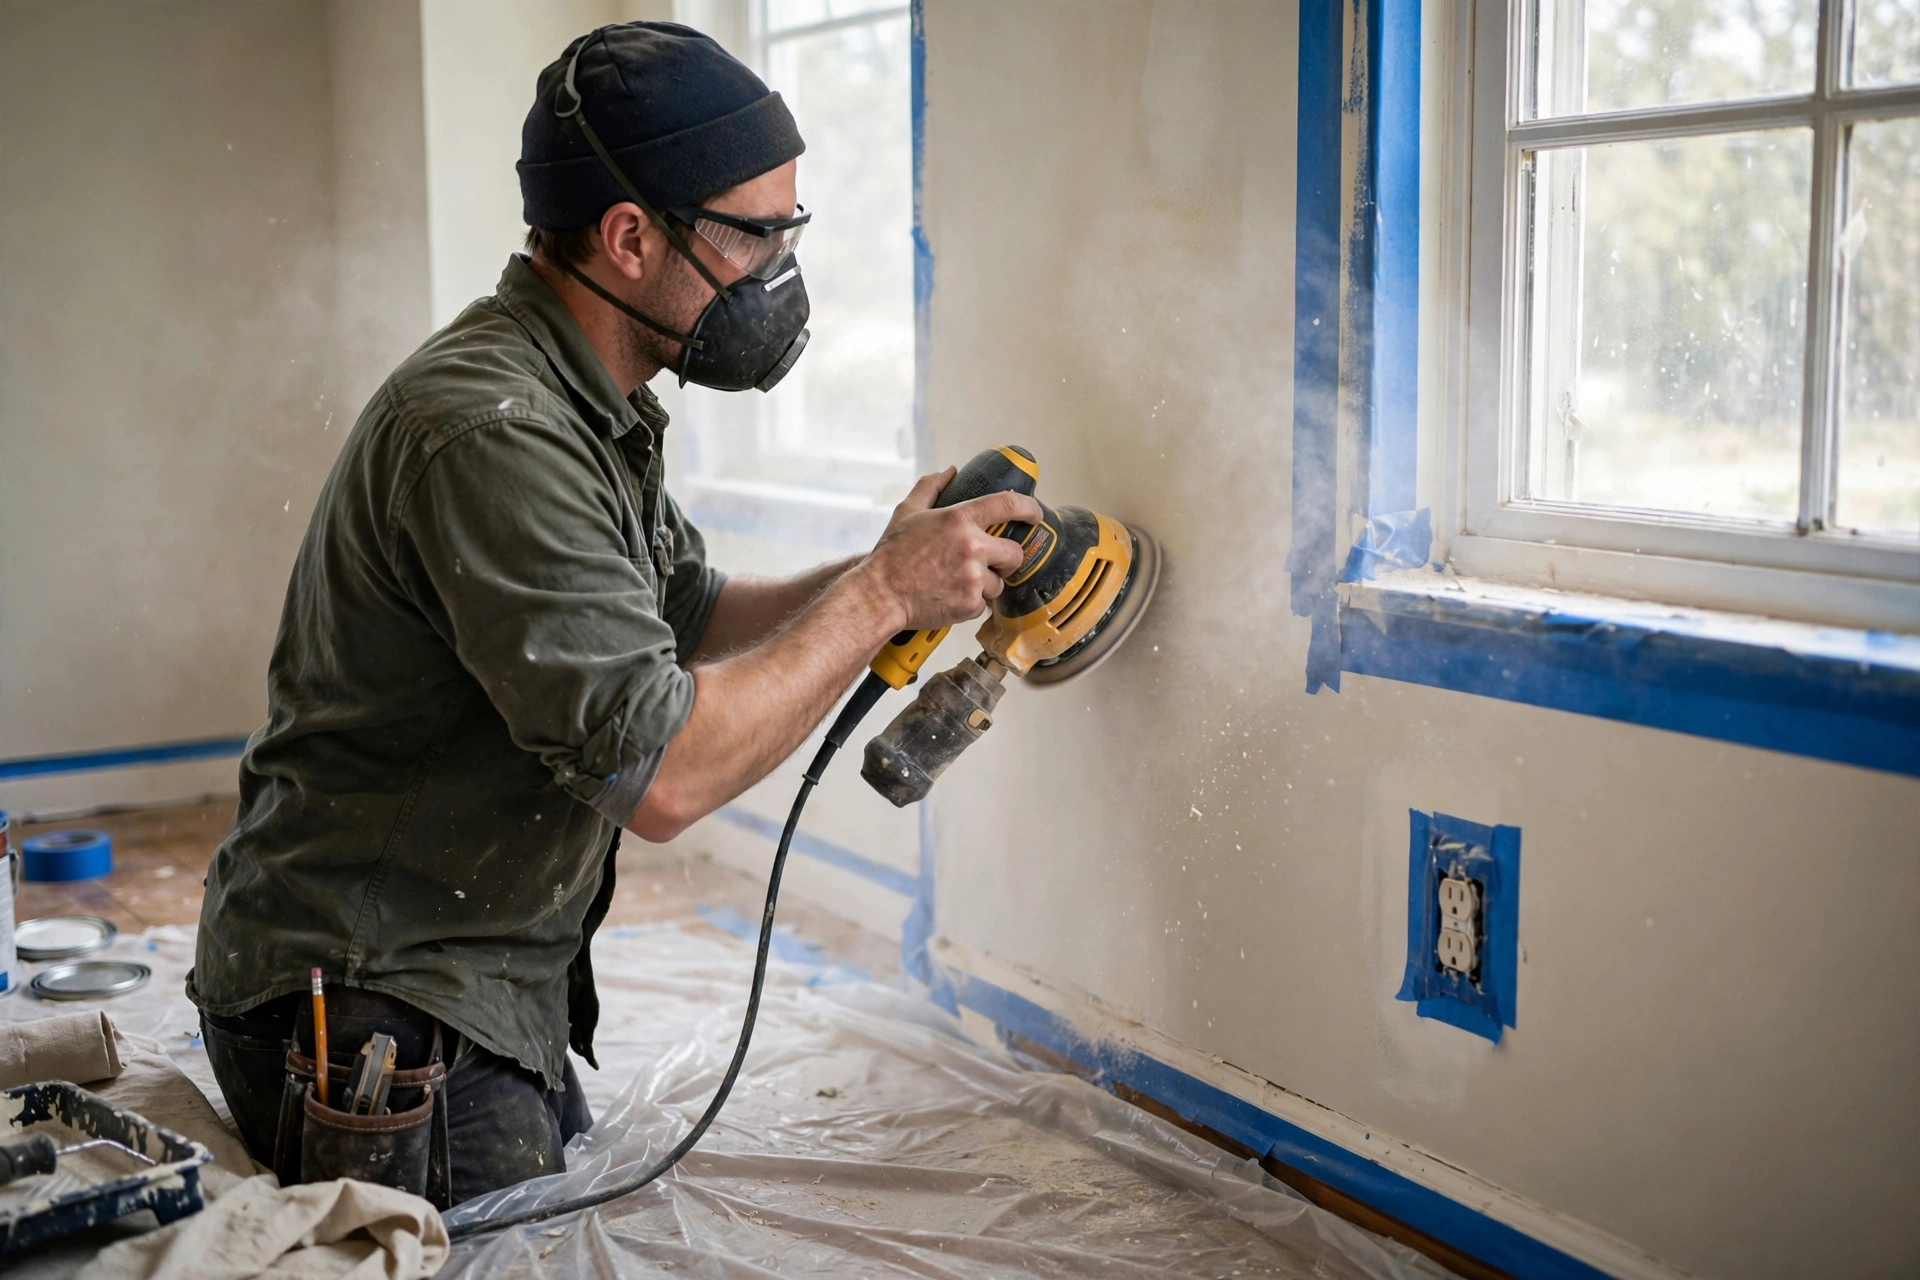
With repairs cured, surfaces are made ready for paint. Repaired patches are sanded smooth with 120 to 180 grit paper, old glossy paint is dulled so the new system can grip, and undulations are feathered out until a hand across the wall feels one continuous surface. Sanding is slow and dusty, and it is exactly where cheap paint jobs cut corners, which is why their walls look wavy under evening light.
Cleaning follows sanding: walls are brushed down and wiped so no dust layer sits between wall and primer, because paint sticks to dust instead of the wall and later peels off in sheets. Finally, everything that must not receive paint is masked: switch plates, sockets, window frames, door edges and skirting get painter’s tape and paper, applied straight and pressed firm. Goodwell Technical Services never starts a roller until masking is complete, because cleaning paint off glass and tiles costs more time than masking ever does.
- Sand in stages: Coarse paper for repairs, fine paper for finishing; check by hand and side light.
- Remove every trace of dust: Brush down and wipe walls after sanding so primer bonds to the wall, not to dust.
- Dull glossy old paint: Shiny surfaces are sanded matte, otherwise new paint peels off in clean sheets.
- Mask with care: Tape lines on frames, sockets and skirting must be straight; the tape line becomes the paint line.
- Ventilate the rooms: Open windows during sanding to carry dust out of the work area.
Phase 4: Primer Application (During Painting)
Primer is the foundation coat most homeowners undervalue and every professional insists on. It seals porous plaster and putty so the topcoat does not sink in unevenly, gives paint a uniform surface to grip, and blocks old stains from showing through the finished color. Without primer, a wall drinks the first coat unevenly and still ends up patchy in side light. One even coat of the correct primer is rolled on, brushed into corners, and left to dry fully.
Primer also works as an inspection layer: once the wall turns one flat, uniform shade, every remaining dent and crack becomes visible and can be corrected in the putty stage that follows. This is why Goodwell Technical Services treats primer as non-negotiable on new plaster and repaint work alike; skipping it is the most expensive shortcut in painting.
- Match primer to surface: Interior primer inside, weather grade primer outside, alkali resistant on fresh plaster.
- One full, even coat: Roll in consistent strokes and brush the corners; thin, stretched primer leaves weak spots.
- Respect drying time: Putty and paint go on only after the primer has dried fully, usually six to eight hours.
- Inspect under primer: The flat primer shade exposes every defect; mark them now for the putty stage.
- Use tinted primer for deep colors: Dark shades cover richer over a tinted base.

Phase 5: Wall Putty and Skimming (During Painting)
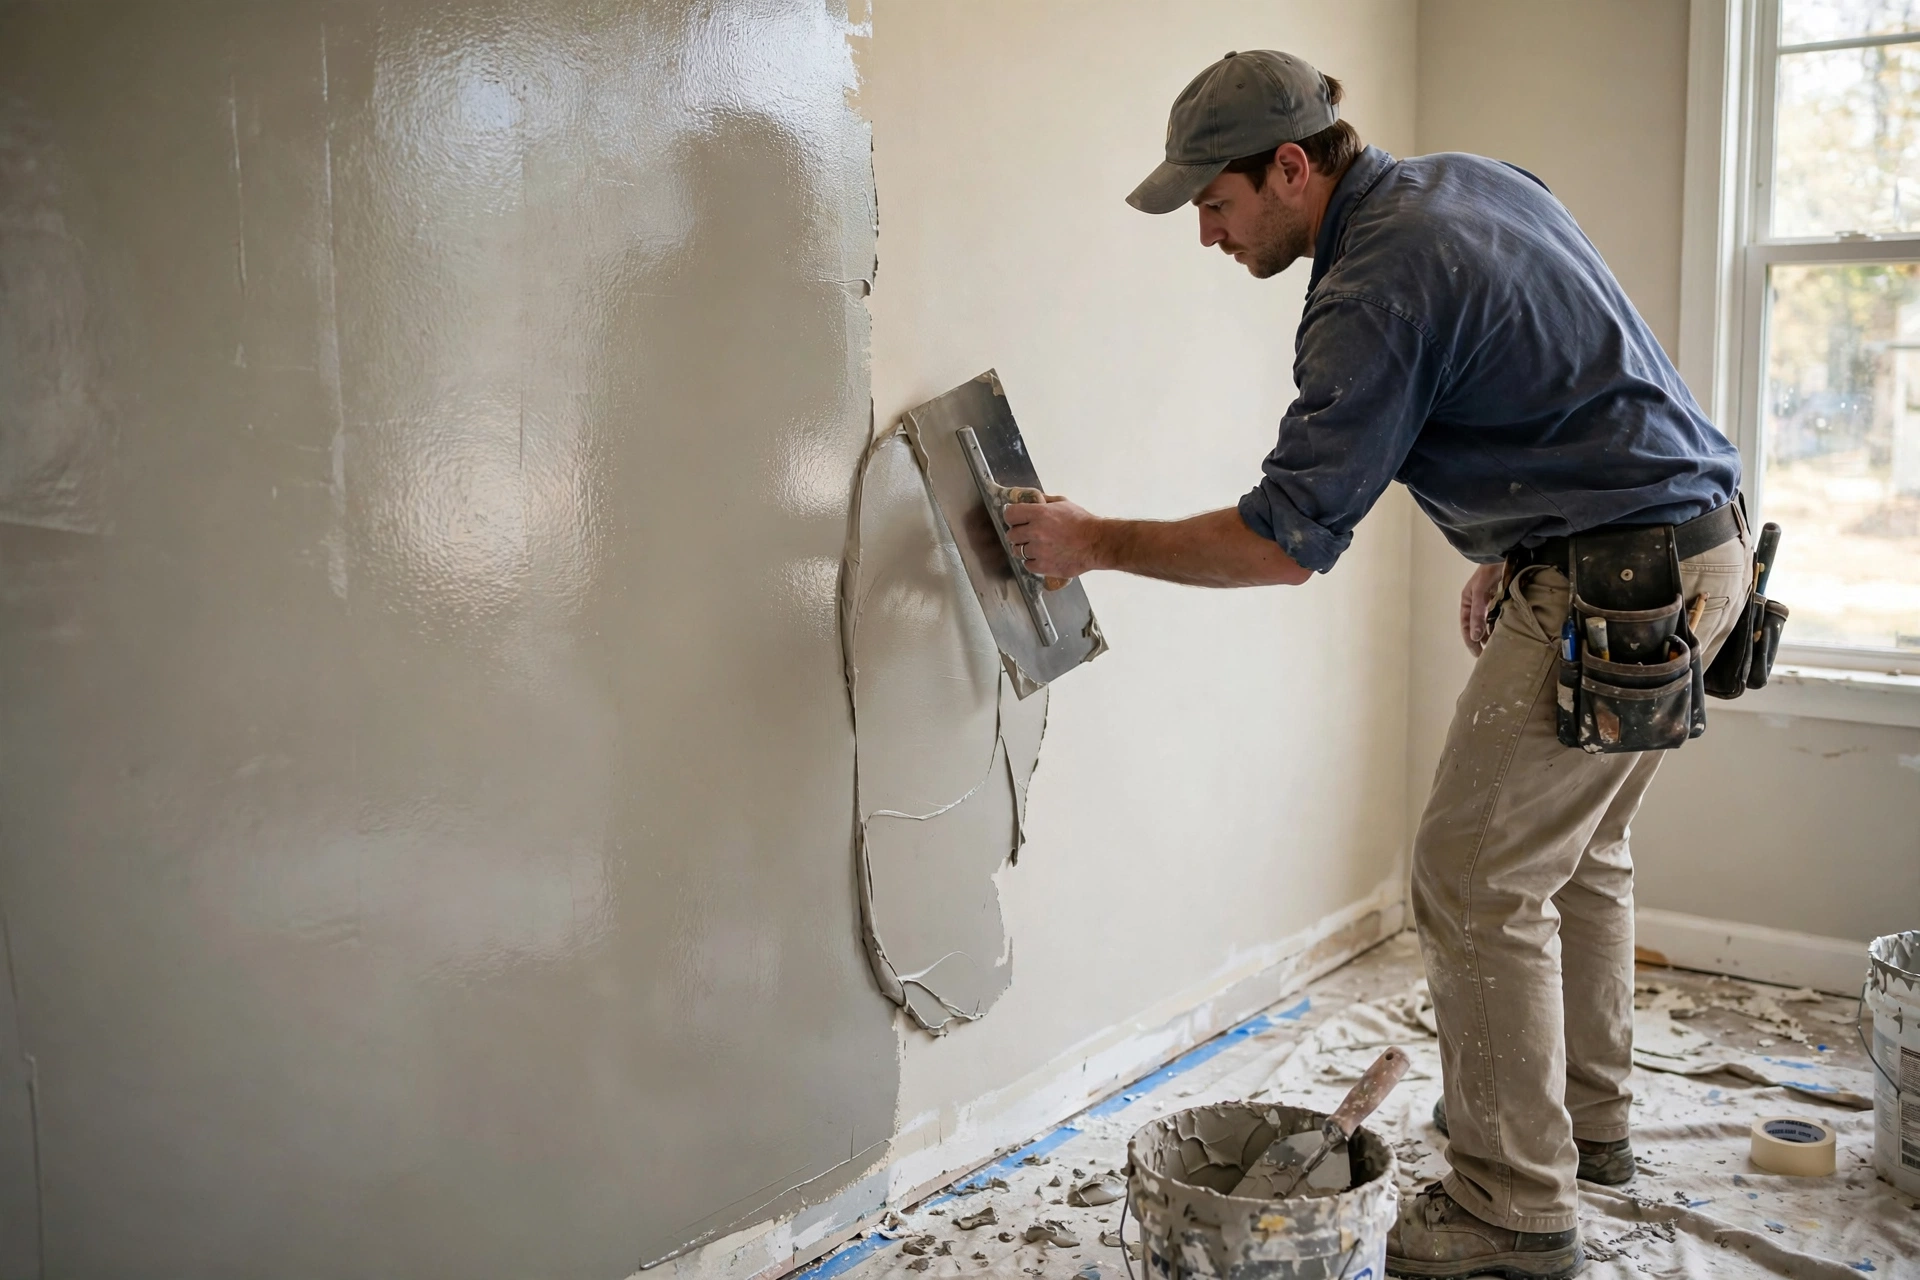
Putty turns a plastered wall into a smooth, paint ready surface. After primer, two coats are applied with a wide trowel: the first fills pores, minor cracks and undulations, and the second, applied after the first has dried and been lightly sanded, skims the wall to a flat plane. On badly uneven walls, a full skim coat is the only honest solution; spot puttying leaves visible patch outlines.
Drying time decides the quality of this step. Putty painted over while still damp traps moisture, and the finish blisters from behind within months. Goodwell Technical Services allows each coat its full drying time, usually twelve to twenty four hours depending on weather, then sands the final coat with fine 220 grit paper until the wall feels like smooth board.
- Two coats minimum: First coat fills, second finishes; each dries fully before the next.
- Skim bad walls fully: Wavy plaster needs a complete skim coat to finish flat.
- Sand with fine grit: Final sanding with 220 grit paper gives the glass smooth base premium finishes need.
- Check with raking light: A lamp along the wall shows every wave still to fix.
- Never rush the dry: Damp putty under paint is the hidden cause of most blistering complaints.
Phase 6: Ceiling and Wall Coats – Interior (During Painting)
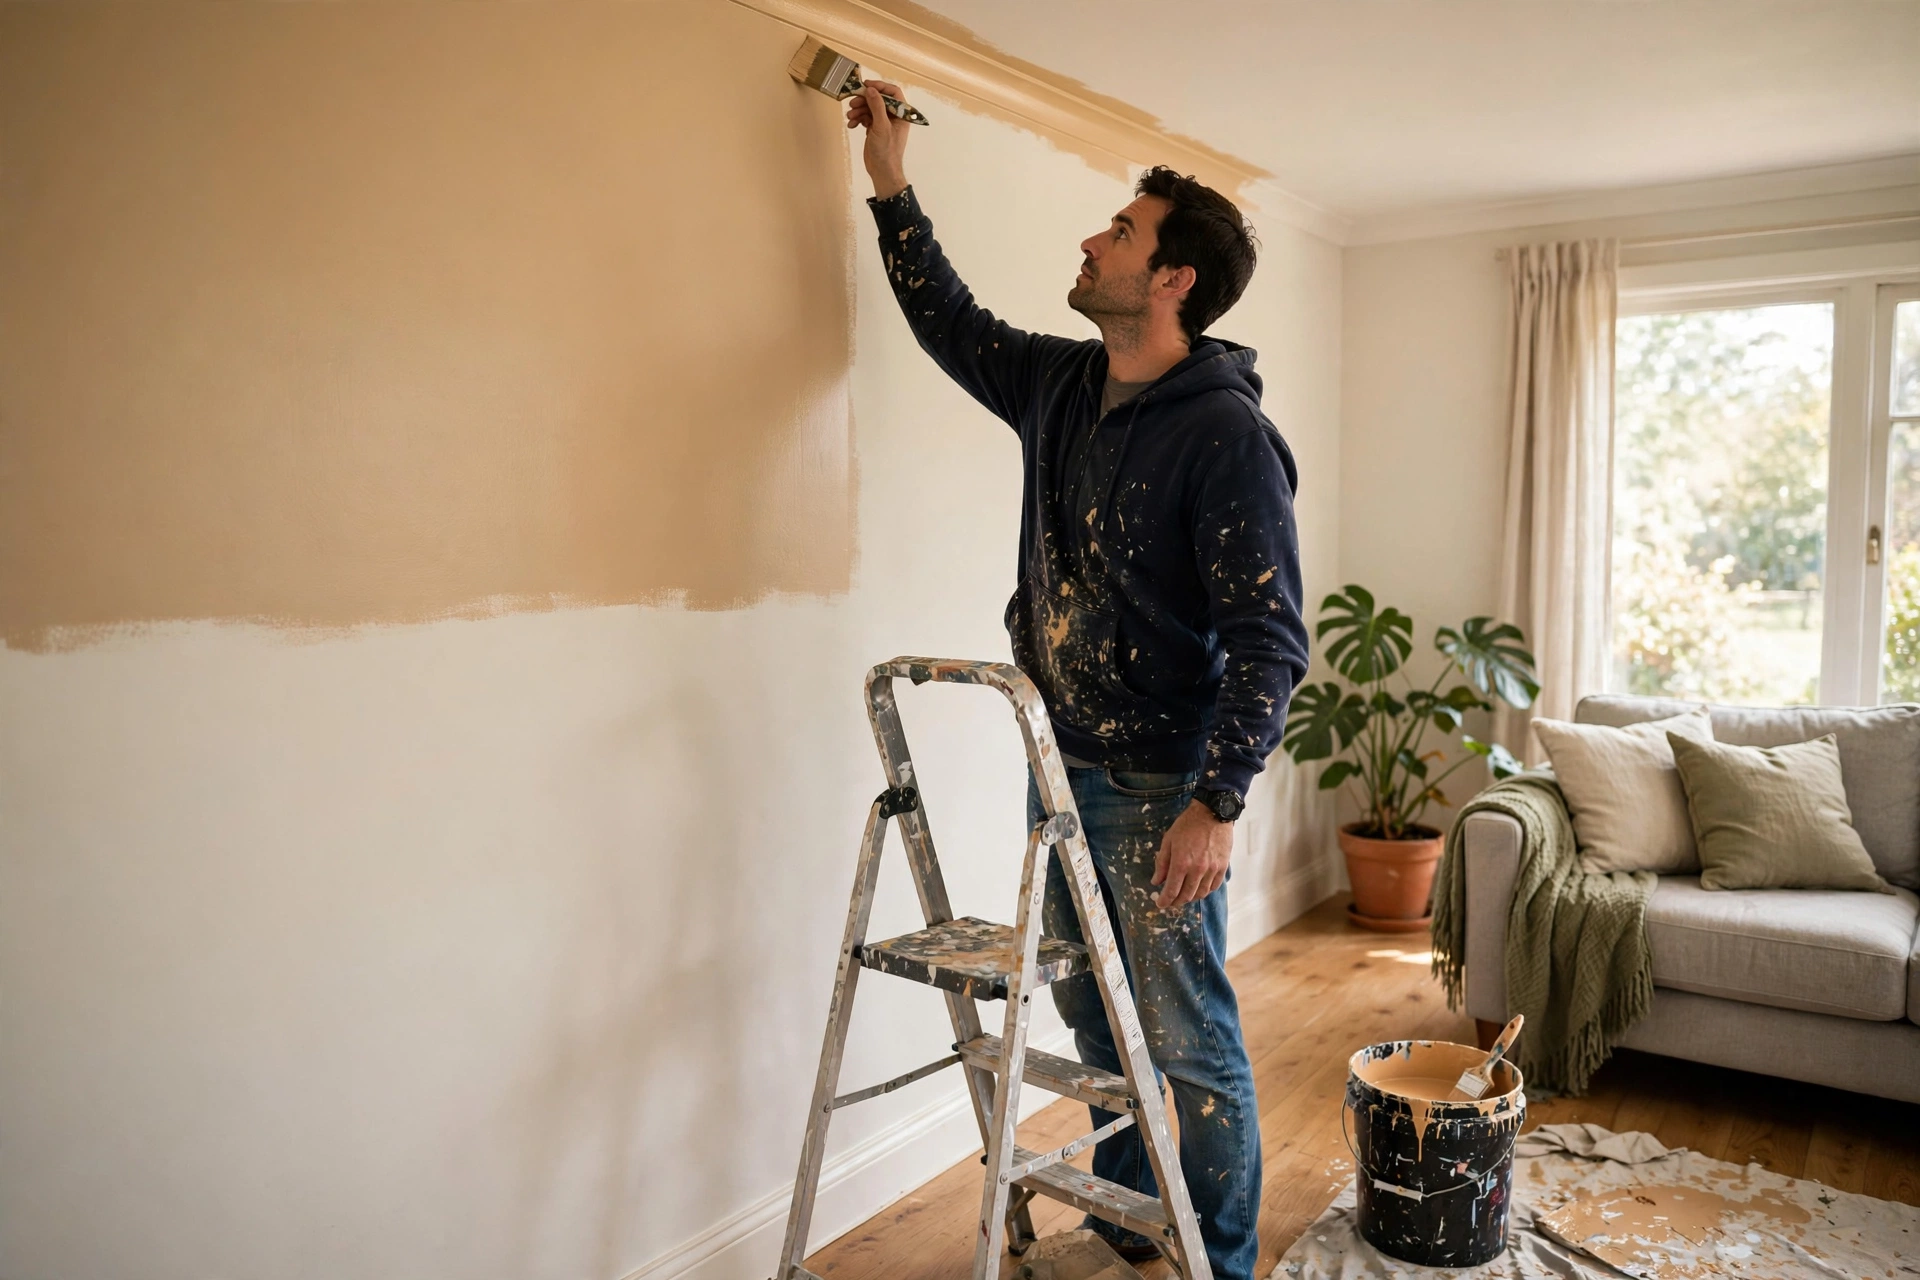
Now the color finally arrives, and the order inside a room matters: ceilings first, then walls, so that roller spatter from above never lands on a finished wall. Ceilings get a flat matte white or off white that hides minor undulations and spreads light evenly. The house painting specialists at Goodwell Technical Services cut in the edges of each wall with a brush first, corners, ceiling line and around sockets, then roll the open areas in overlapping W strokes, keeping a wet edge so no lap lines dry into the finish.
Two topcoats are the professional standard. The first coat reveals the true color and any last imperfections; after its full drying time, the second coat gives the deep, uniform finish and durability the paint was designed for. Paint is never stretched by over thinning: a properly diluted coat covers better and lasts longer than a watery coat forced over extra area.
- Ceilings before walls: Top down order keeps finished surfaces clean and avoids rework.
- Cut in, then roll: Brush edges first, then roll while the edge is wet for an invisible join.
- Two full topcoats: One coat never reaches full color depth or washability; always apply two.
- Keep a wet edge: Roll continuously across each section so lap marks never form.
- Dilute correctly: Follow the stated ratio; over thinned paint fails early.
Phase 7: Exterior Walls and Weather Protection (During Painting)
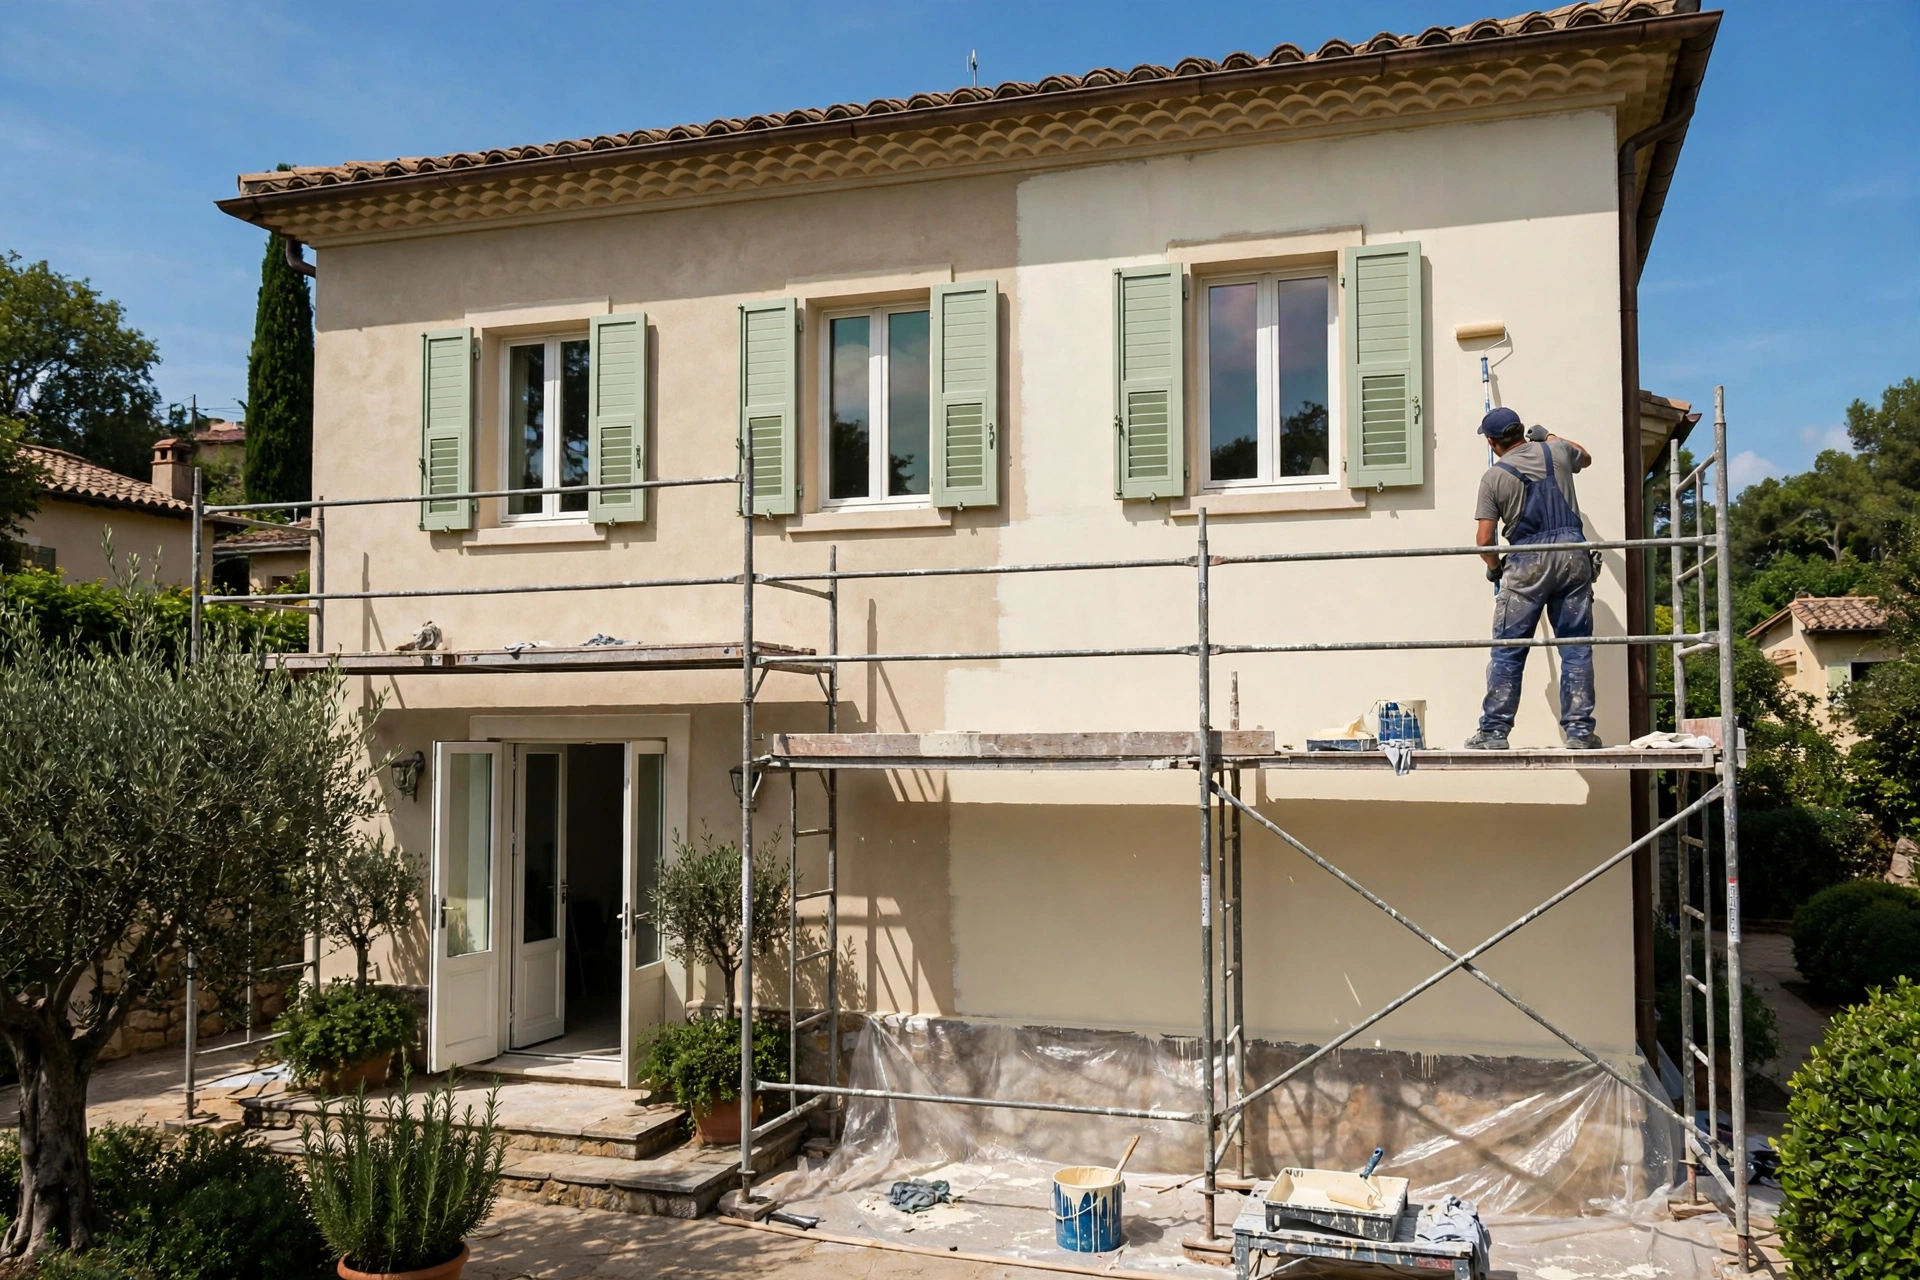
Exterior painting fights a harder enemy: sun, rain, dust and heat working on the walls every day. The system starts with a weather grade primer and continues with exterior emulsion rated for ultraviolet and rain protection, in two coats like the interior system. Cracks on outer walls are filled with flexible exterior filler, because outside walls expand and contract with temperature and rigid filler cracks again along the same line.
Timing matters outside more than anywhere. Painting stops in rain, in heavy dust wind, and on walls baking in direct midday sun, because paint that dries on a scorching wall skins over and loses adhesion. Parapets and wall bases get extra attention, since these are the points where water enters. For elevation ideas, homeowners often browse the Goodwell Technical Services homepage to see how completed homes balance color with weather protection.
- Exterior grade only: UV and rain resistant paints and primers made for outdoors.
- Flexible crack filler outside: Exterior walls move with heat; rigid fillers reopen within a season.
- Paint in the right weather: No painting in rain, dust storms or on overheated midday walls.
- Protect the weak points: Parapets and wall bases need extra coats and careful sealing.
- Work safely at height: Full coverage from proper scaffolding or ladders, never risky stretches.
Phase 8: Doors, Windows and Woodwork (During Painting)
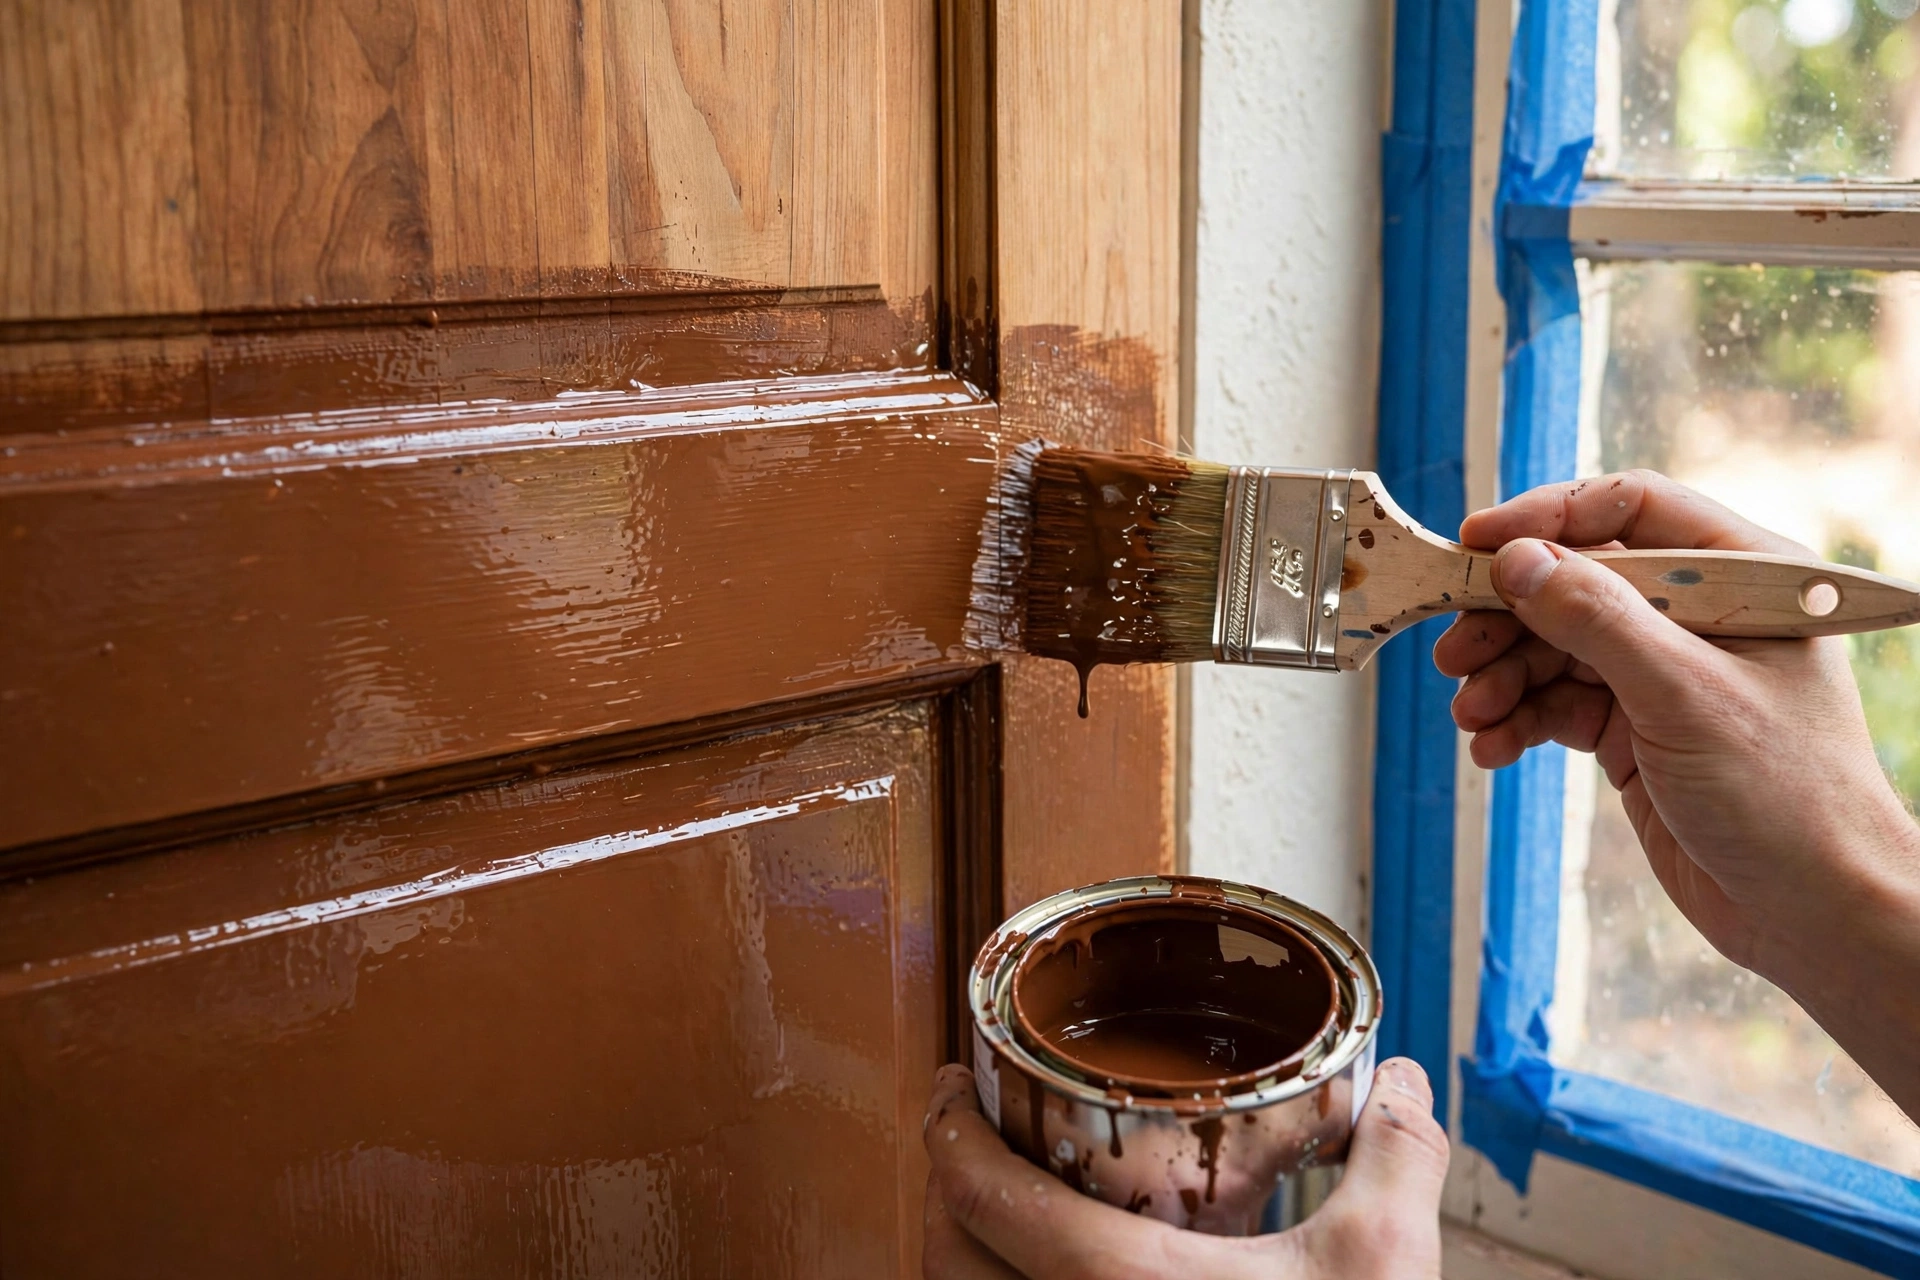
Woodwork and metalwork get their own system, different from wall paint. Doors, frames, grills and railings are sanded back to a sound surface, rust is removed and treated with anti-rust primer, and wood receives its primer and putty before enamel coats go on. Enamel gives wood and steel the hard, washable shell they need against moisture and daily knocks. Goodwell Technical Services brushes enamel in thin coats rather than one thick coat, because thick enamel sags, wrinkles and stays soft underneath for weeks.
Glass and hardware stay clean through this step: windowpanes are masked, handles and hinges are removed or wrapped, and the paint line where frame meets wall is cut sharp and straight. Perfect walls still look unfinished if doors are rough, so this step gets the same patience.
- Prepare each material: Sanding, rust treatment and the correct primer per material.
- Thin enamel coats: Two thin coats beat one thick coat; no sagging or wrinkles.
- Remove or mask hardware: Handles, locks and hinges come off or get wrapped; painted hardware looks careless.
- Sharp frame lines: Where frame paint meets wall paint, the line must be straight.
- Allow full hardening: Enamel needs curing time before doors are closed or handles refitted.
Phase 9: Touch-Ups, Trims and Detail Work (After Painting)
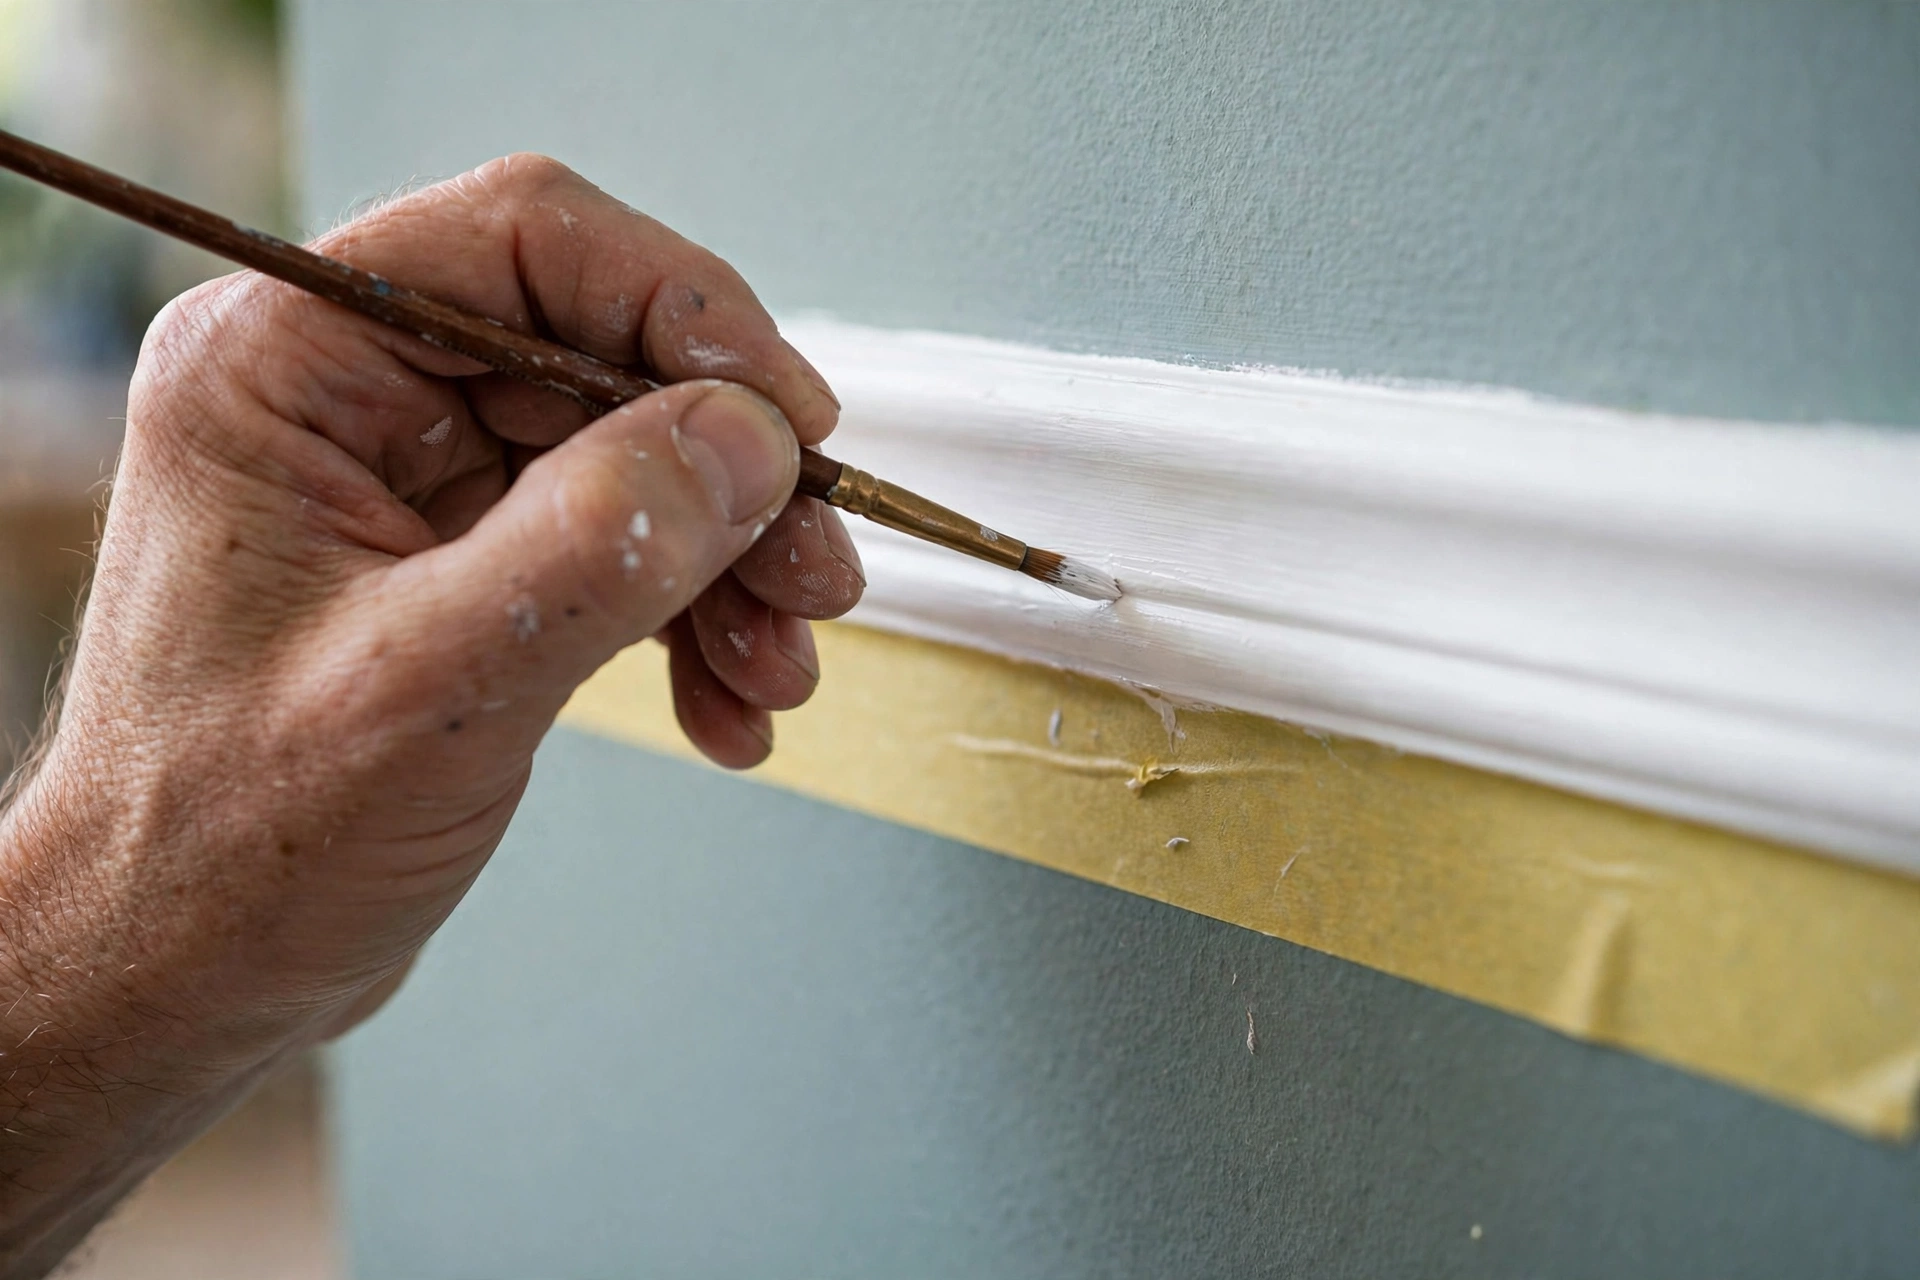
Once the main coats have dried, the house is walked slowly with a torch and masking tape, and every small defect is marked: a missed spot, a roller mark in side light, a drip on a frame. Touch-ups are done with the same paint, from the same batch, feathered in so the repair disappears. Goodwell Technical Services treats this step as part of the job, not as a favor, because premium painting is judged at arm’s length, in the details.
Trims finish in this step too: skirting boards get their final clean line, feature walls receive any texture coat agreed in planning, and switch plates and hardware removed during masking are refitted. Tape is pulled while the last coat is still slightly wet, which gives the crispest paint lines.
- Inspect with strong light: Angled torch light exposes marks normal light hides.
- Touch up from the same batch: Paint mixed another day can dry a different shade.
- Feather every repair: Blend edges outward so no patch outline remains.
- Pull tape at the right moment: Tape off while paint is slightly wet gives sharp lines.
- Refit everything removed: Switch plates, handles and hardware go back clean and aligned.
Phase 10: Final Walkthrough, Cleanup and Care (After Painting)
The final step is a joint walkthrough of every room and every exterior wall, in daylight, with a snag list in hand. Lines are checked at corners and ceilings, coverage is checked in side light, doors are opened and closed to confirm no sticking paint, and any remaining mark is corrected on the spot or scheduled before the team leaves. Goodwell Technical Services closes every snag before handover and leaves the leftover labeled paint with the homeowner, because future touch-ups need the exact batch. To book a site visit for your own house painting project, reach out any time.
Cleanup is part of the finish: protective sheets come up, floors are washed, and the house is handed back ready to live in, not ready to clean. Care keeps it fresh: wash walls gently, touch up scratches early, and repaint exteriors on schedule before the coating fails. Goodwell Technical Services offers periodic paint health checks for completed projects.
- Daylight walkthrough: Check every wall in natural light, which hides nothing.
- Keep labeled leftovers: Store each room’s leftover paint, labeled, for touch-ups.
- Full cleanup before leaving: Sheets removed, floors washed, glass checked; the home is left ready to use.
- Gentle washing only: Soft cloth and mild soap; never scrub matte finishes hard.
- Repaint on schedule: Interiors every four to five years, exteriors every three to four.
Common Mistakes to Avoid During House Painting
Across hundreds of homes, Goodwell Technical Services has seen the same painting mistakes repeat. Avoid these and your paint will stay fresh and bonded for years:
- Skipping primer: Paint over raw plaster or putty soaks in unevenly and peels early. Primer is not optional.
- Painting over damp walls: The damp returns as bubbles and patches within months. Fix the source and dry the wall first.
- Rushing drying times: Putty, primer and coats each need their full dry time; trapped moisture ruins finishes from behind.
- One thick coat instead of two thin ones: Thick coats sag, wrinkle and never reach full color or hardness.
- Over thinning the paint: Watery paint covers more area and fails sooner; follow the stated dilution ratio.
- Ignoring surface preparation: Dust, loose paint and unfilled cracks show through every premium finish.
- Painting in bad weather: Rain, dust wind and overheated walls destroy adhesion on exterior work.
Conclusion
House painting rewards patience and punishes shortcuts. Inspect and plan colors before painting, repair, sand and mask with care, never skip primer or putty drying times during painting, and finish with honest touch-ups and a ruthless walkthrough after painting. Follow these ten steps and your walls will stay smooth, rich in color and free of peeling for years, inside and outside.
For a paint job done right the first time, contact Goodwell Technical Services for complete house painting, from inspection and surface repair to interior coats, exterior protection and final handover, executed step by step exactly as described above.