

Introduction
A swimming pool is the most rewarding structure in a villa and the least forgiving to build badly. A wall can be repainted and a floor can be relevelled, but a pool must hold tens of thousands of litres of water under constant pressure, through heat, dust and ground movement, for decades without leaking a drop. A pool built in the correct sequence stays clear, safe and structurally sound for a generation, while one built on shortcuts cracks, leaks and turns green within a few seasons. In this detailed guide, Goodwell Technical Services explains all ten steps of swimming pool construction step by step, from design and excavation to steel, plumbing, tiling and the first swim.
Whether you are adding a pool to a new villa or building one into an existing garden, the sequence below is the professional order followed on real sites. Once concrete covers the steel and pipework, mistakes are buried permanently, so understand each step before work begins.
Phase 1: Design, Approvals and Budget Planning (Before Construction)
Good pool design starts with how the pool will actually be used. Fix the length, width and depth profile on a scaled drawing: a shallow shelf for children, a steady depth for swimming lengths, and the exact position of steps and benches. At Goodwell Technical Services, every swimming pool construction project begins with studying the plot, because a pool placed without regard to sun path, wind and the house line will sit in shade, collect leaves and fight its owners for years.
Decide the system type early as well: a skimmer pool for most private villas, or an overflow pool with a balance tank where a mirror level waterline is wanted. Approvals come before any digging: developer or community no objection certificates, municipality permits where required, and structural drawings signed by an engineer. Finishes, lighting and the plant room position are all fixed in this phase, because changing them later means changing concrete.
- Fix size and depth on paper: Length, width, shallow and deep ends, steps and benches drawn to scale before anything is ordered.
- Choose the system: Skimmer or overflow design decides the plumbing, the plant and a large part of the budget.
- Secure approvals first: Community NOC, permits and signed structural drawings in hand before the excavator is booked.
- Plan the plant room: A dry, ventilated space close to the pool keeps pipe runs short and equipment serviceable.
- Budget with a buffer: Keep ten percent aside; ground conditions underground are the one thing no drawing can fully predict.

Phase 2: Site Marking and Layout (Before Construction)
With drawings approved, the pool is transferred from paper to ground. The outline is set out with string lines and pegs at the exact size of the finished pool plus working space, diagonals are measured to prove the rectangle is perfectly square, and the finished water level is marked from a fixed benchmark on the house. A pool that is even slightly out of square will show in every tile line for its whole life, so this checking is done twice.
Site protection matters as much as marking. Our team walks the marked area to locate buried irrigation lines, water pipes and cables before machinery arrives, plans the excavator access route so garden paving and trees survive, and fences the area so the site stays safe for children and pets during the weeks of open excavation ahead.
- Check the diagonals: Equal diagonals prove a true rectangle; unequal ones mean tile lines will wander.
- Set the water level: The finished waterline is marked from a permanent benchmark and never guessed from the ground.
- Find buried services: Irrigation, water and electrical lines inside the dig area are located and diverted first.
- Plan machine access: The excavator route and soil removal path are agreed before the first bucket touches ground.

Phase 3: Excavation and Earthwork (During Construction)
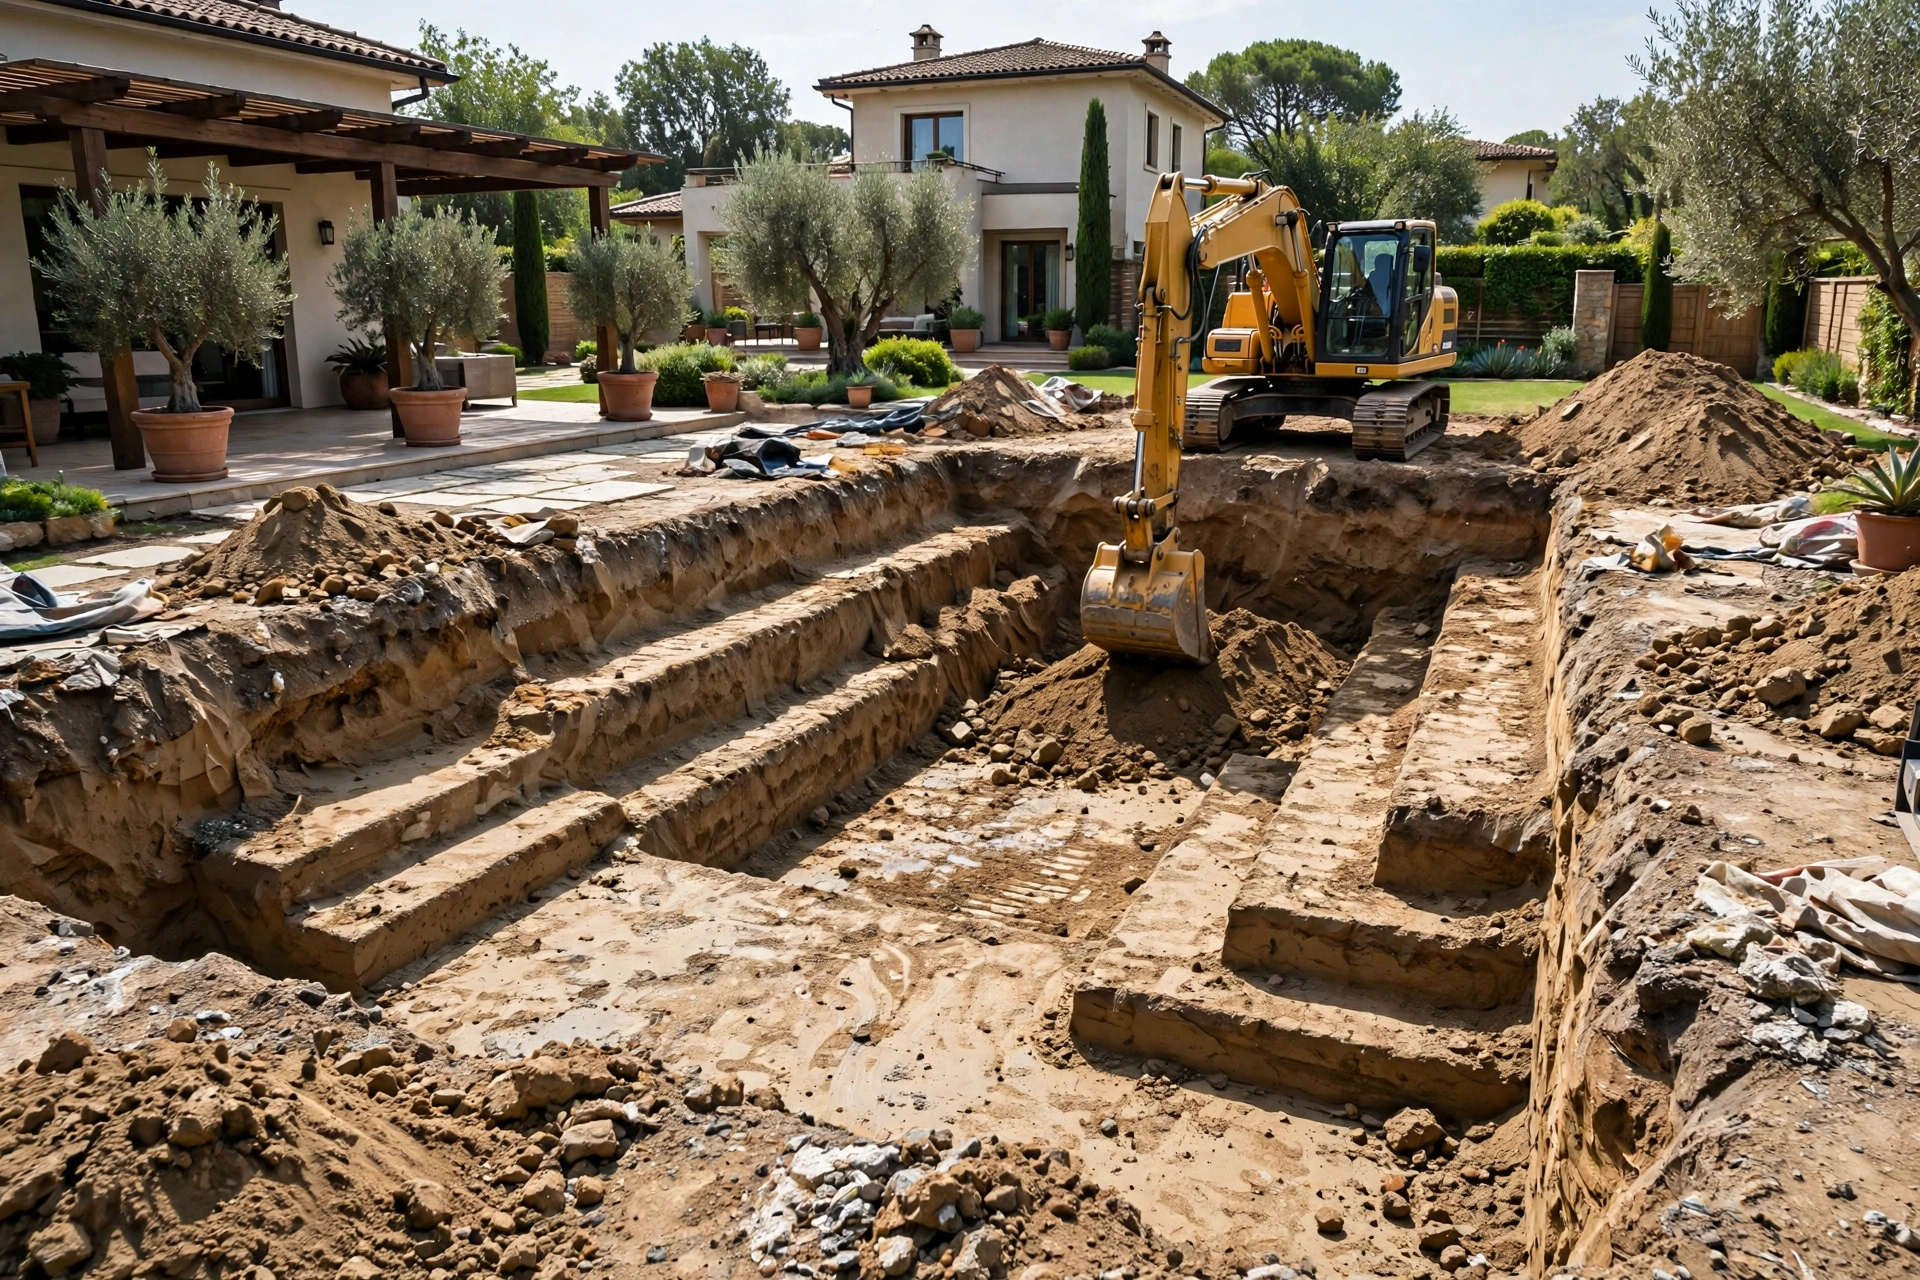
Excavation gives the pool its shape in the ground. The pit is dug larger than the finished pool on every side, leaving working room for the shell thickness, formwork and pipework, and the depth profile is cut in steps: shallow end, sloping floor and deep end, with benches and entry steps roughed into the earth. This is why Goodwell Technical Services checks the excavation against templates and level lines as digging proceeds, because earth removed wrongly cannot be put back with the same strength.
The base of the excavation is compacted and levelled, loose pockets are removed, and any groundwater found is managed with a dewatering point so the following trades work on firm, dry ground. Excavated soil is cleared from site the same week, keeping the garden workable and preventing rain from washing it back into the open pit.
- Dig oversize: Extra width on all sides for shell thickness, pipes and working space.
- Cut the profile in steps: Shallow end, slope and deep end formed in earth to the drawing, not estimated by eye.
- Compact the base: The pit floor is compacted and levelled so the shell bears evenly on solid ground.
- Manage groundwater: Any water table found is pumped and controlled before steel work starts.
- Clear soil daily: Spoil is removed continuously; a buried pit edge is an accident waiting to happen.
Phase 4: Steel Reinforcement and Formwork (During Construction)
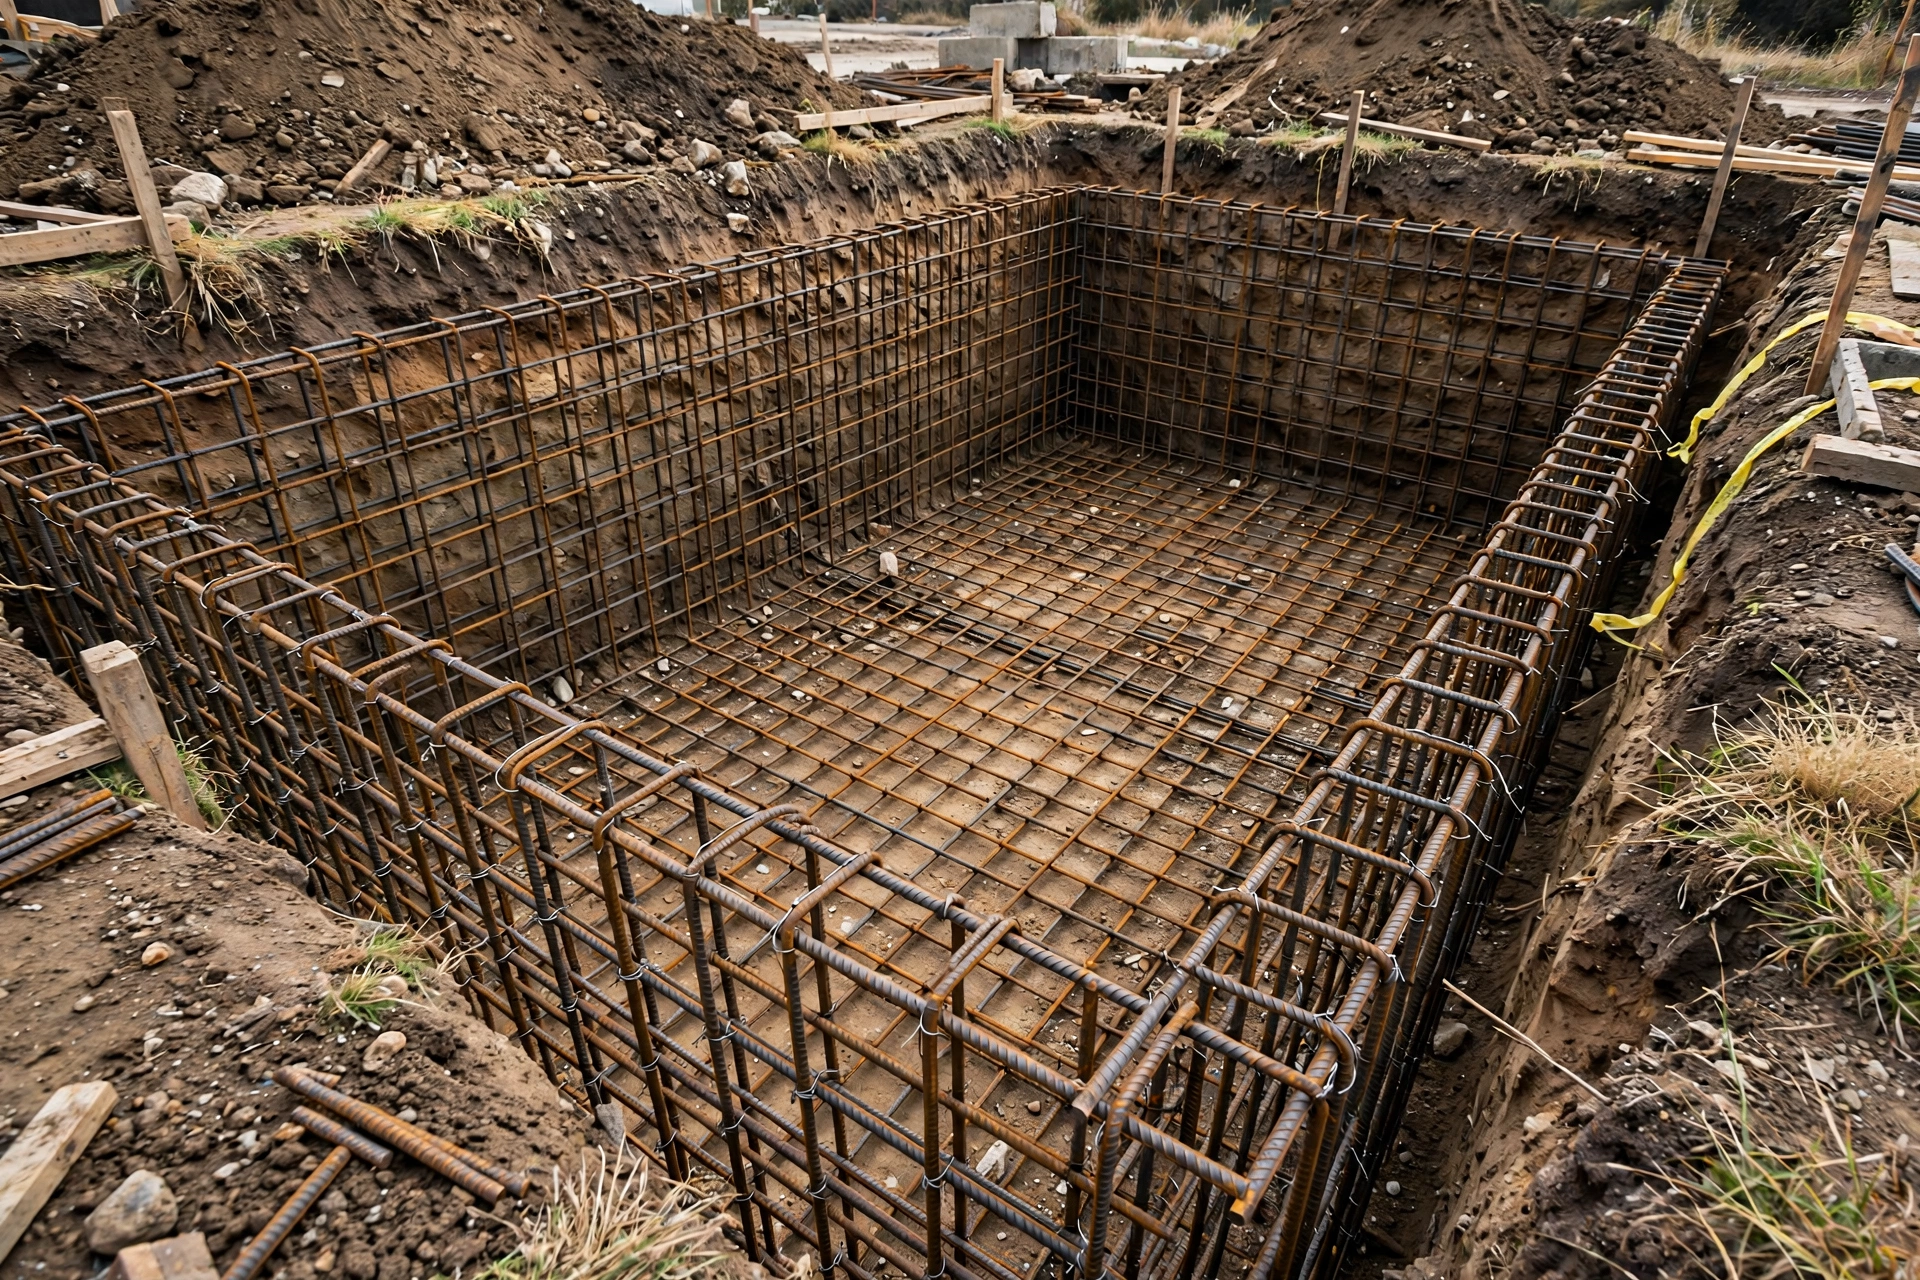
The steel cage is the skeleton that lets a thin concrete shell hold back water and earth pressure for decades. Bars are cut, bent and tied into a double layer grid in the floor and walls, following the structural drawing for bar size and spacing exactly, with the steps, benches and skimmer openings framed in steel as part of the same cage. Concrete cover blocks hold the grid off the ground so every bar ends up fully wrapped in concrete, never touching soil.
Formwork gives the walls their true faces where the shell is cast rather than sprayed, and every line is checked for plumb and level before a single pipe is fixed. Goodwell Technical Services never allows the shell phase to start over uninspected steel, because once concrete covers the cage, no one can ever check it again.
- Follow the drawing exactly: Bar diameter, spacing and laps as designed by the structural engineer. No substitutions.
- Double layer in floor and walls: Two grids tied rigid so the shell resists pressure from both water and earth.
- Cover blocks everywhere: Steel must sit inside the concrete, clear of soil and formwork, to never rust.
- Frame every opening: Skimmers, lights, drains and steps are boxed out in the cage before concreting.
Phase 5: Plumbing and Electrical Lines (During Construction)
Every pipe the pool will ever need is fixed inside the steel cage before the shell is formed, because there is no second chance to add one later. Pressure rated PVC lines run to the skimmers or overflow channel, the main drains at the deep end, the return inlets that push filtered water back, and the vacuum point for cleaning. Each run is glued, supported and kept clear of sharp steel, and the whole network is pressure tested while it is still visible.
Electrical work is set in the same phase: underwater light niches are fixed into the cage at the designed heights, conduits run to junction boxes positioned safely above water level, and the steel cage is bonded so every metal part shares one earth. Goodwell Technical Services never lets a shell be sprayed over untested lines, because a leaking joint found after tiling means breaking the finished pool to reach it.
- Pressure-test every run: All plumbing holds test pressure before the shell; only zero leakage passes.
- Two main drains minimum: Paired drains at the deep end for safety and full circulation.
- Returns placed for flow: Inlets positioned to push water toward the skimmers with no dead corners.
- Bond the steel: Equipotential bonding connects cage, lights and fittings for electrical safety in water.
- Photograph the routes: Every buried pipe and conduit is recorded before concrete covers it.

Phase 6: Concrete Shell and Guniting (During Construction)
The shell is formed by spraying gunite, a dry concrete mix shot at high pressure through a hose, over and around the steel cage in controlled layers. The spray compacts itself as it lands, wrapping every bar and building the designed thickness in floor and walls in a single operation. The swimming pool construction experts at Goodwell Technical Services check thickness with depth pins as spraying proceeds, because a shell that is thin in one hidden corner is a crack waiting for its first filling.
Loose rebound material is cleaned away as work goes, never sprayed over, and the finished shell is cured with water for days so the concrete gains full strength slowly. What emerges is a single monolithic bowl: no joints, no cold seams, ready to be made waterproof.
- Spray in layers: Gunite is built up evenly to design thickness, checked with pins, not guessed.
- Remove rebound: Loose overspray is discarded; burying it creates weak, sandy pockets in the shell.
- Cure with water: The shell is kept wet for days. Fast drying means shrinkage cracks.
- Monolithic finish: Floor and walls formed as one piece wherever possible, with no construction joints.

Phase 7: Waterproofing and Leak Testing (During Construction)
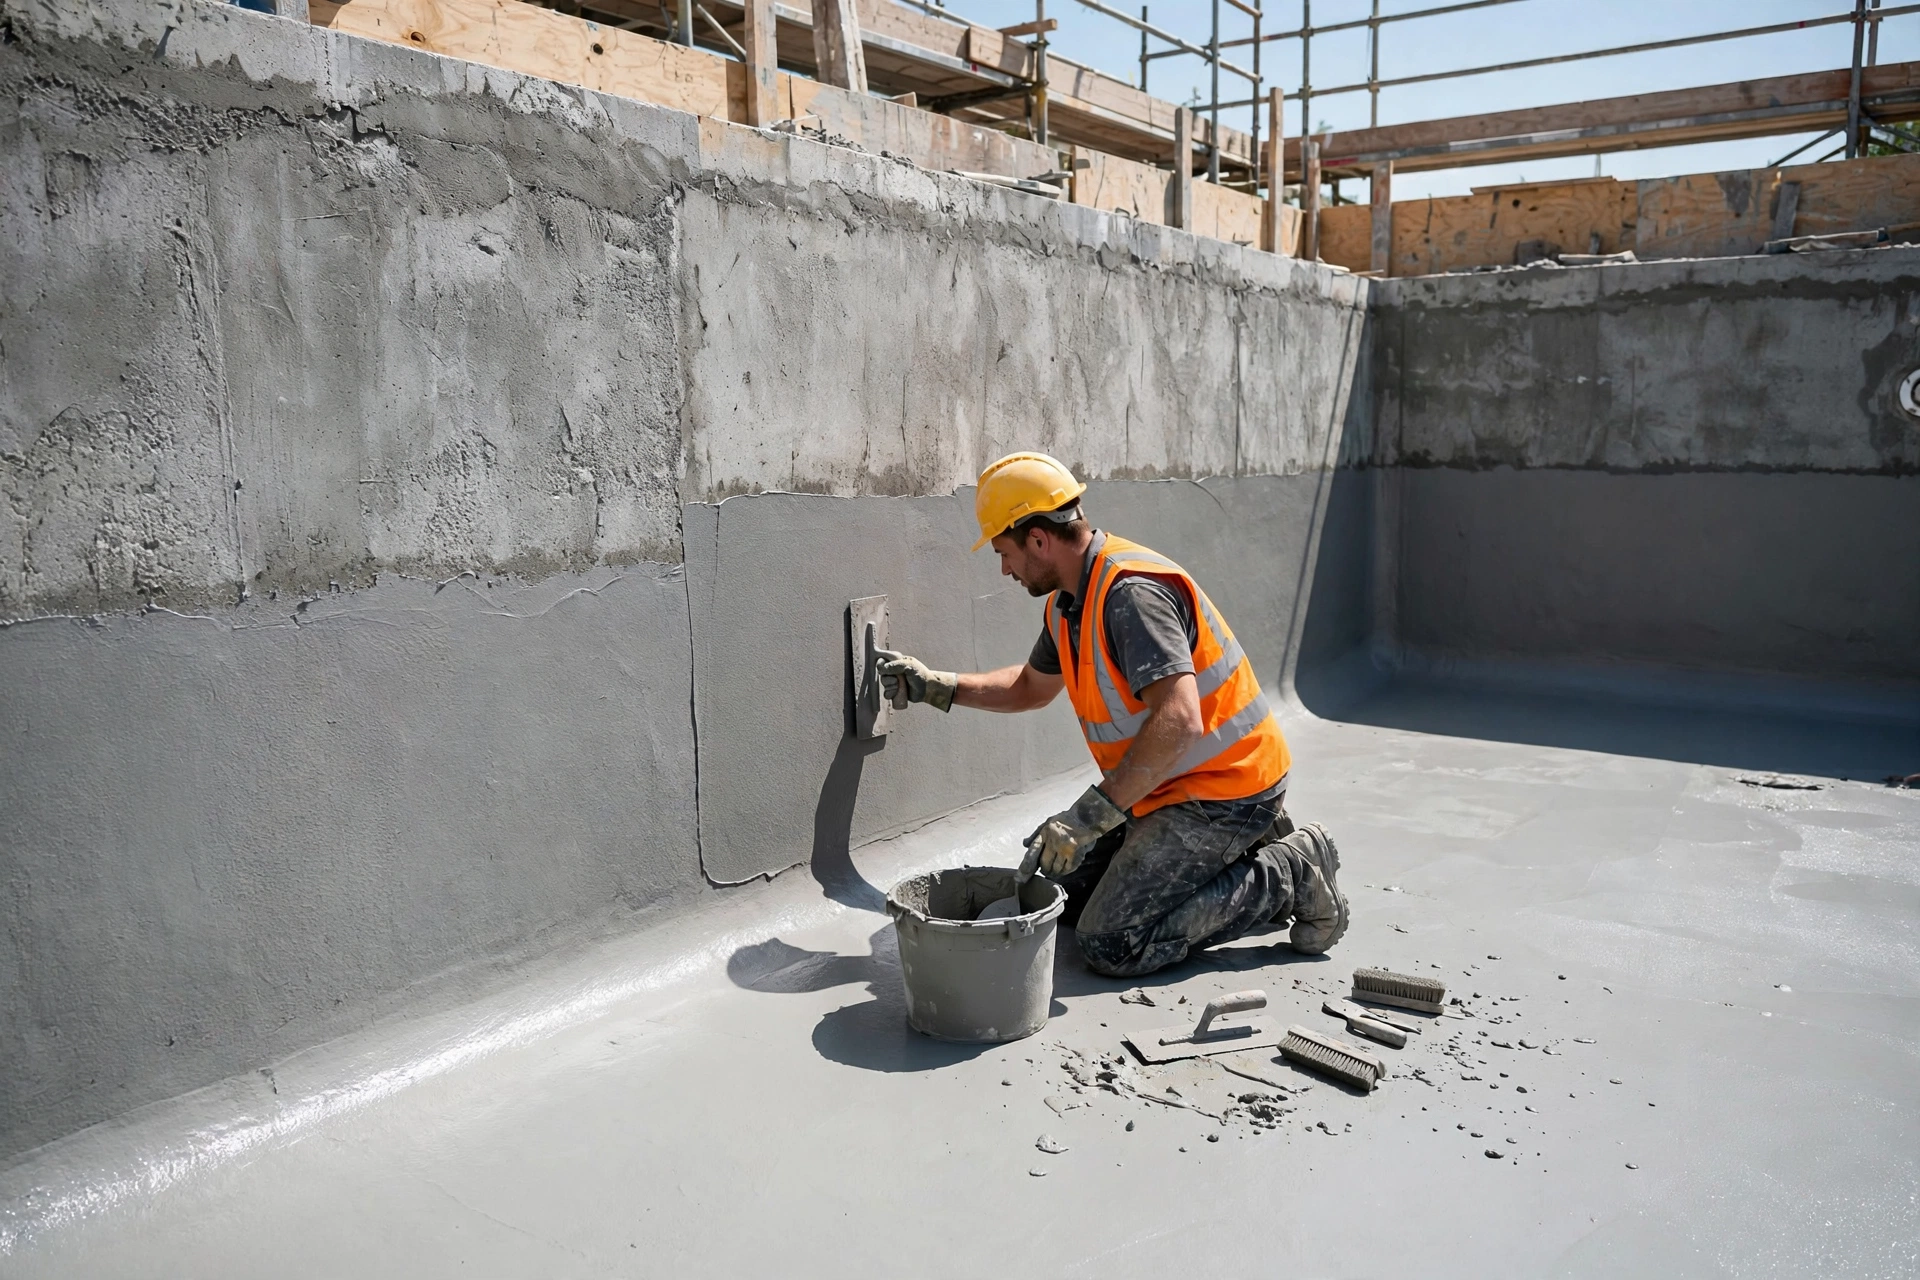
Concrete is strong but not waterproof by itself, so the inside of the shell receives a cementitious waterproofing system: two coats of polymer modified compound over the prepared surface, with every corner, pipe penetration and light niche reinforced. This layer is the pool’s true water barrier, working together with the dense shell behind it.
The proof comes before any tile is laid. The shell is filled with water, the level is marked, and it is watched for several days; a stable level means the structure is watertight, while any drop is traced, repaired and retested. For finish ideas, homeowners often browse the Goodwell Technical Services homepage to see how completed pools pair waterproof reliability with mosaic designs, while their own shell quietly passes its test.
- Two coats minimum: Waterproof compound applied in two coats at right angles for complete coverage.
- Reinforce every penetration: Pipes, drains and light niches get extra sealing; they are the classic leak points.
- Fill test for days: The shell stands full of water with the level marked. No drop means pass.
- Repair before tiling: Any leak found is fixed at shell stage, when it costs almost nothing.
Phase 8: Tiling, Mosaics and Coping (During Construction)
Tiling gives the pool its colour and its grip. Glass or ceramic mosaics are fixed over the waterproofed shell with flexible, water resistant adhesive, sheet by sheet, keeping joints aligned through steps, benches and curves. Goodwell Technical Services grouts pool tiles with epoxy or high grade cementitious grout rated for permanent immersion, because ordinary grout softens, stains and sheds under pool chemicals within a few seasons.
The coping stones that cap the pool edge are set in the same phase: slightly rounded or bullnosed for comfort, laid dead level so the waterline meets the edge evenly all around, and sloped a fraction away from the pool so deck wash water never runs back into it.
- Immersion rated materials: Adhesive and grout specified for permanent underwater use. No substitutes.
- Aligned joints everywhere: Mosaic lines run true across floor, walls, steps and benches.
- Level coping: Edge stones set to one level so the waterline looks crisp and even.
- Slope the deck away: Surrounding paving falls away from the pool to keep dirty water out.

Phase 9: Filtration Plant and Equipment Installation (After Construction)
With the pool finished, its life support is installed in the plant room: the circulation pump, sand or cartridge filter, and the chlorination or salt system, all connected to the pipe runs left ready during construction. Goodwell Technical Services sizes the plant to turn over the full pool volume in the hours recommended for private pools, because an undersized filter is the hidden reason so many pools never stay truly clear.
Valves are labelled, the heater or chiller is connected where specified, underwater lights are sealed into their niches and tested, and the whole system is run and checked joint by joint before the pool is filled. A tidy, labelled plant room is what makes the next twenty years of maintenance easy instead of dreaded.
- Size the plant honestly: Pump and filter matched to pool volume and turnover time, never undersized to save cost.
- Label every valve: Skimmer, drain, vacuum and backwash lines identified for anyone operating the pool.
- Test lights and seals: Underwater lights fitted, sealed and run before filling hides them forever.
- Check every joint under pressure: The plant is run and inspected before handover, not after the first leak.

Phase 10: Filling, Testing, Handover and Maintenance (After Construction)
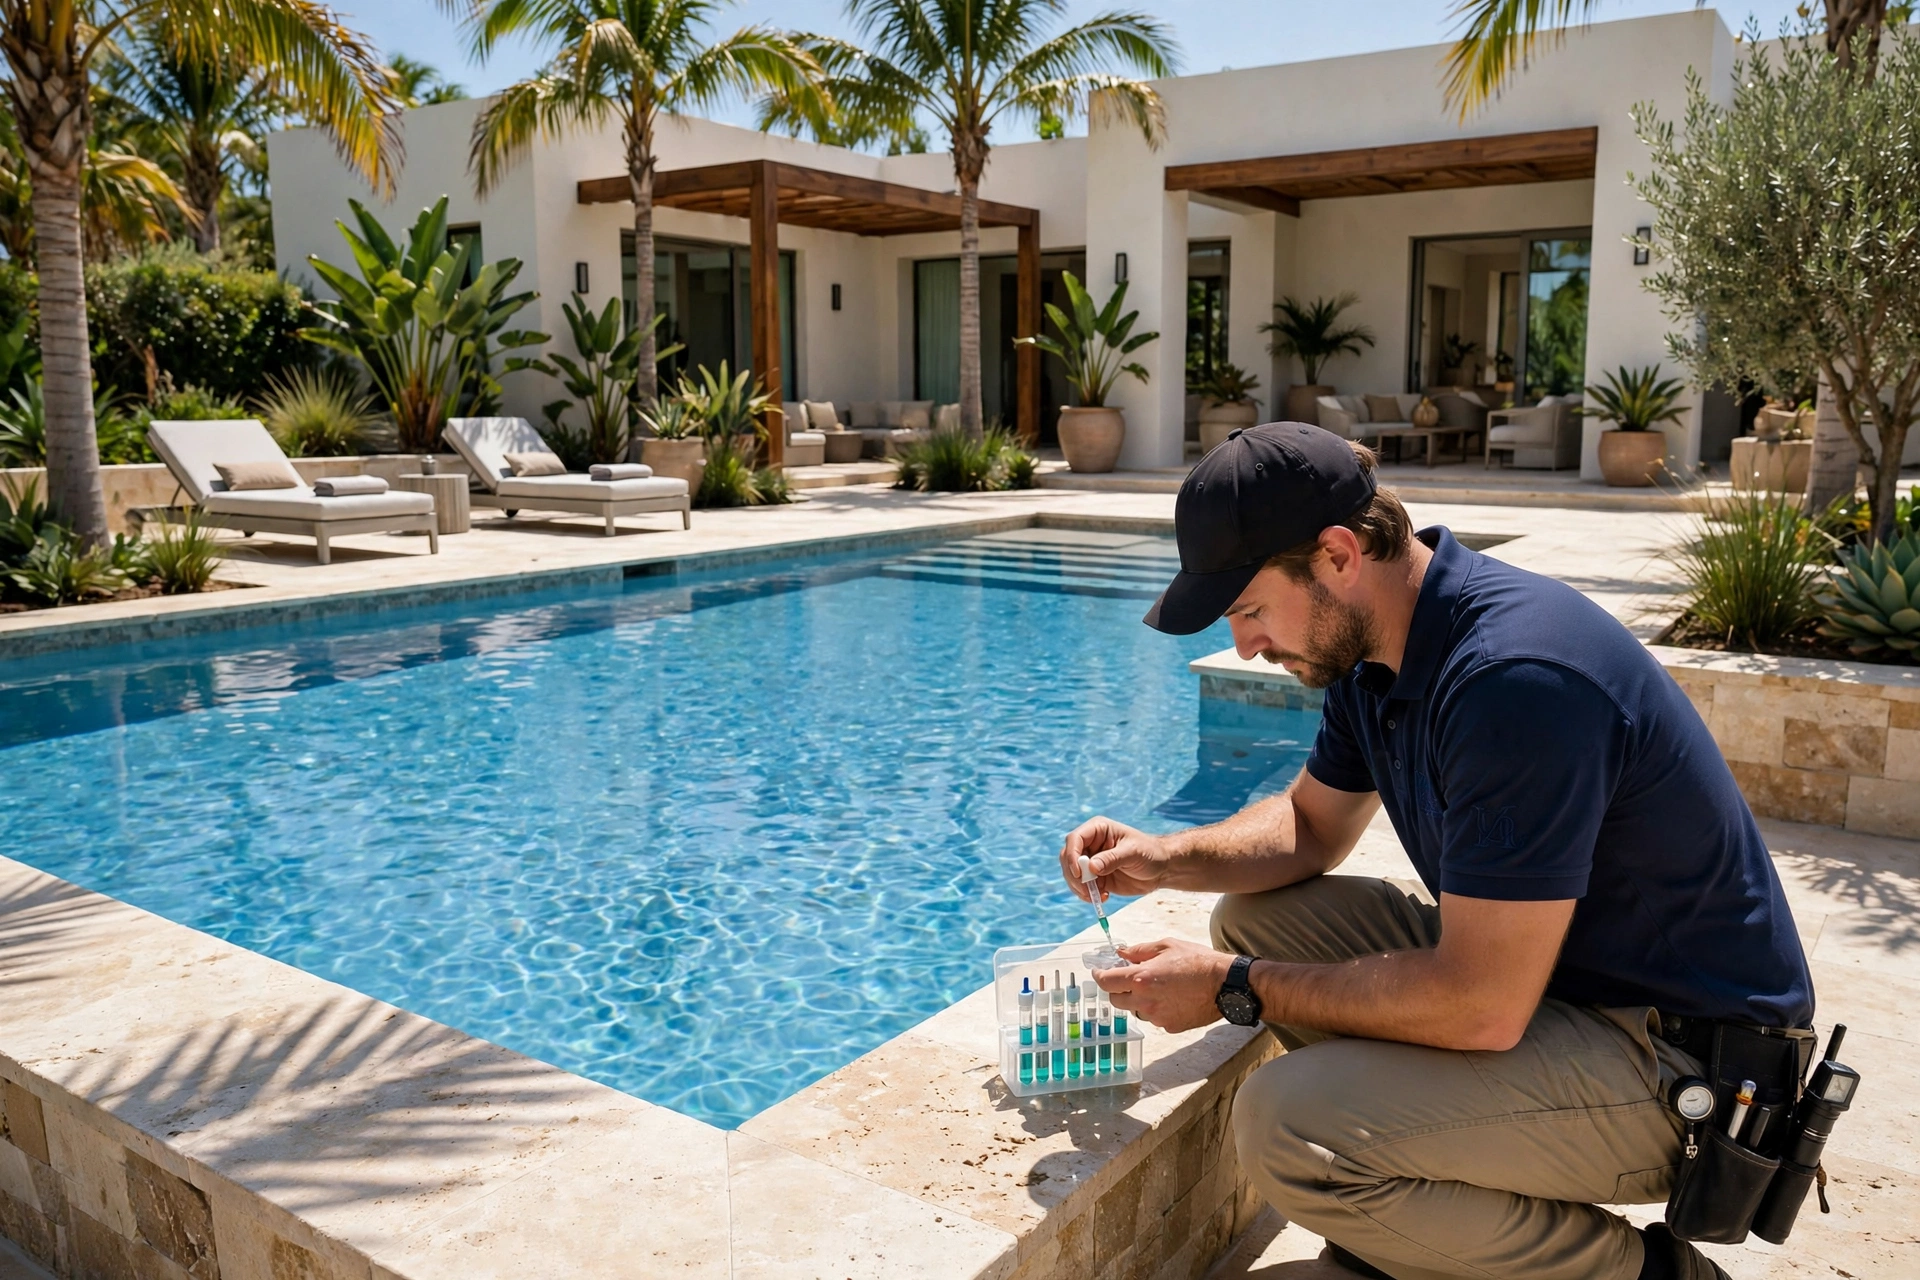
The pool is filled slowly and evenly so fresh grout and finishes are never shocked, and as the water rises the team watches every fitting, light and penetration for the first sign of a weep. Once full, the water is balanced: pH, chlorine and alkalinity adjusted into range, the filtration run continuously through its first days, and the surface brushed as the new finishes cure. Goodwell Technical Services closes every snag before handover and trains the owner on the plant, because a pool is only finished when it runs perfectly and someone on site knows how to keep it that way. To book a site visit for your own pool project, reach out any time.
Maintenance keeps it perfect: skim and brush weekly, keep the chemical balance in range, clean the filter on schedule, and never let the pool sit green and stagnant in the off season. Goodwell Technical Services offers periodic pool health checks for completed projects, covering shell, tiles, plant and water quality in one visit.
- Fill slowly: A steady fill protects fresh grout and lets every fitting be watched as water reaches it.
- Balance the water: pH, chlorine and alkalinity set correctly before the first swim, not after complaints.
- Train the operator: Whoever will run the pool learns backwashing, dosing and basic fault finding at handover.
- Keep the documents: Equipment warranties, tile and grout details and the chemical guide in one folder.
Common Mistakes to Avoid During Swimming Pool Construction
Across hundreds of sites, Goodwell Technical Services has seen the same pool mistakes repeat. Avoid these and your pool will stay clear, watertight and safe for decades:
- Digging before approvals: An unapproved pool can be ordered filled back in. Paperwork first, excavator second.
- Thin or single layer steel: A weak cage means a cracked shell, and a cracked shell means a leaking pool forever.
- Skipping the shell fill test: Tiling over an untested shell buries leaks where they cost the most to reach.
- Ordinary tile adhesive and grout: Materials not rated for immersion fail underwater within a few seasons.
- Undersized filtration: A small filter on a big pool guarantees cloudy water and endless chemical battles.
- Unlevel coping: A wavy pool edge makes even perfect water look wrong every single day.
- No operator training: The best plant in the world fails in untrained hands within one season.
Conclusion
Swimming pool construction rewards patience and punishes shortcuts. Design and approve everything before construction, excavate, reinforce and plumb with discipline during construction, prove the shell watertight before a single tile is laid, and finish with correctly sized plant and a proper handover after construction. Follow these ten steps and your pool will stay clear, safe and beautiful for decades.
For a pool built right the first time, contact Goodwell Technical Services for complete swimming pool construction, from design and excavation to tiling, filtration and final handover, executed step by step exactly as described above.